I love all the Spring holidays, but I love Easter the most. I also love tackling a woodworking project at any time that my schedule allows for it. So, when I saw these absolutely adorable DIY Easter baskets from Ana White, I was hooked! I had to make them ASAP. Believe it or not, these adorable Easter decorations are relatively easy to make on your own, let’s get started doing just that below! This adorable wooden basket is a great home accessory!
Here’s What You’ll Need For Your DIY Easter Basket:
-1/2 inch thick plywood scraps (these are what you will turn into the bunny head and ears)
-An old shovel handle (for the basket handle)
-1/4 inch thick plywood for the bottom of the basket
-2 Cedar 1/4 inch thick fence pickets
-Jigsaw
-Wood glue
-Staples and a staple gun
Step One
First, cut the plywood to the desired size of your bunny’s face. Next, trace the face of your bunny onto the 1/2-inch thick piece of plywood. Trace a piece for the “butt” of the bunny as well, it should be the same size as the head without the ears. When done, use a jigsaw or something similar to cut it out. Ana has a great printable pattern for this part of the project, visit her site to see more.
Step Two
Now, use wood glue to connect the cedar fence pickets (side pieces) to the bottom (plywood) piece of the basket. After that, glue the cut-out bunny face to the front of the other pieces of wood. Finish this step of with the help of your staple gun for a super sturdy basket.
The image above was submitted by a user on Ana’s site.
Step Three
After the face of your bunny is assembled to the sides and bottom of your basket, use the wood glue and your staple gun again to attach the backside piece.
Step Four
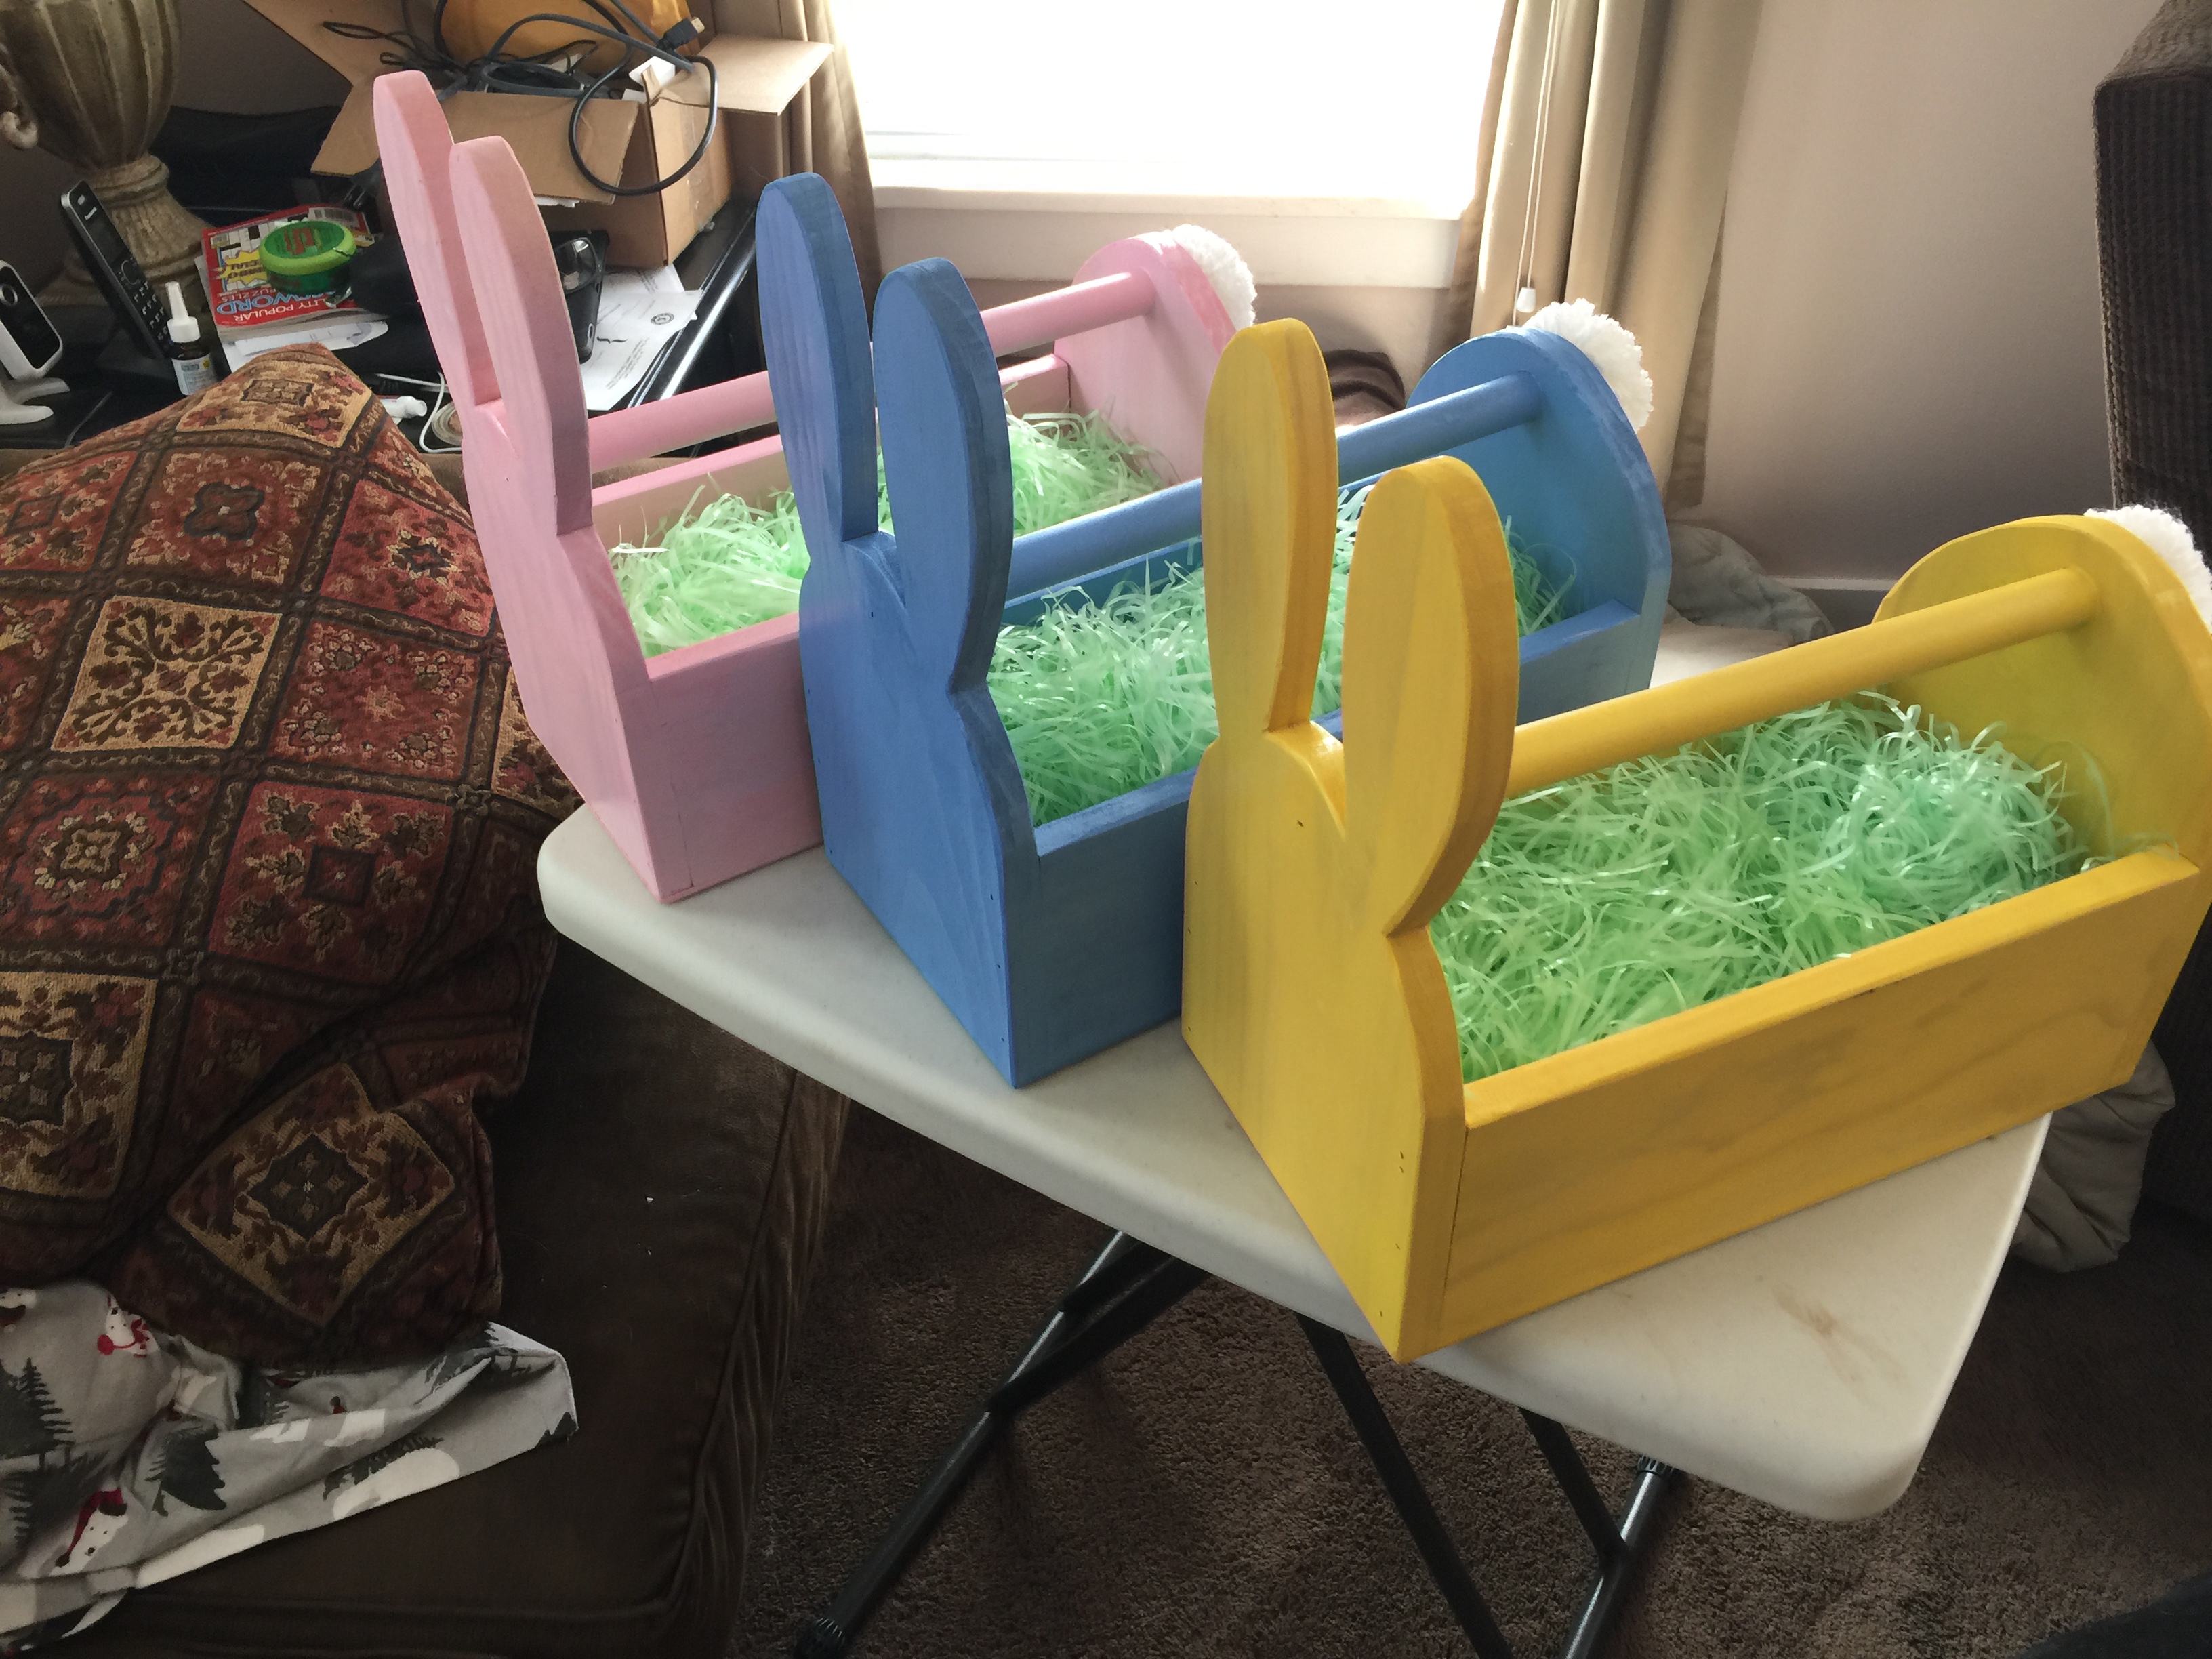
Next, cover your DIY Easter basket in a layer of your favorite paint. Users on Ana’s blog submitted adorable baskets in all colors and stains, so don’t be afraid to experiment. With projects like these, the options are truly endless.
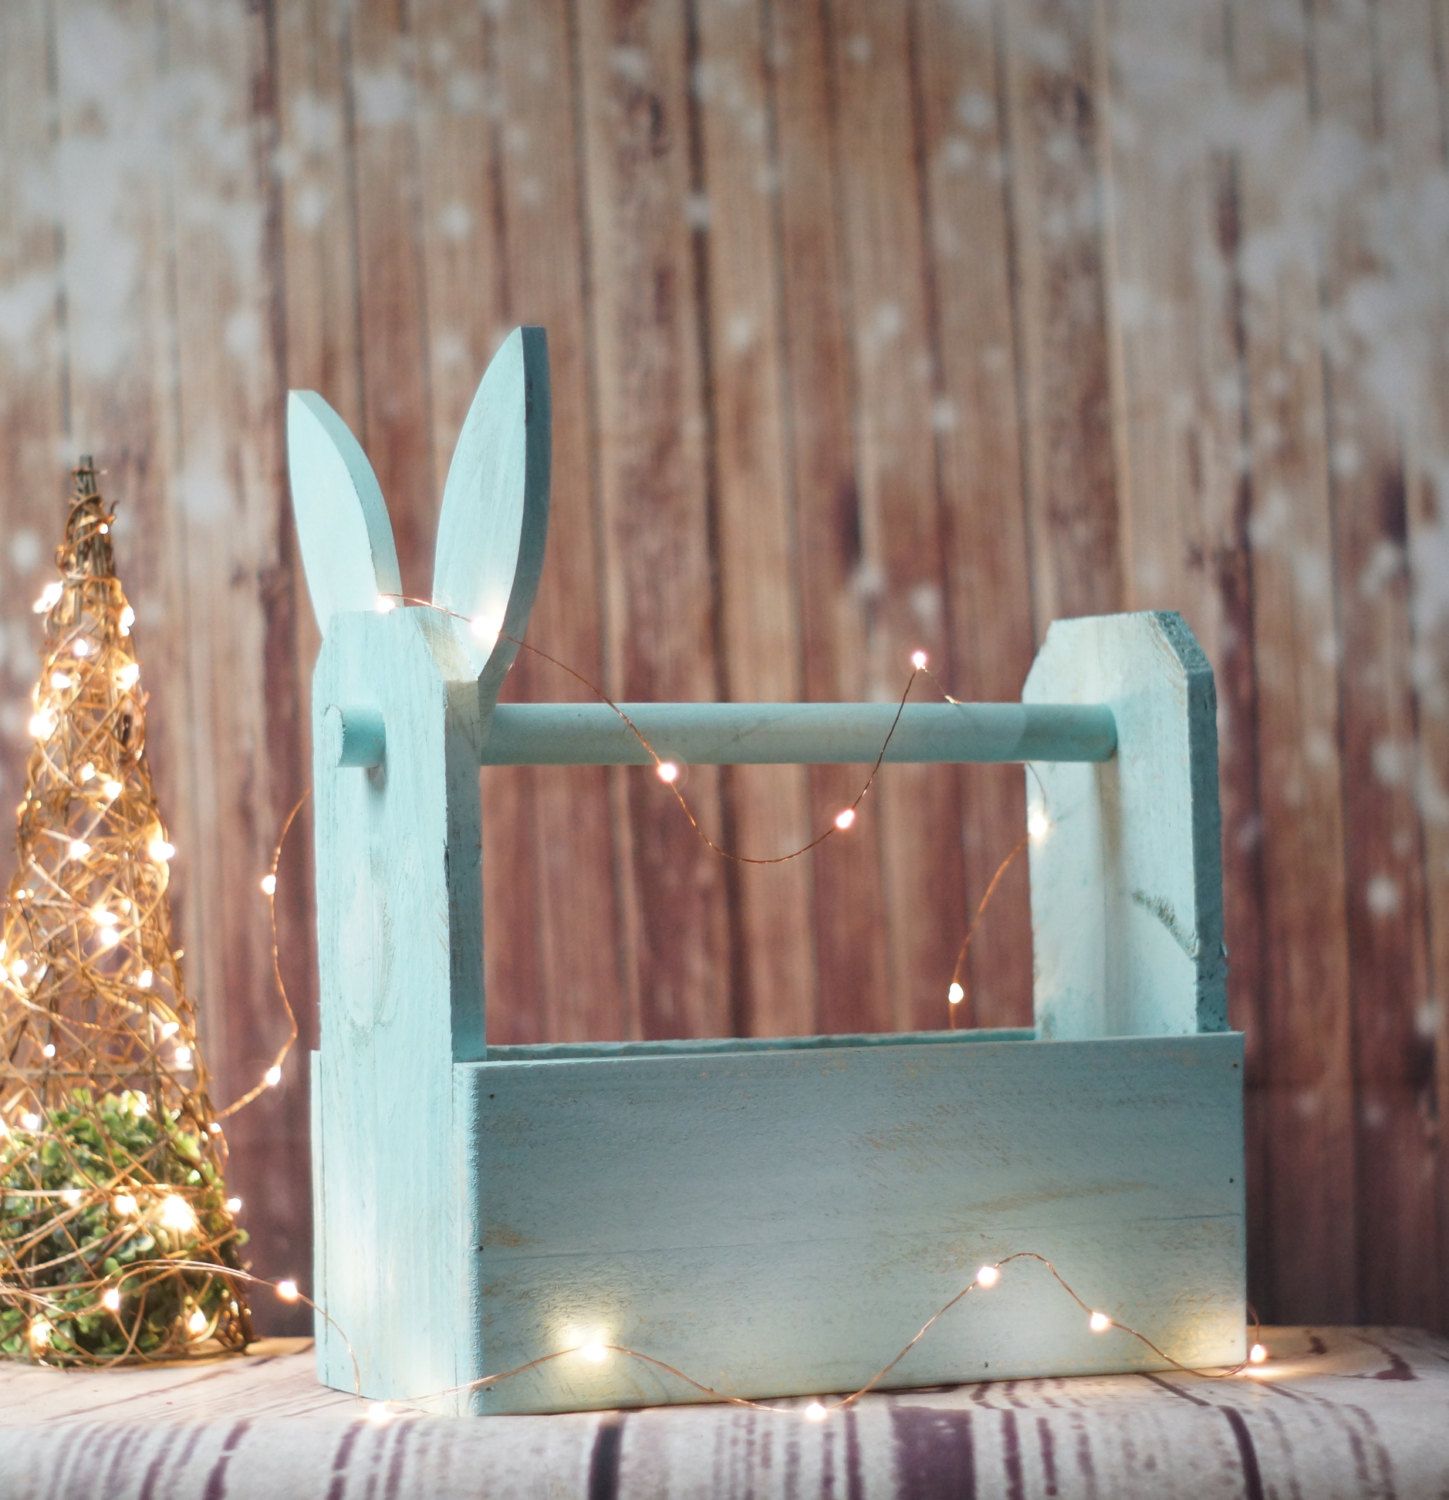
Image from Pinterest
Step Five
Don’t go “hopping” off just yet…we have a few more things to do to finish this bad boy up! Next, cut an old shovel handle to fit as the handle of your basket. It should fit pretty securely. Finally, use wood glue and more staples to secure the handle.
Step Six
This step is optional, but what’s an Easter bunny without a bushy tail? You can make your own pom (or bunny tail) out of yarn and secure with craft glue.
This was seriously one of the easiest Easter projects I’ve ever done! I know that my kids will love the baskets made for them for years to come. And even if they don’t end up loving them well into their teens, I’ll use them to decorate my home for Easter, instead! Now, all that’s left is to fill them with goodies.