
The best way to learn how to caulk like a pro, is to learn from a pro. That’s what this article is all about. The inside scoop to caulking tricks shared by a professional.
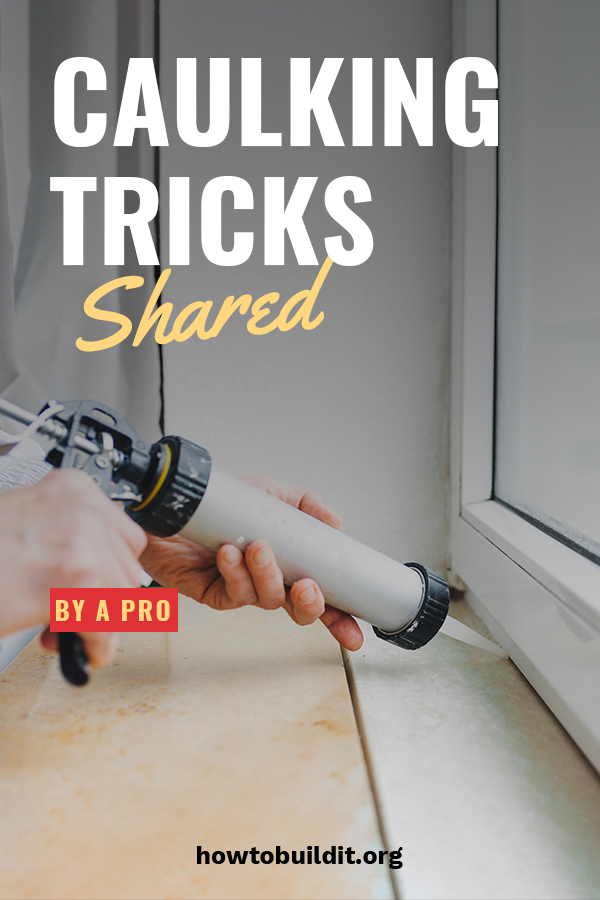
If you ask me, caulking is one of those skills that every DIYer MUST have. Simply because the skill is so universally used across many projects! Whether you’ve been caulking for years, or are new to the whole experience, use these caulking tricks and tips from yours truly to make sure your project really shines.
After all, it’s the little things (like the quality of your caulking job!) that guests truly notice when visiting your home. Learn how to caulk with the tips and tricks below. Let’s get started.
Caulking Tricks
Tape First
Start your caulking project off on the right first by applying painters tape before caulking. This keeps lines looking really clean and crisp while saving your gorgeous bathroom backsplash. As with most DIY projects, it’s these moments of preparation that really make the most difference.
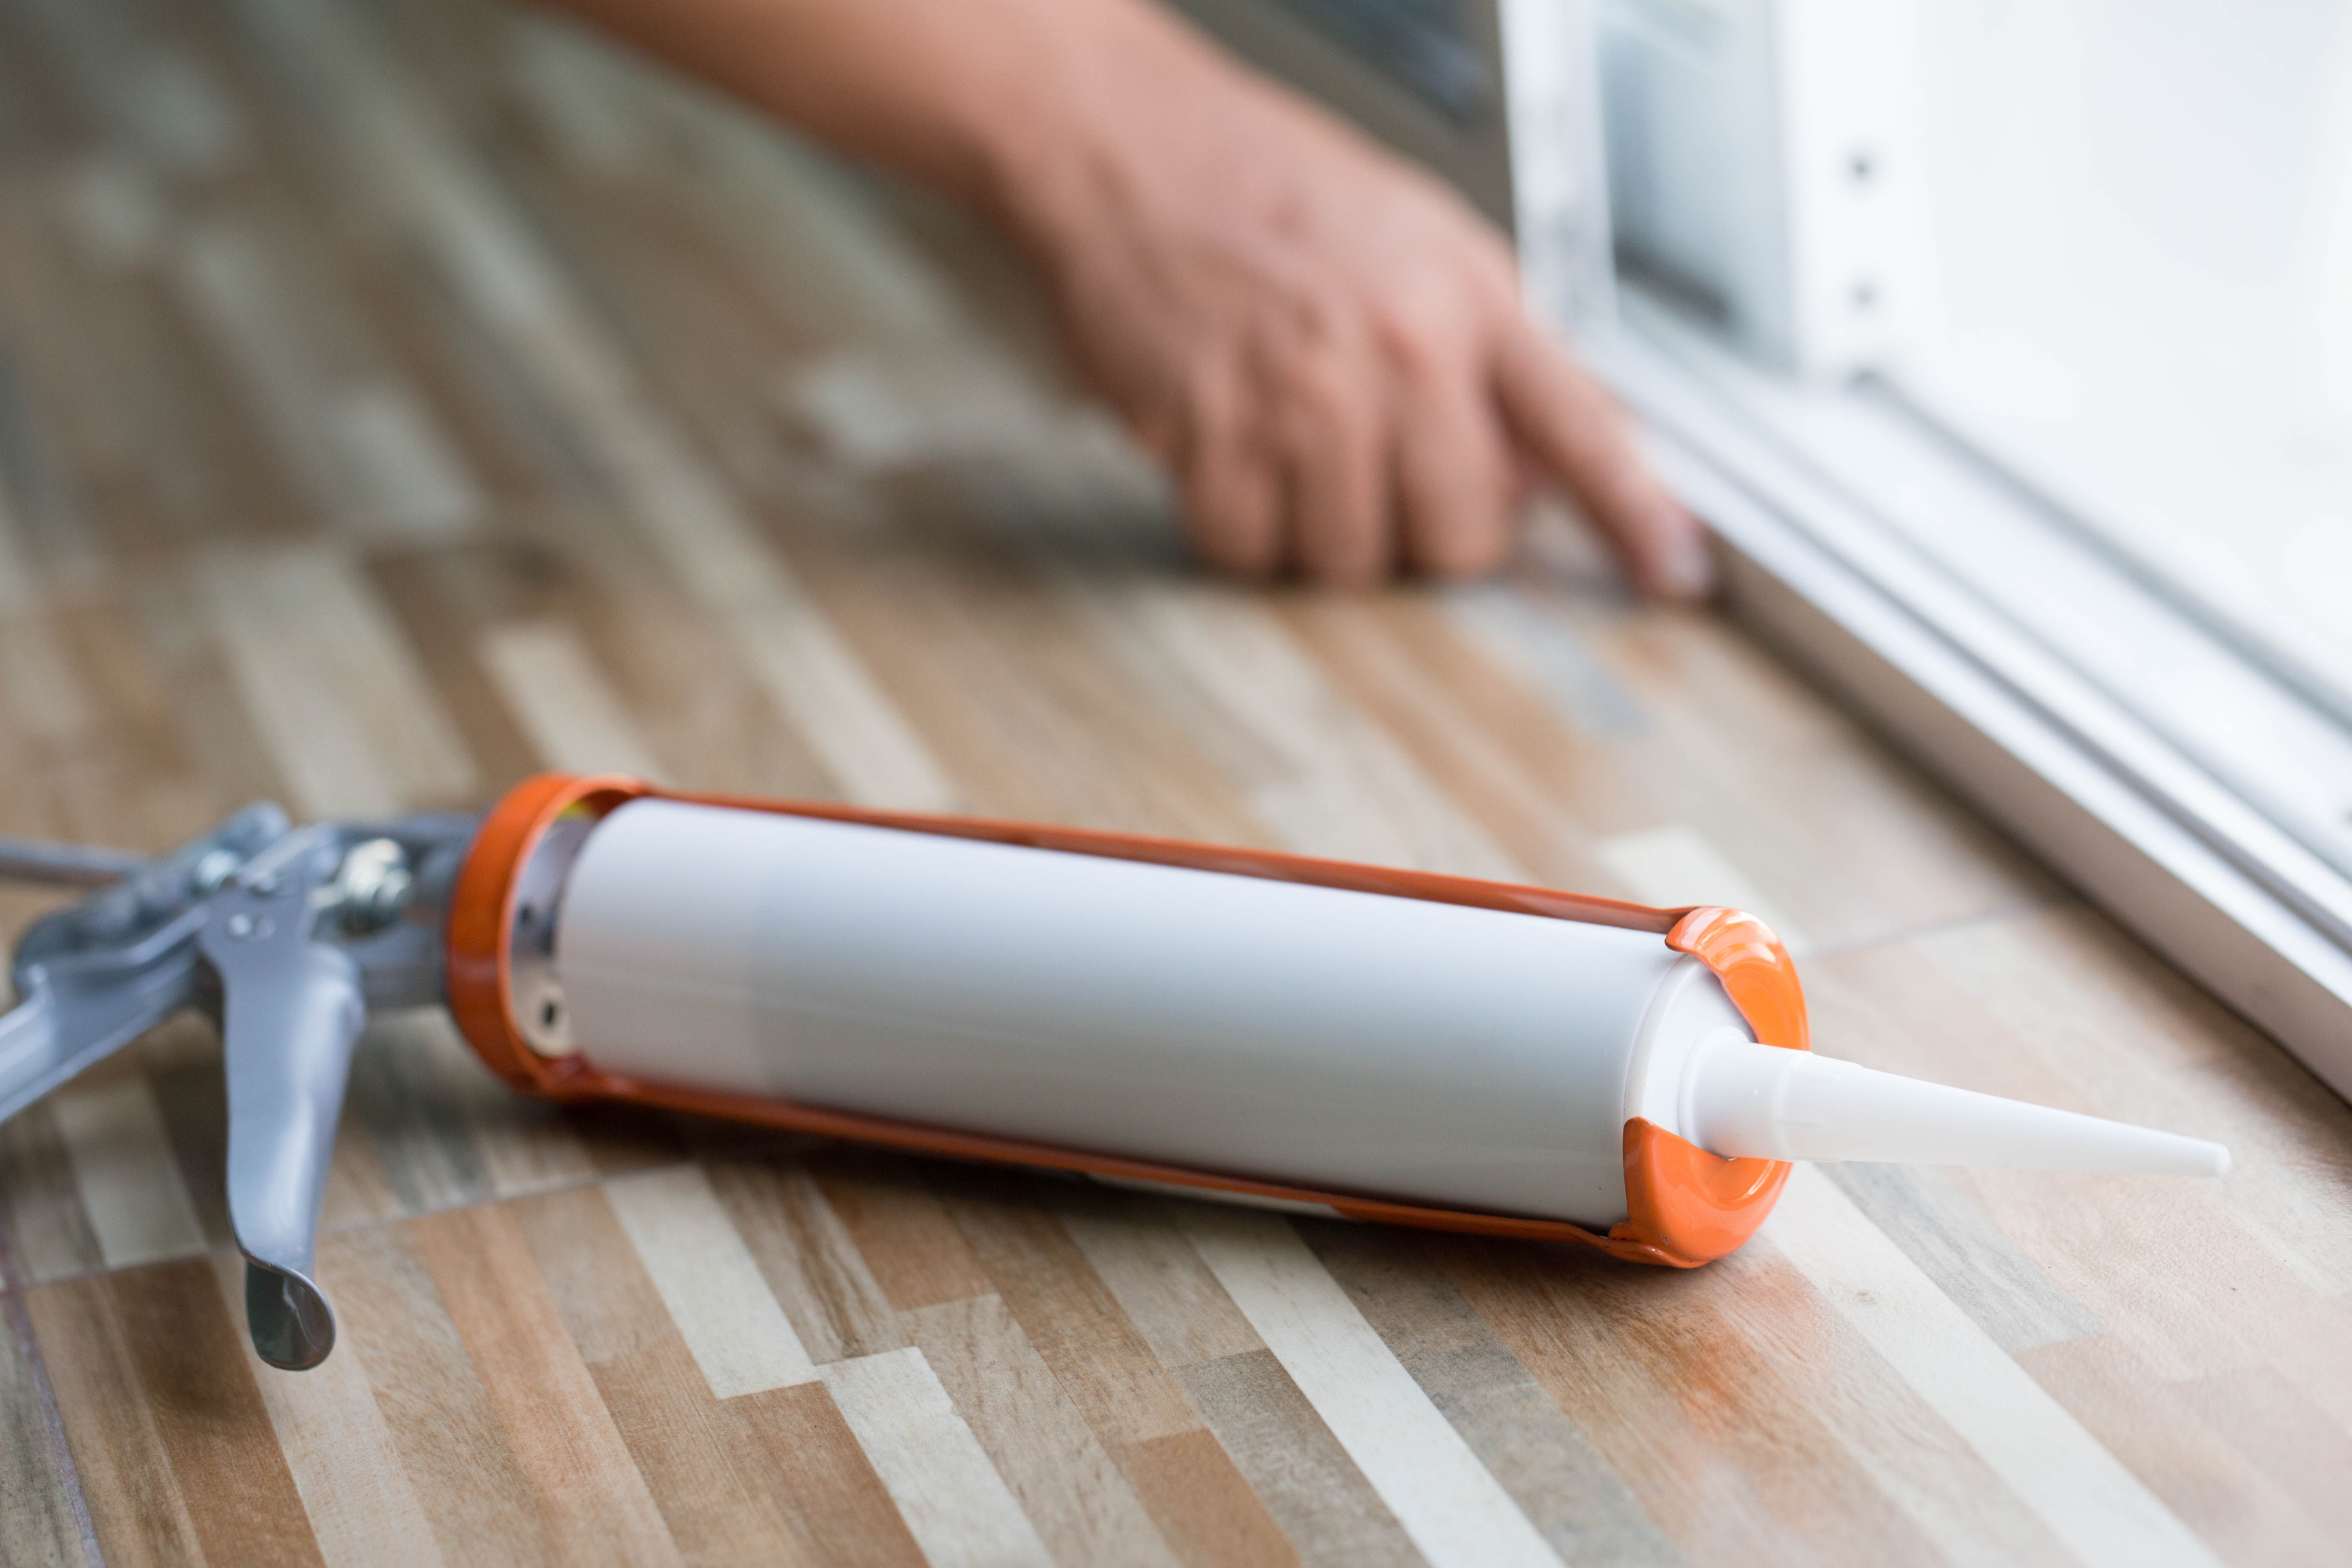
Pick The Right Tools
You won’t hammer a nail into a wall with a fork, now would you? Make sure that you have the right tools for the project before beginning. There are many different caulks and caulk guns that should be used depending on your project. For caulking on siding, windows, and doors, I recommend a polyurethane caulk. For roofing, use a rubberized product and for interior, caulking use latex-based. Finally, silicone-based caulks are great when used in the bathroom.
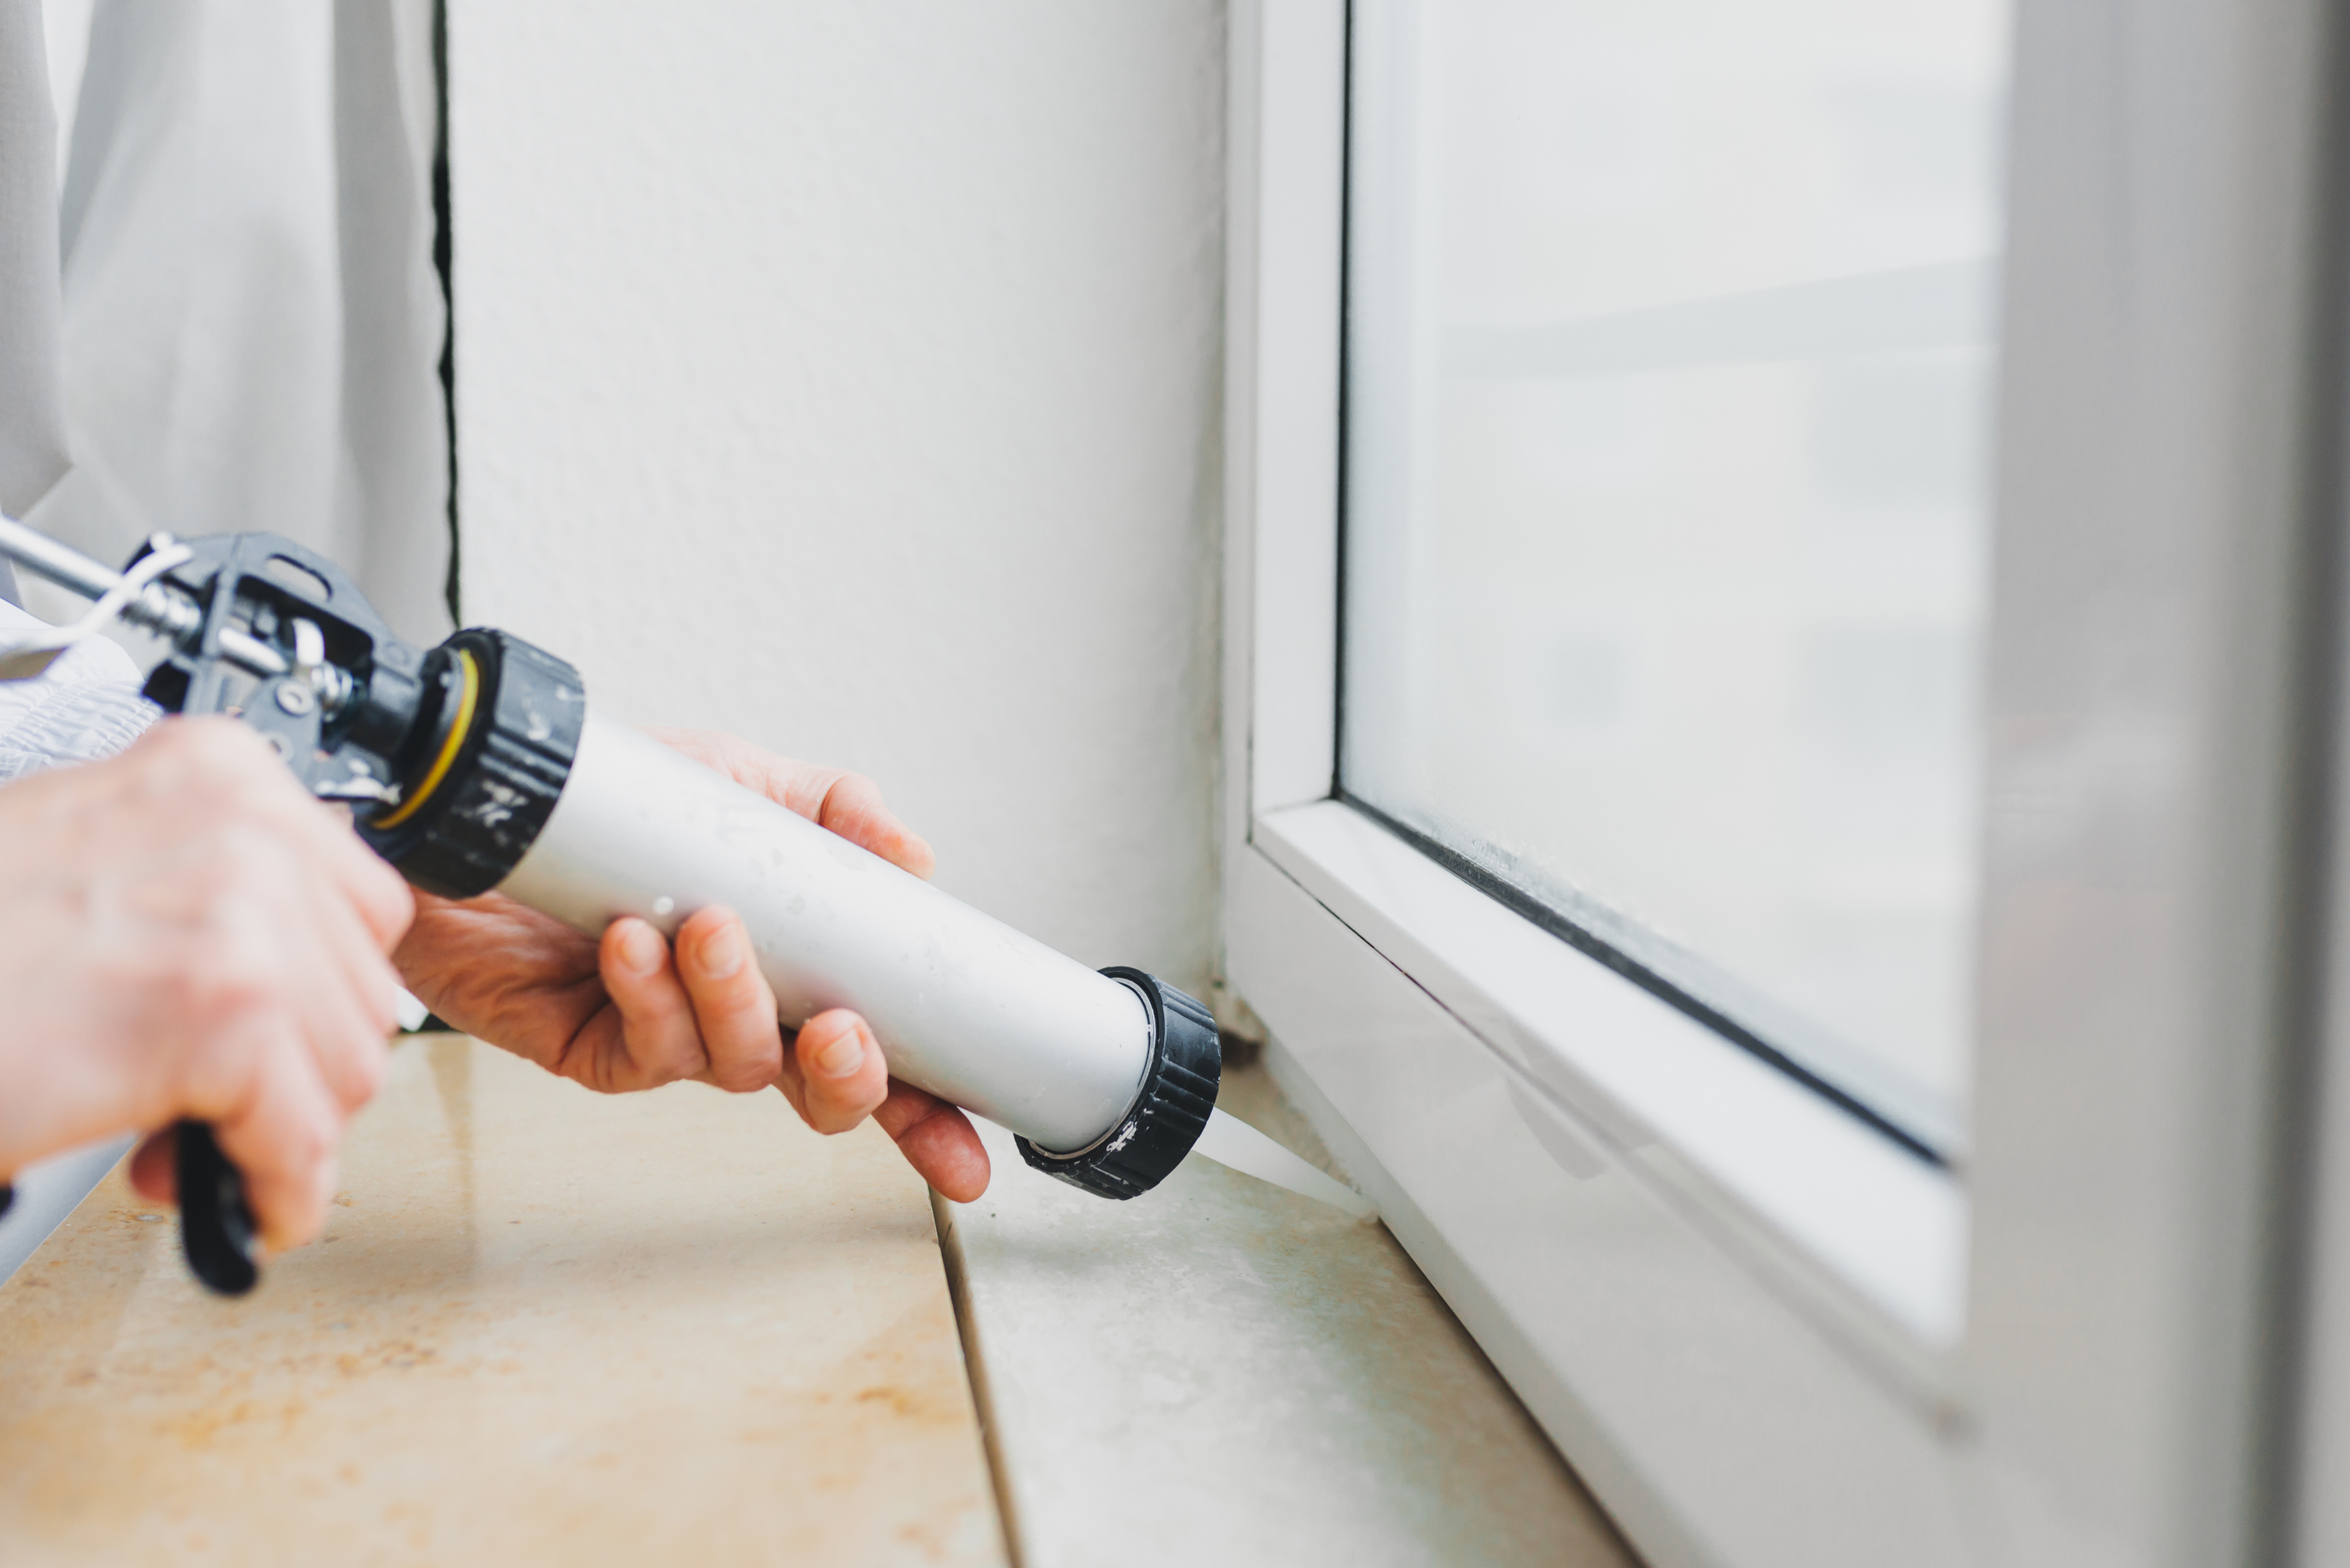
Push, Don’t Pull
When applying, try to “push” the caulk into the cracks instead of pulling the caulk over top of them. Remember, you want to fill cracks not just disguise them. However, when both surfaces are “flush” you can use the pulling method for a cleaner finish.
Cut The Tip Off Straight
Contrary to what you may have been previously taught, it isn’t always the best practice to cut the tip off at an angle. In fact, doing so severely limits the range of motion of your caulking gun. Cut it straight and swivel your gun around sinks and corners with ease. You’ll be so glad that you did!
Avoid Globs With This Tip
No one likes the look of “globby” caulking! But it’s easy to avoid this faux-pas in your own home! To prevent globs on long runs of caulking, do one side first, stopping in the middle. Instead of resuming where you stopped (thusly, creating a glob) start from the other end and meet in the middle, where you left off before. It’s even better if you can create that “meeting place” somewhere that doesn’t meet the eye. Something about this trick works, trust me.
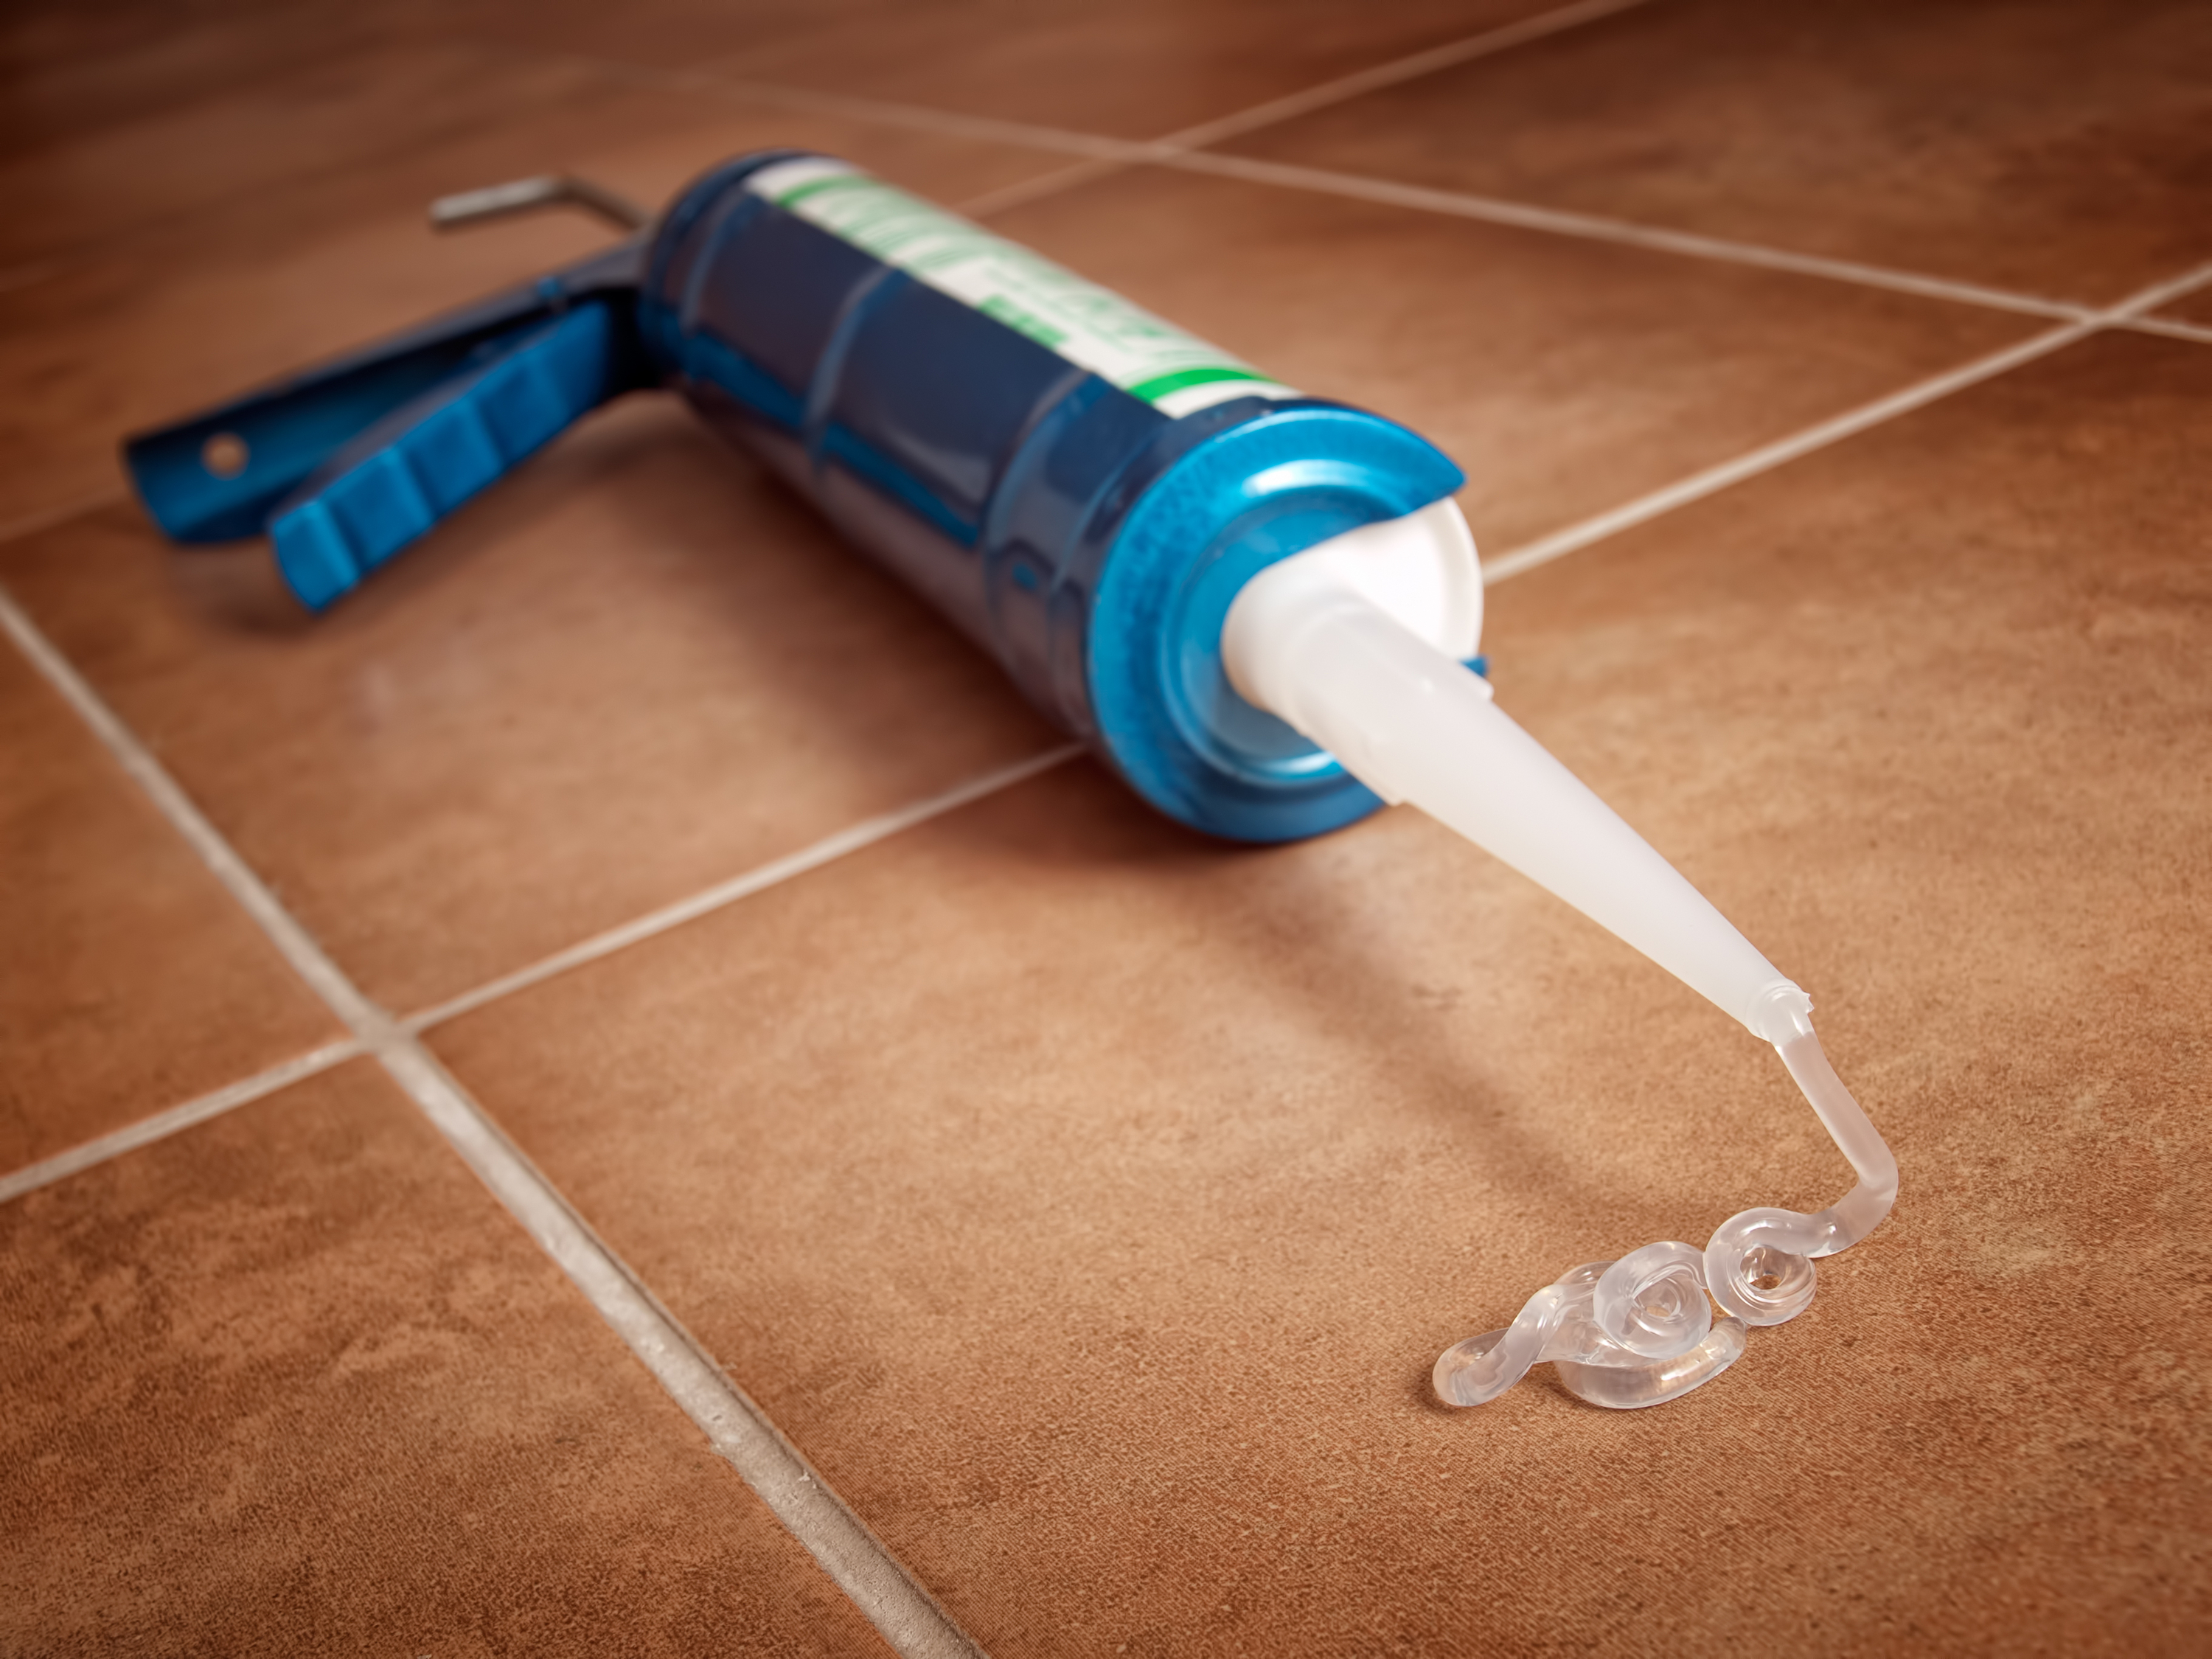
Clean The Spout
It can be tricky to remove the hardened caulk build up that resides in the spout. Do so before your next project easily by inserting a screw into the hole. Twist, and it should clean your spout relatively easily.
Use A Straw For Tight Corners
It can be hard to angle your caulk gun into tight angles, but this tip should help. Cut the tip off of a plastic straw just as you would a caulking tube, and full the straw with caulk. Roll the other end, squeezing out caulk wherever desired. DIYers should note that this should only be used in tight, small spaces. It’s tricky to lay it 100 percent evenly. And there you have it! I hope these caulking tricks help you with your next project!
Now you know a few tricks, learn how to put those skills to work.
Love straw idea ⭐⭐⭐⭐⭐
Wonderful and comprehensible! I am a painter and this helps me tremendously! Thank you and God bless !