
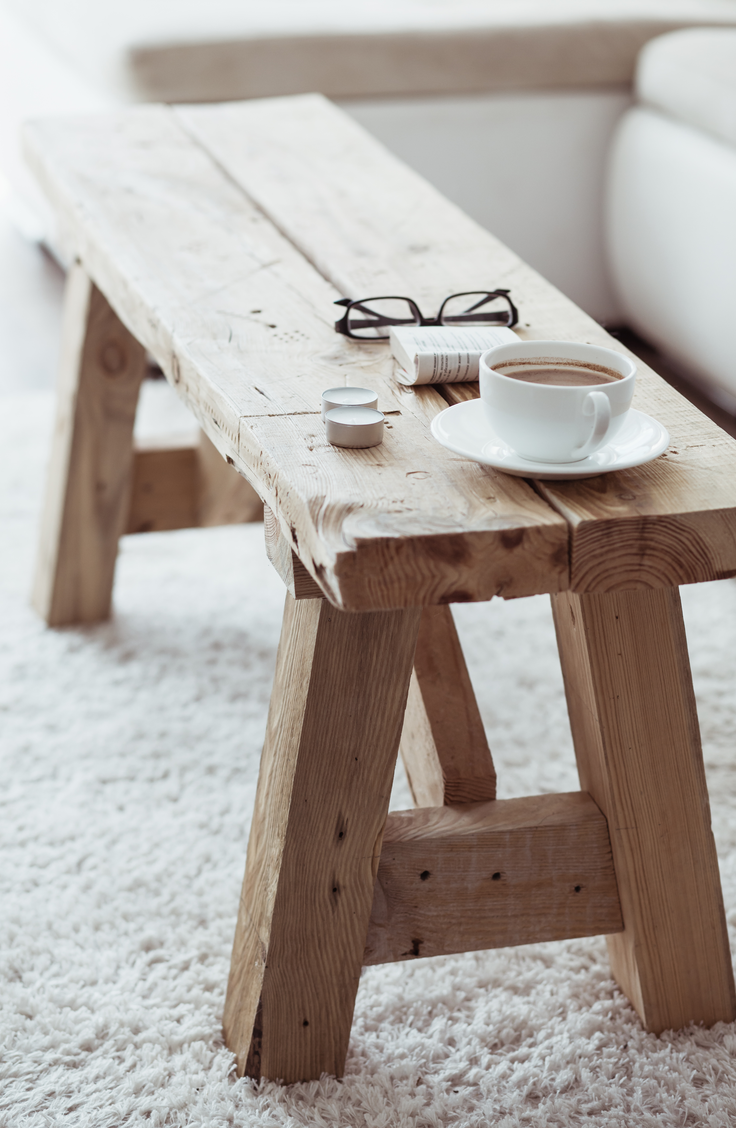
I love the idea of creating an easy DIY bench for a front porch or back patio. Any good entertainer knows that seating is important, and this is one of the cheapest ways to get it into your backyard. Check out this easy DIY bench today!

DIY Bench: How To Build
If you are interested in building your own DIY bench for cheap, use the tutorial below to make it happen. Here’s what you will need:
1 1/4 inch screws
Elmer’s Wood Glue
2-inch screws
Elmer’s Wood Filler
sandpaper
primer, paint, and paintbrush
You’ll also need pieces of wood cut to the following sizes:
4 – 1×3 @ 17 1/4″ (Leg pieces)
4 – 1×2 @ 17 1/4″ (Leg pieces to complete the legs)
1- 1×12 @ 54″ (Top)
3 – 1×3 @ 45″ (Aprons and stretcher)
2 – 1×3 @ 25 3/4″ (Cross supports)
4 – 1×3 @ 11 1/2″ (End aprons and side stretchers)
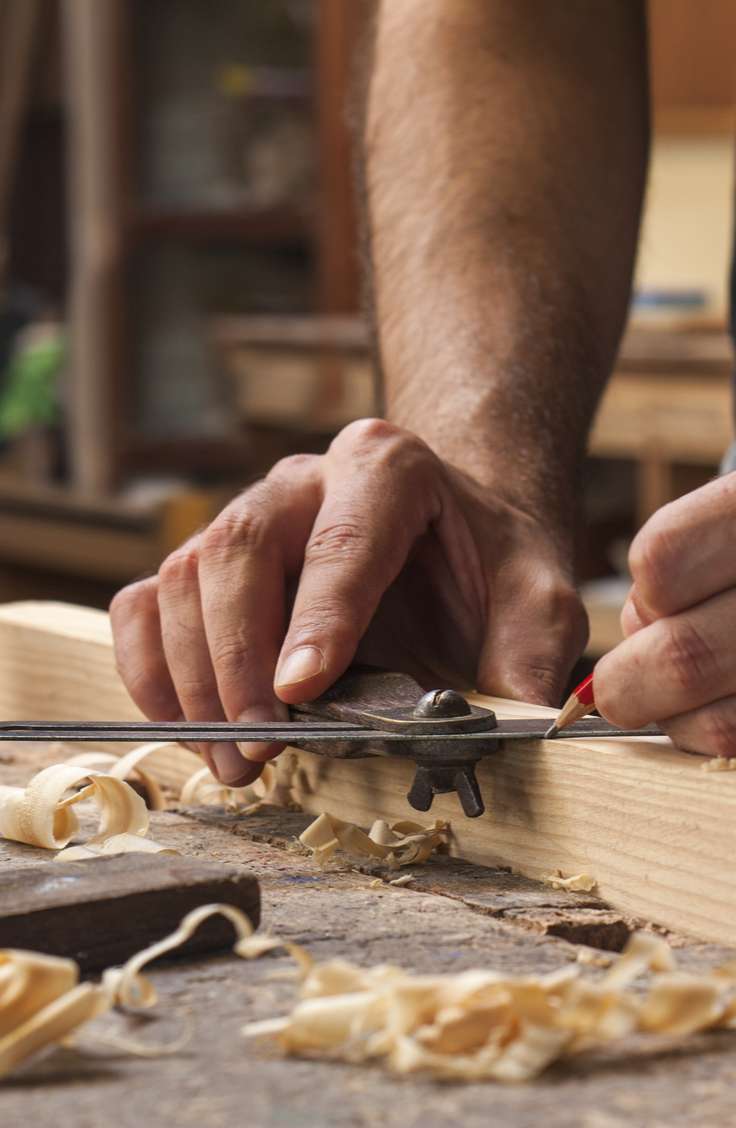
Now that you have rounded up all of your supplies, you can move on to the next portion of the project: the actual how-to tutorial!
Step One
To begin, you will need to notch out 3/4 of an inch from your 1×3 inch pieces. Repeat this four times so that all legs are notched out. Next, you’ll want to attach the end aprons and stretcher to the now notched-out 1/3 inch pieces. Now attach the 1×2 inch pieces of the legs, keeping the outside corner flush, to the rest of the legs. Now, your legs should be complete.
Step Two
Next, you will want to cut the cross supports. Use your 1×3 inch pieces of wood (the ones I marked for the cross supports). You’ll need to make two cuts. The first cut is a 60 degree angle cut from the top corner of the supports. Next, cut an angle of 30 degrees on the bottom of supports, and another 30 degree angle on the top of the supports.
Step Three
Now that they’re cut, insert the cross supports into the leg frames and fasten with a screw. All that’s left at this point is to place and install the top of the bench!
To fasten, line up your pieces and make sure that you leave a 3-inch overhang on both sides. Simply screw the top of the bench into the leg supports. If you don’t want your screw holes to be shown, you can use brackets to attach the top to the bottom instead.
DIY Bench: Indoor/Outdoor
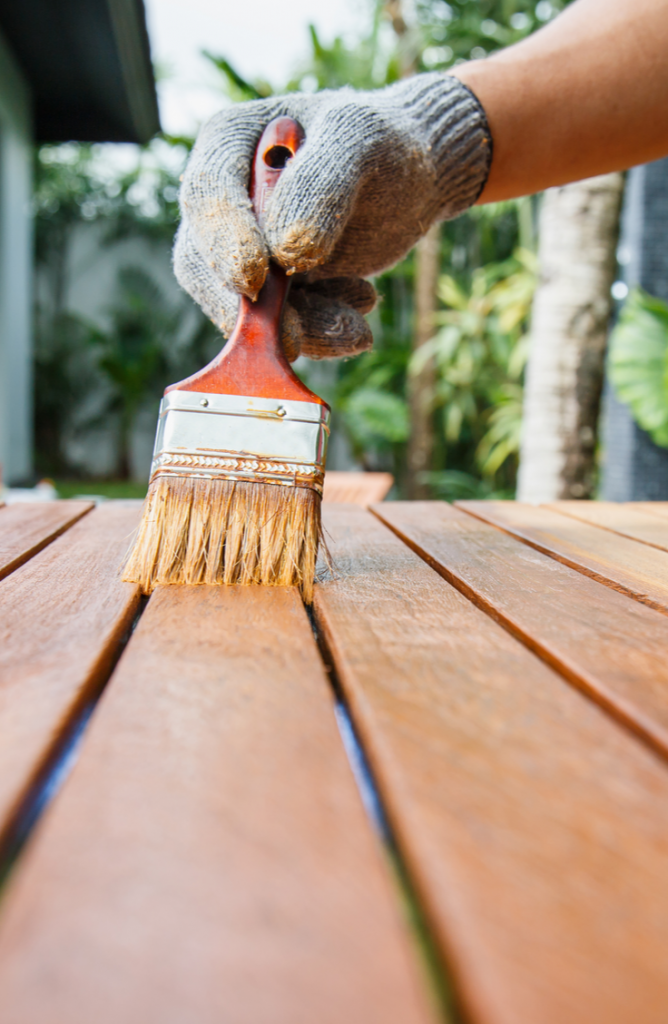
Hooray! The hard work is done! Now you just need to get it ready for use. If you want a bench that works well both indoors and out, I suggest putting a coat of weatherproof stain on your bench. Start with a primer, and then add as many coats as you want of stain to achieve your desired look. Just make sure you want the full dry time because no one wants a splotchy stain. Trust me, I’ve been there.