I love a good nautical theme when it comes to home decor. I love turquoise blues, plenty of stripes, and beachy textures in any way I can get them! One of my poor kiddos was incredibly sick over the weekend and, needless to say, we ended up having to buy a new trash can for her bedroom (she didn’t make it to the bathroom). Like me, she loves the beachy look, and when we couldn’t find what she wanted in stores, I knew I had to make her something custom. All I used was a bucket, some nautical rope, and hot glue. I made her a new trashcan in only an hour. Keep reading below to see how you can make DIY nautical trashcans using a rope, a bucket, and your creativity!
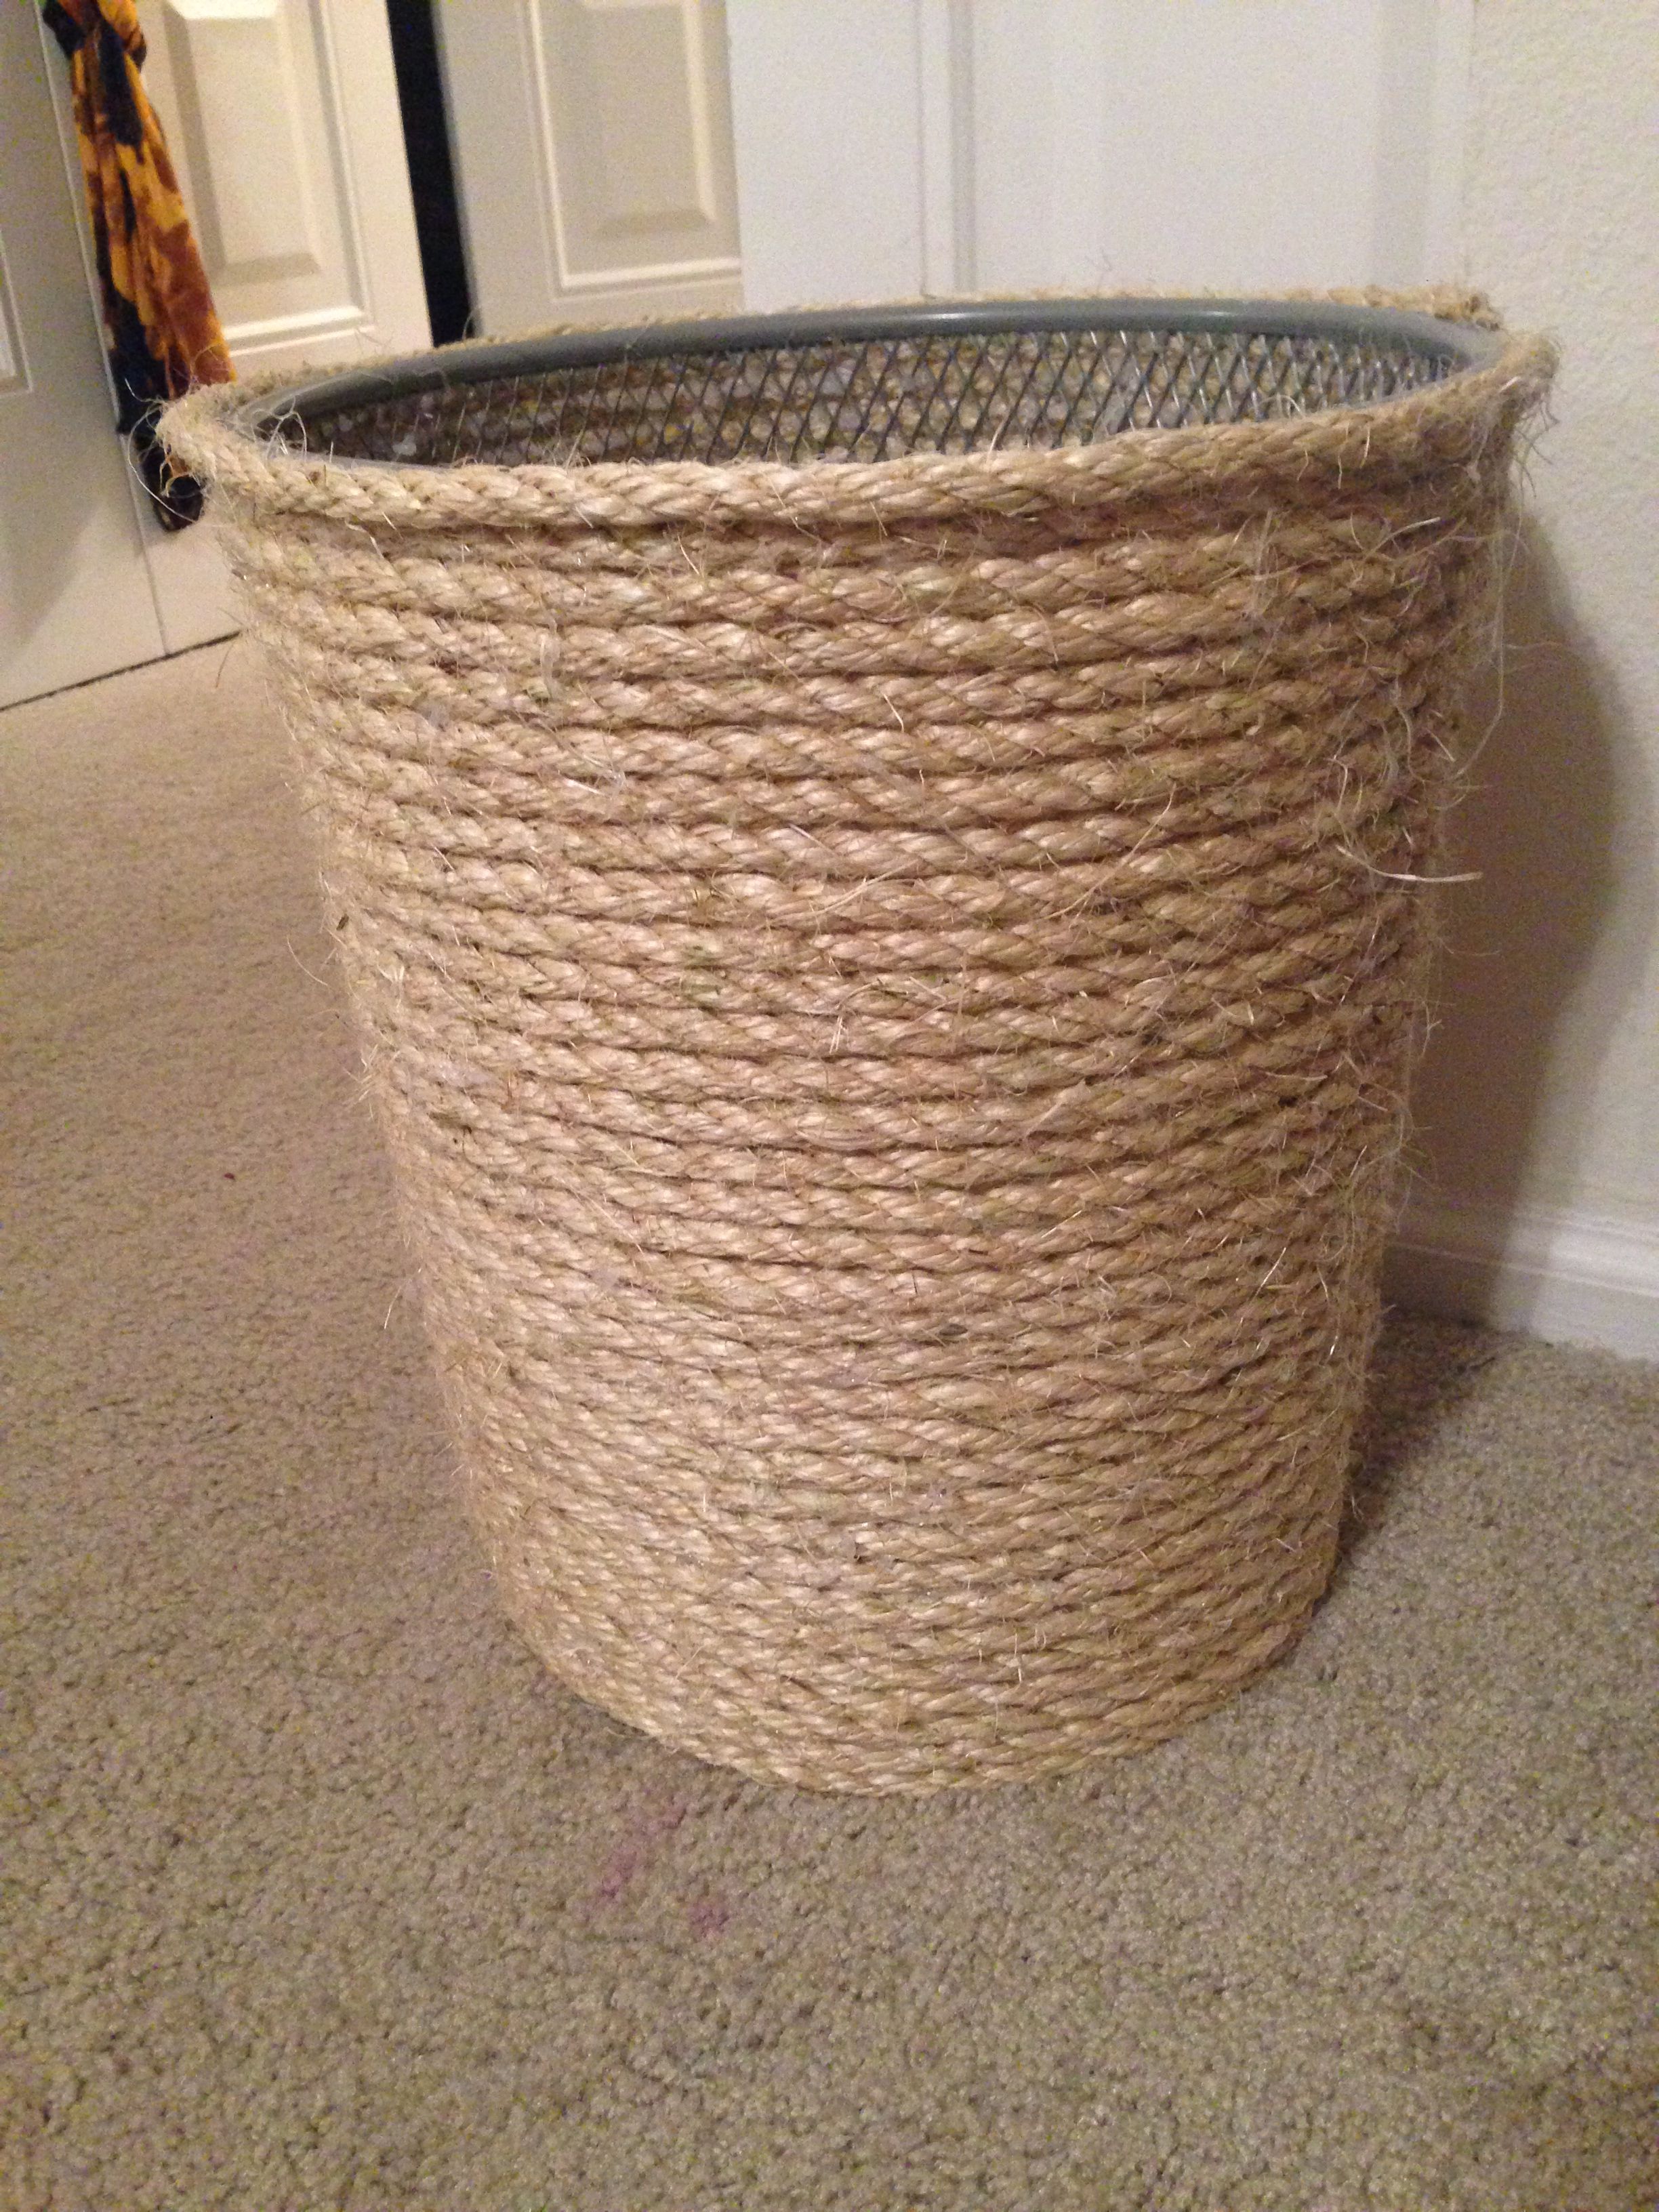
Image from Pinterest
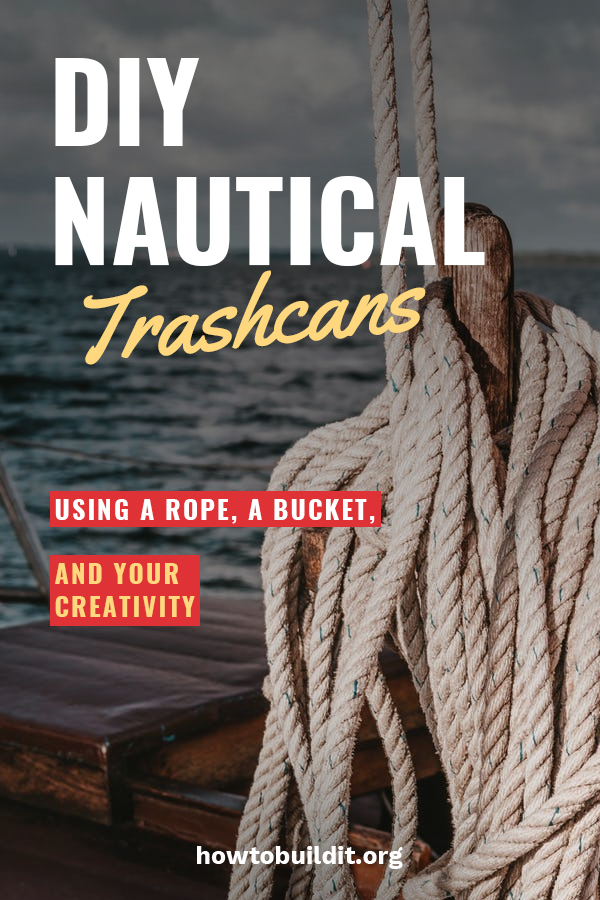
DIY Nautical Trashcans Using a Rope, A Bucket, And Your Creativity
Here’s What You’ll Need:
-A bucket (or a plain, plastic trashcan found at Target or somewhere similar!)
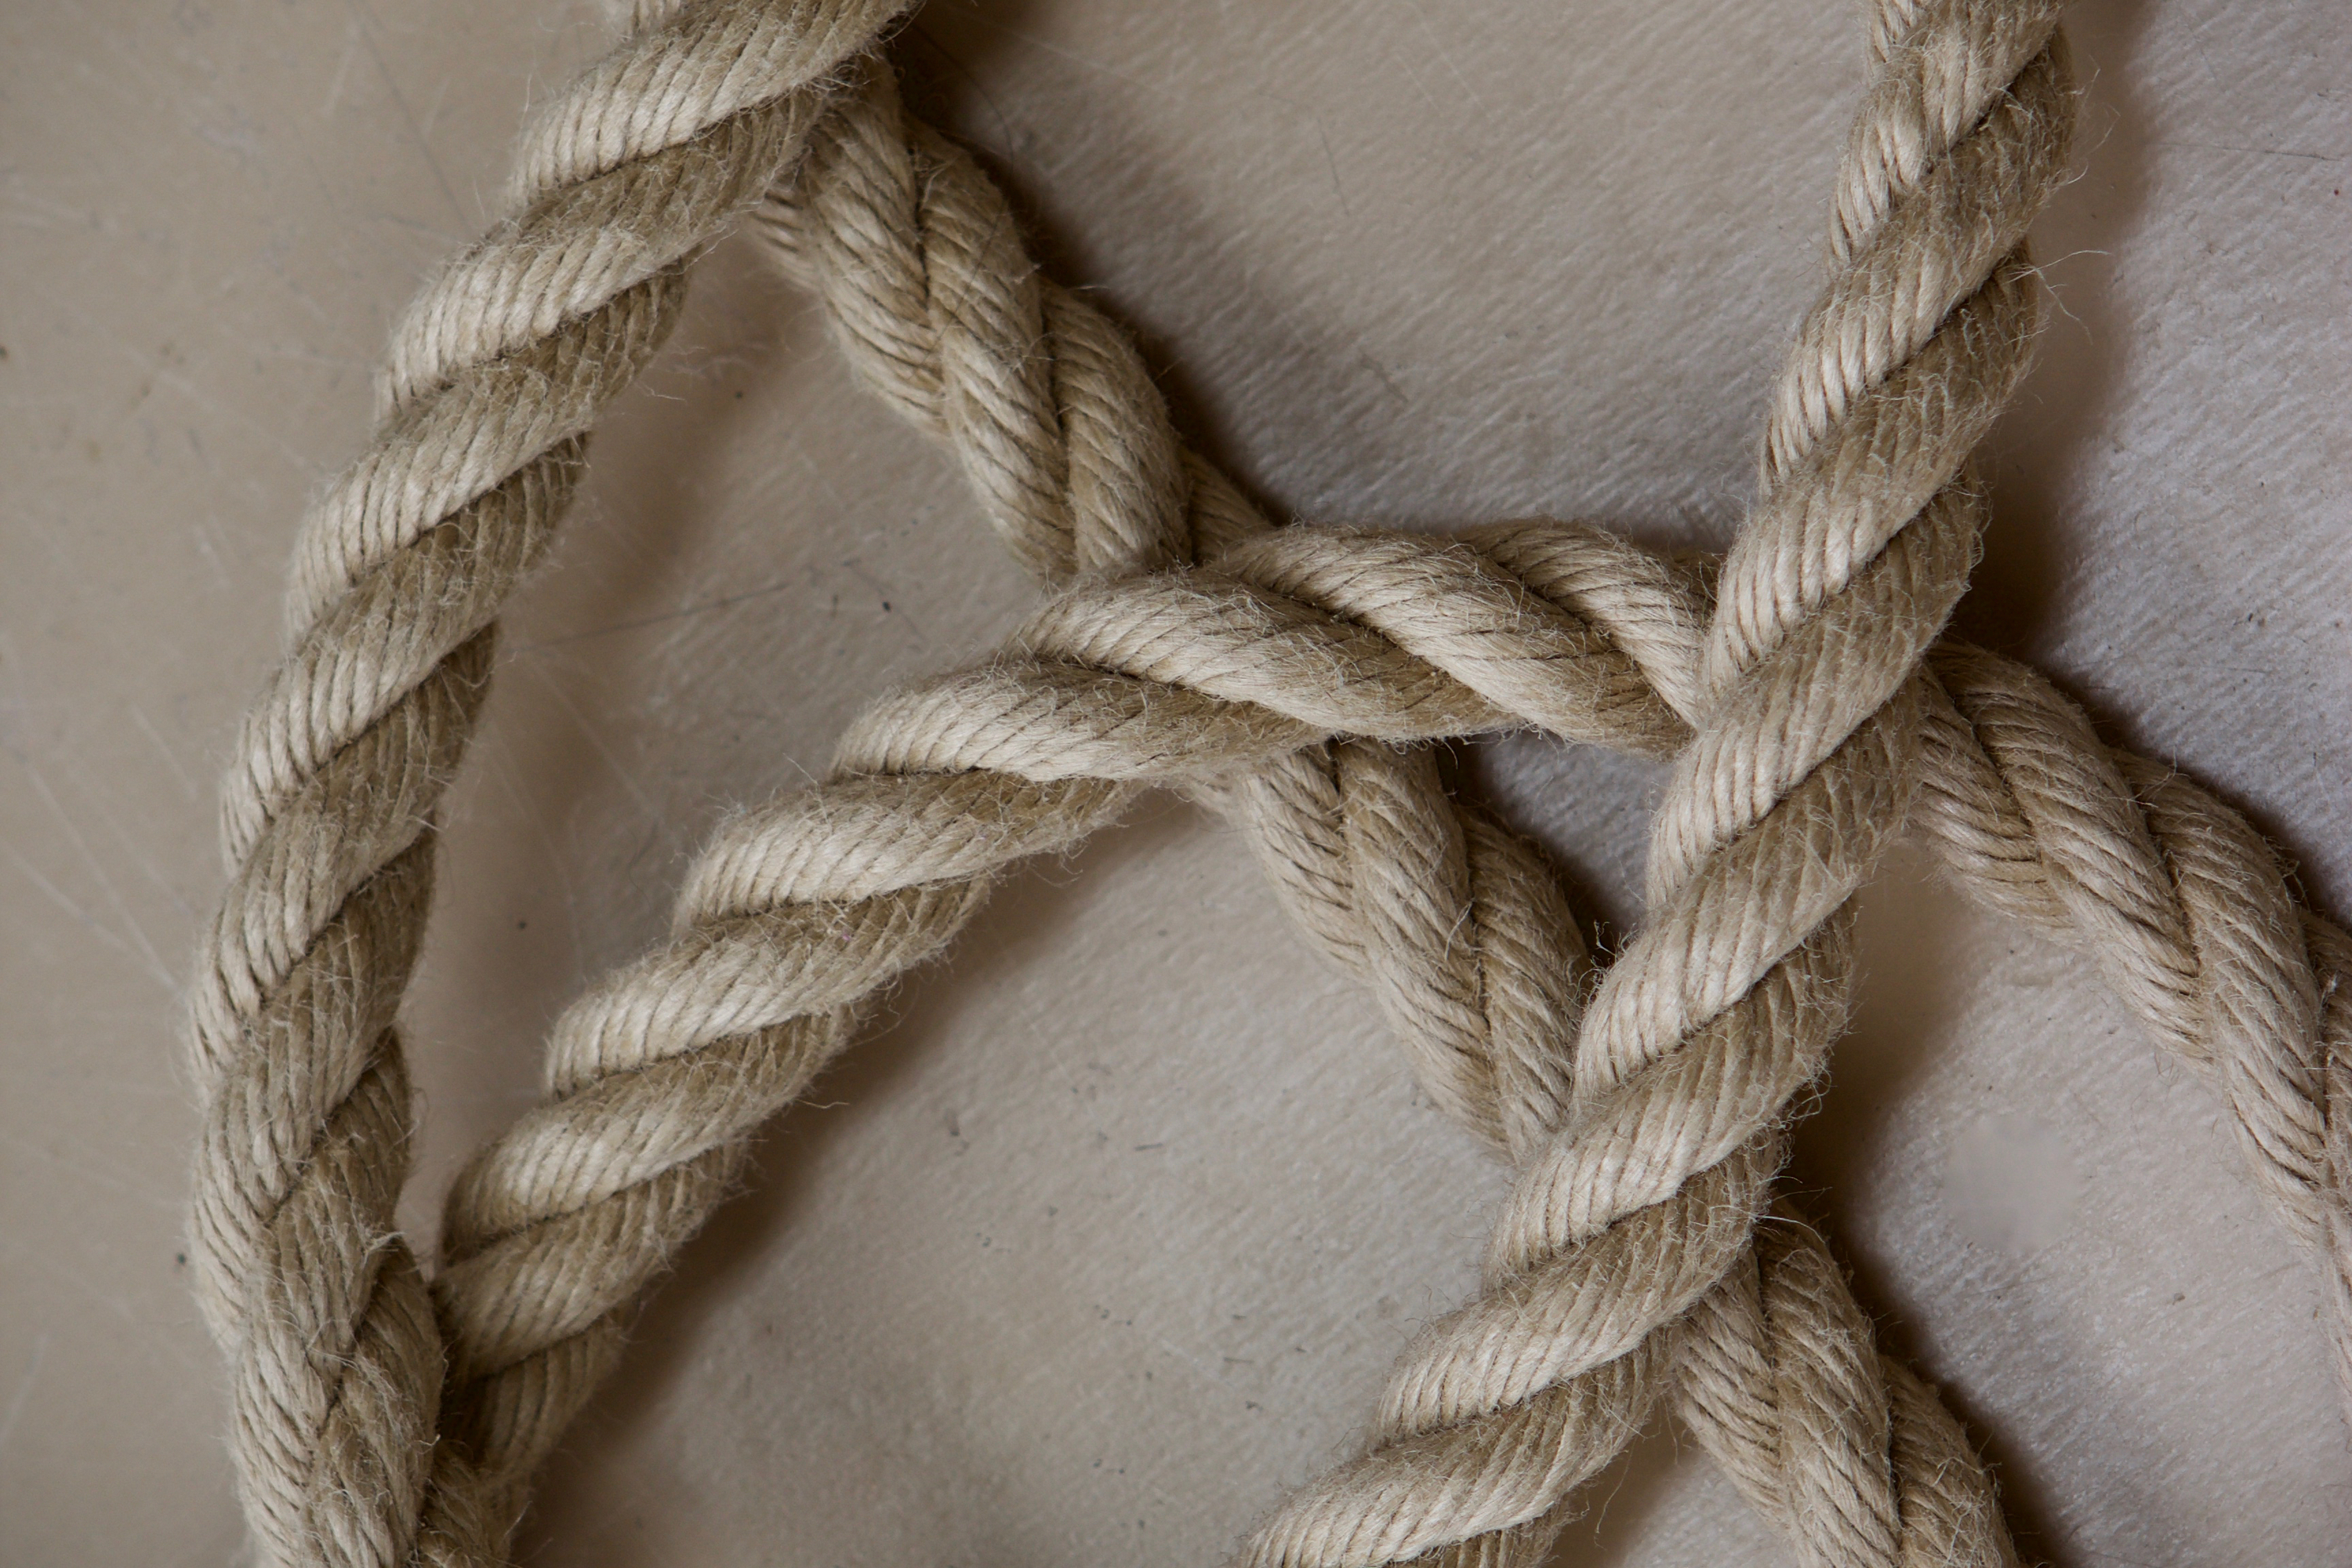
-Nautical rope (make sure that you get enough to finish your entire project!)
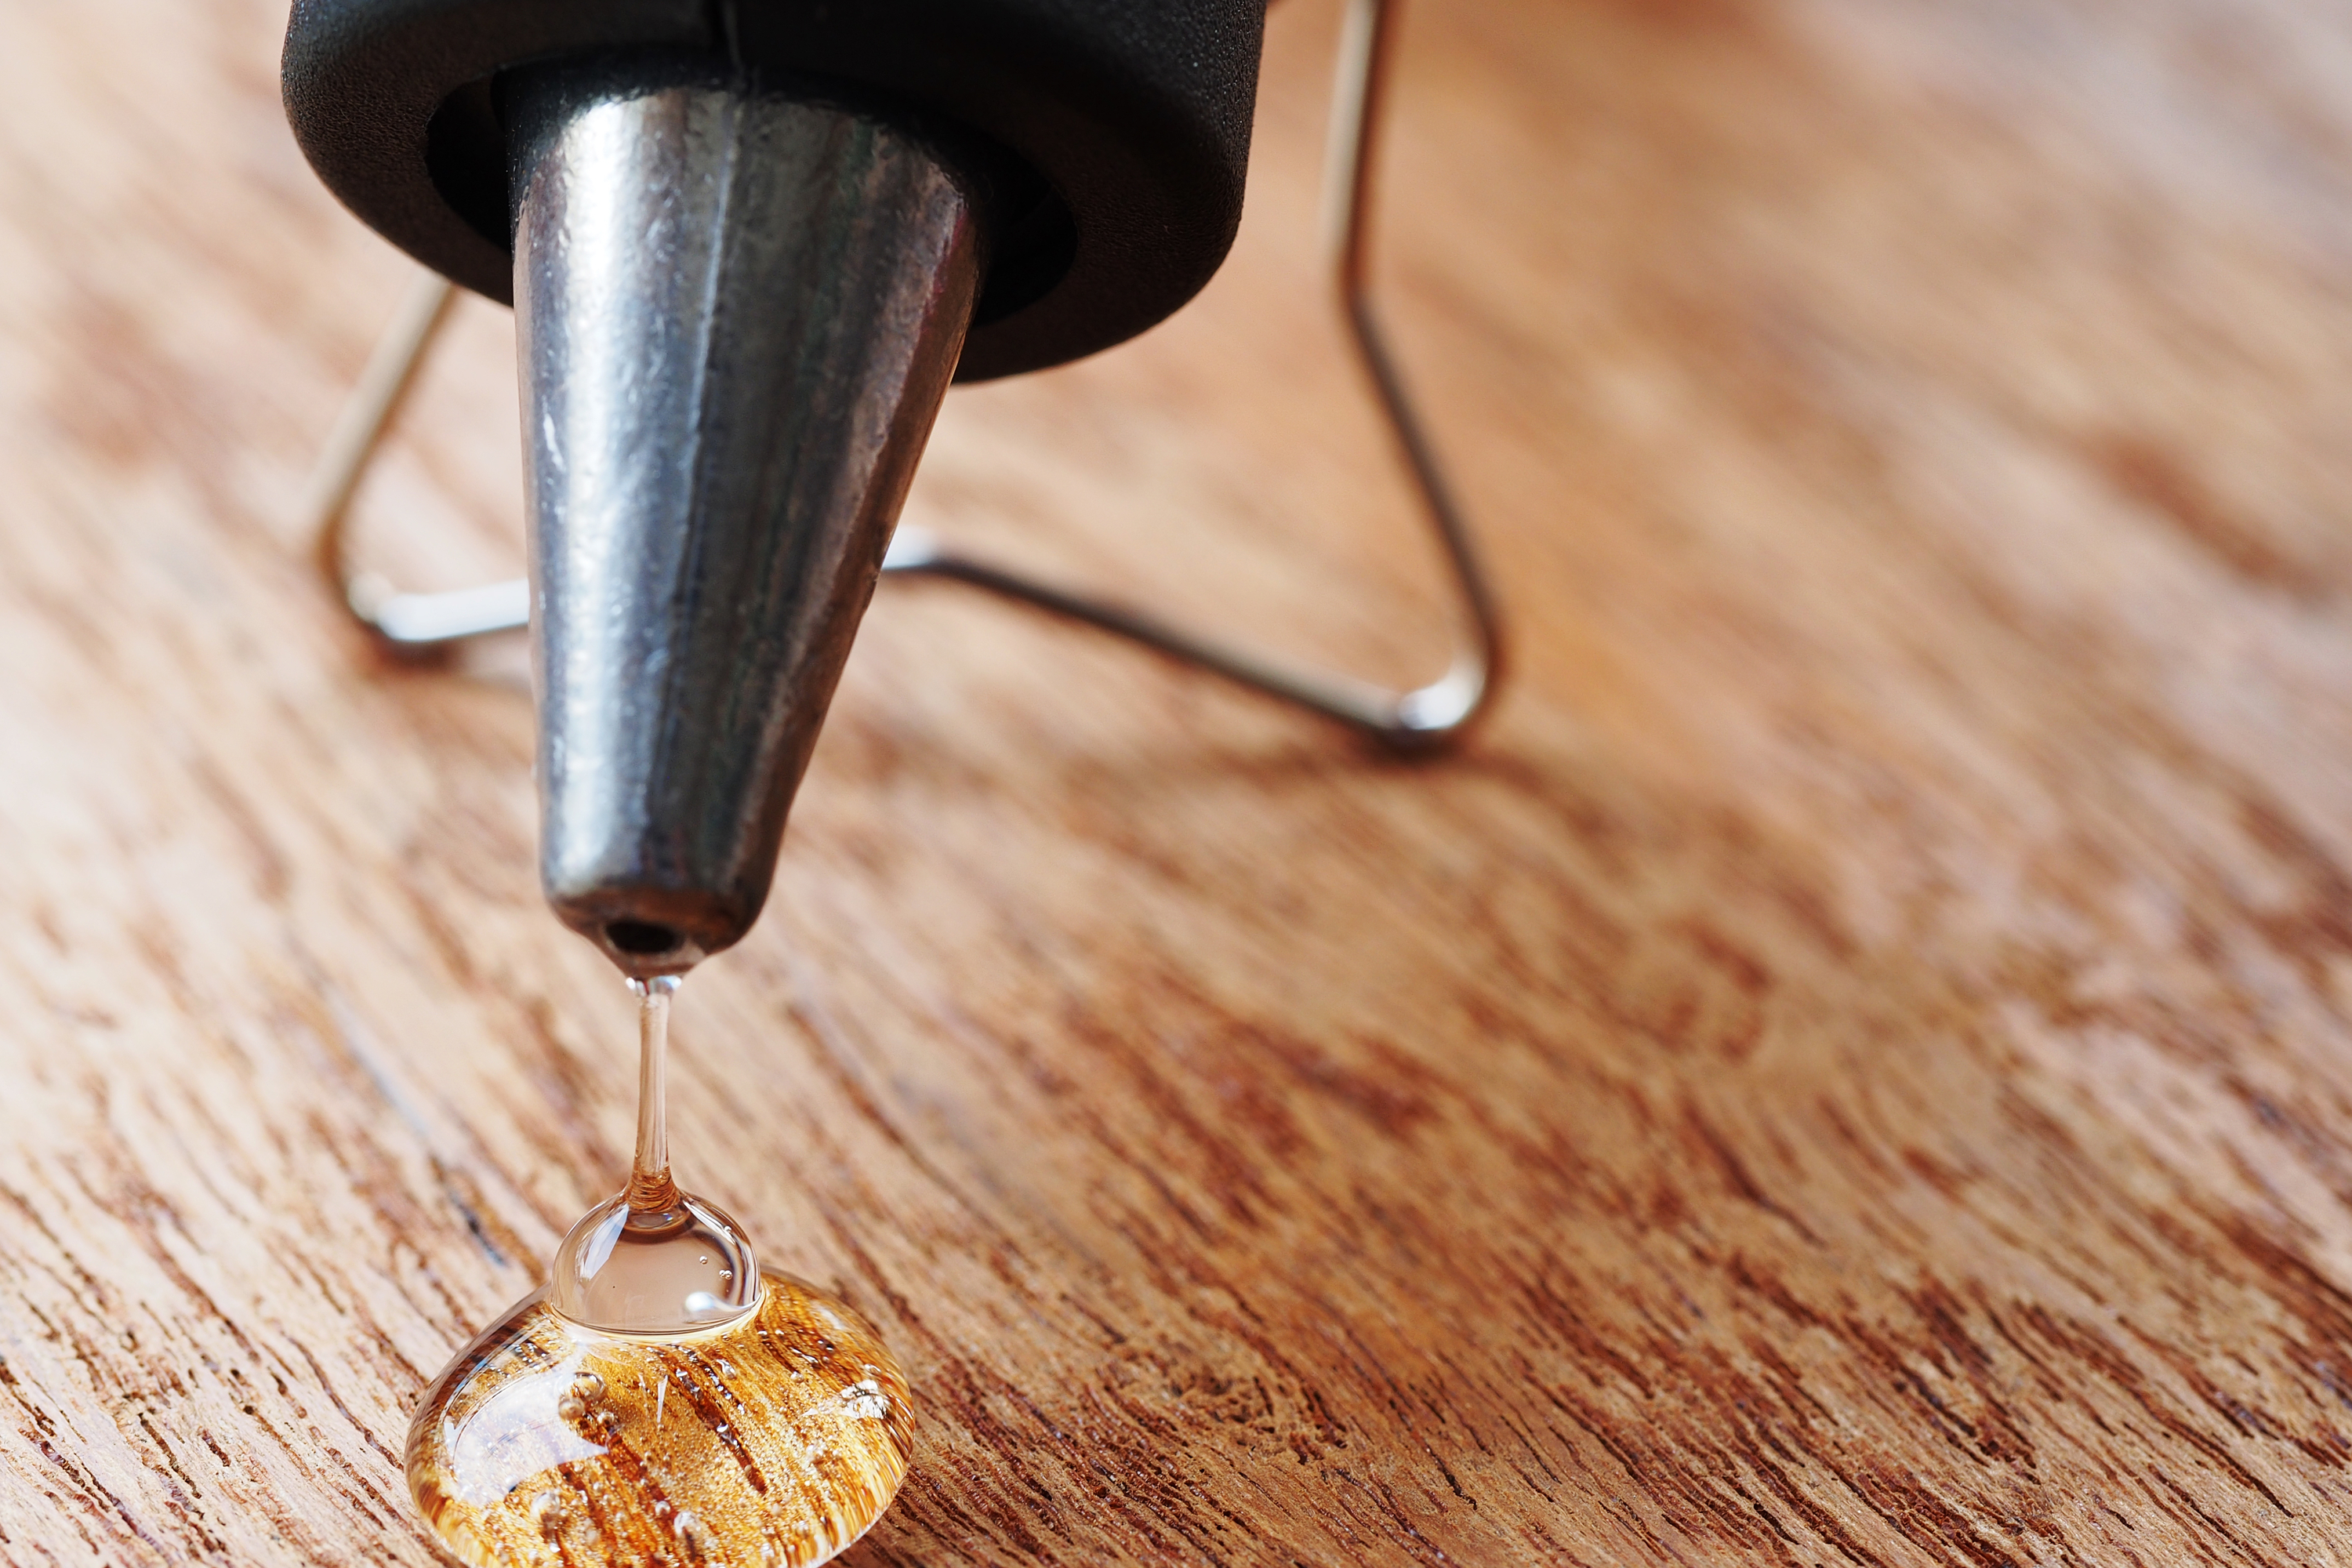
-Hot glue (or something similar to attach the rope)
-Seashells, beach wood, or other items (optional. These make for great accessories)
Step One
To begin, track down a bucket (or plastic trashcan) large enough for your project. Give the trashcan a good rinse and wipe down to remove any gunk before moving on. As always, wait for things to completely dry before moving on to the next project.
Step Two
It’s time to plan your design. You can create just about any look with nautical rope, so decide how much rope you want to use, and how you want to do so. I’ve seen nautical rope around the tops of trashcans before, and my friend even created vertical stripes on hers. For me personally, I plan to wrap rope around the entirety of my trashcan, so only rope is exposed.
Step Three
Starting at the base of the trashcan, hot glue the end of your rope so that it stays secured onto the trashcan. Don’t apply so much glue so the trashcan is messy, but apply enough to keep things safe and secure. Once secured, wrap the rope rightly around the trashcan, covering the entire item. Hot glue the other end at the top, and voila! Your project is complete.
Step Four
You can stop and enjoy your creation now, or you can hot glue other items (like the seashells, ribbons, whatever!) around your trashcan in the ways that you see fit.