We are starting a new series at How To Build It full of tutorials for basic DIY projects “around the house.” We’ll cover just about any kind of DIY project imaginable in an easy step-by-step manner that’s easy enough for just about anyone to understand. Today, we’ll start with an easy tutorial that explains how to install weather stripping in the doorways of your home. This is a must-know because it can seal up a drafty door and save you hundreds in utility costs! Let’s get started!
-2 x 1-3/4-in. pads from 1/8-in. thick felt (optional)
Step One
Begin by tightening up the hinges of your door. Sometimes, loose hinges can be the source of the draft problem, and you might not even have to install stripping after all! If tightening the hinges didn’t solve the problem, move on to the next step below.
Step Two
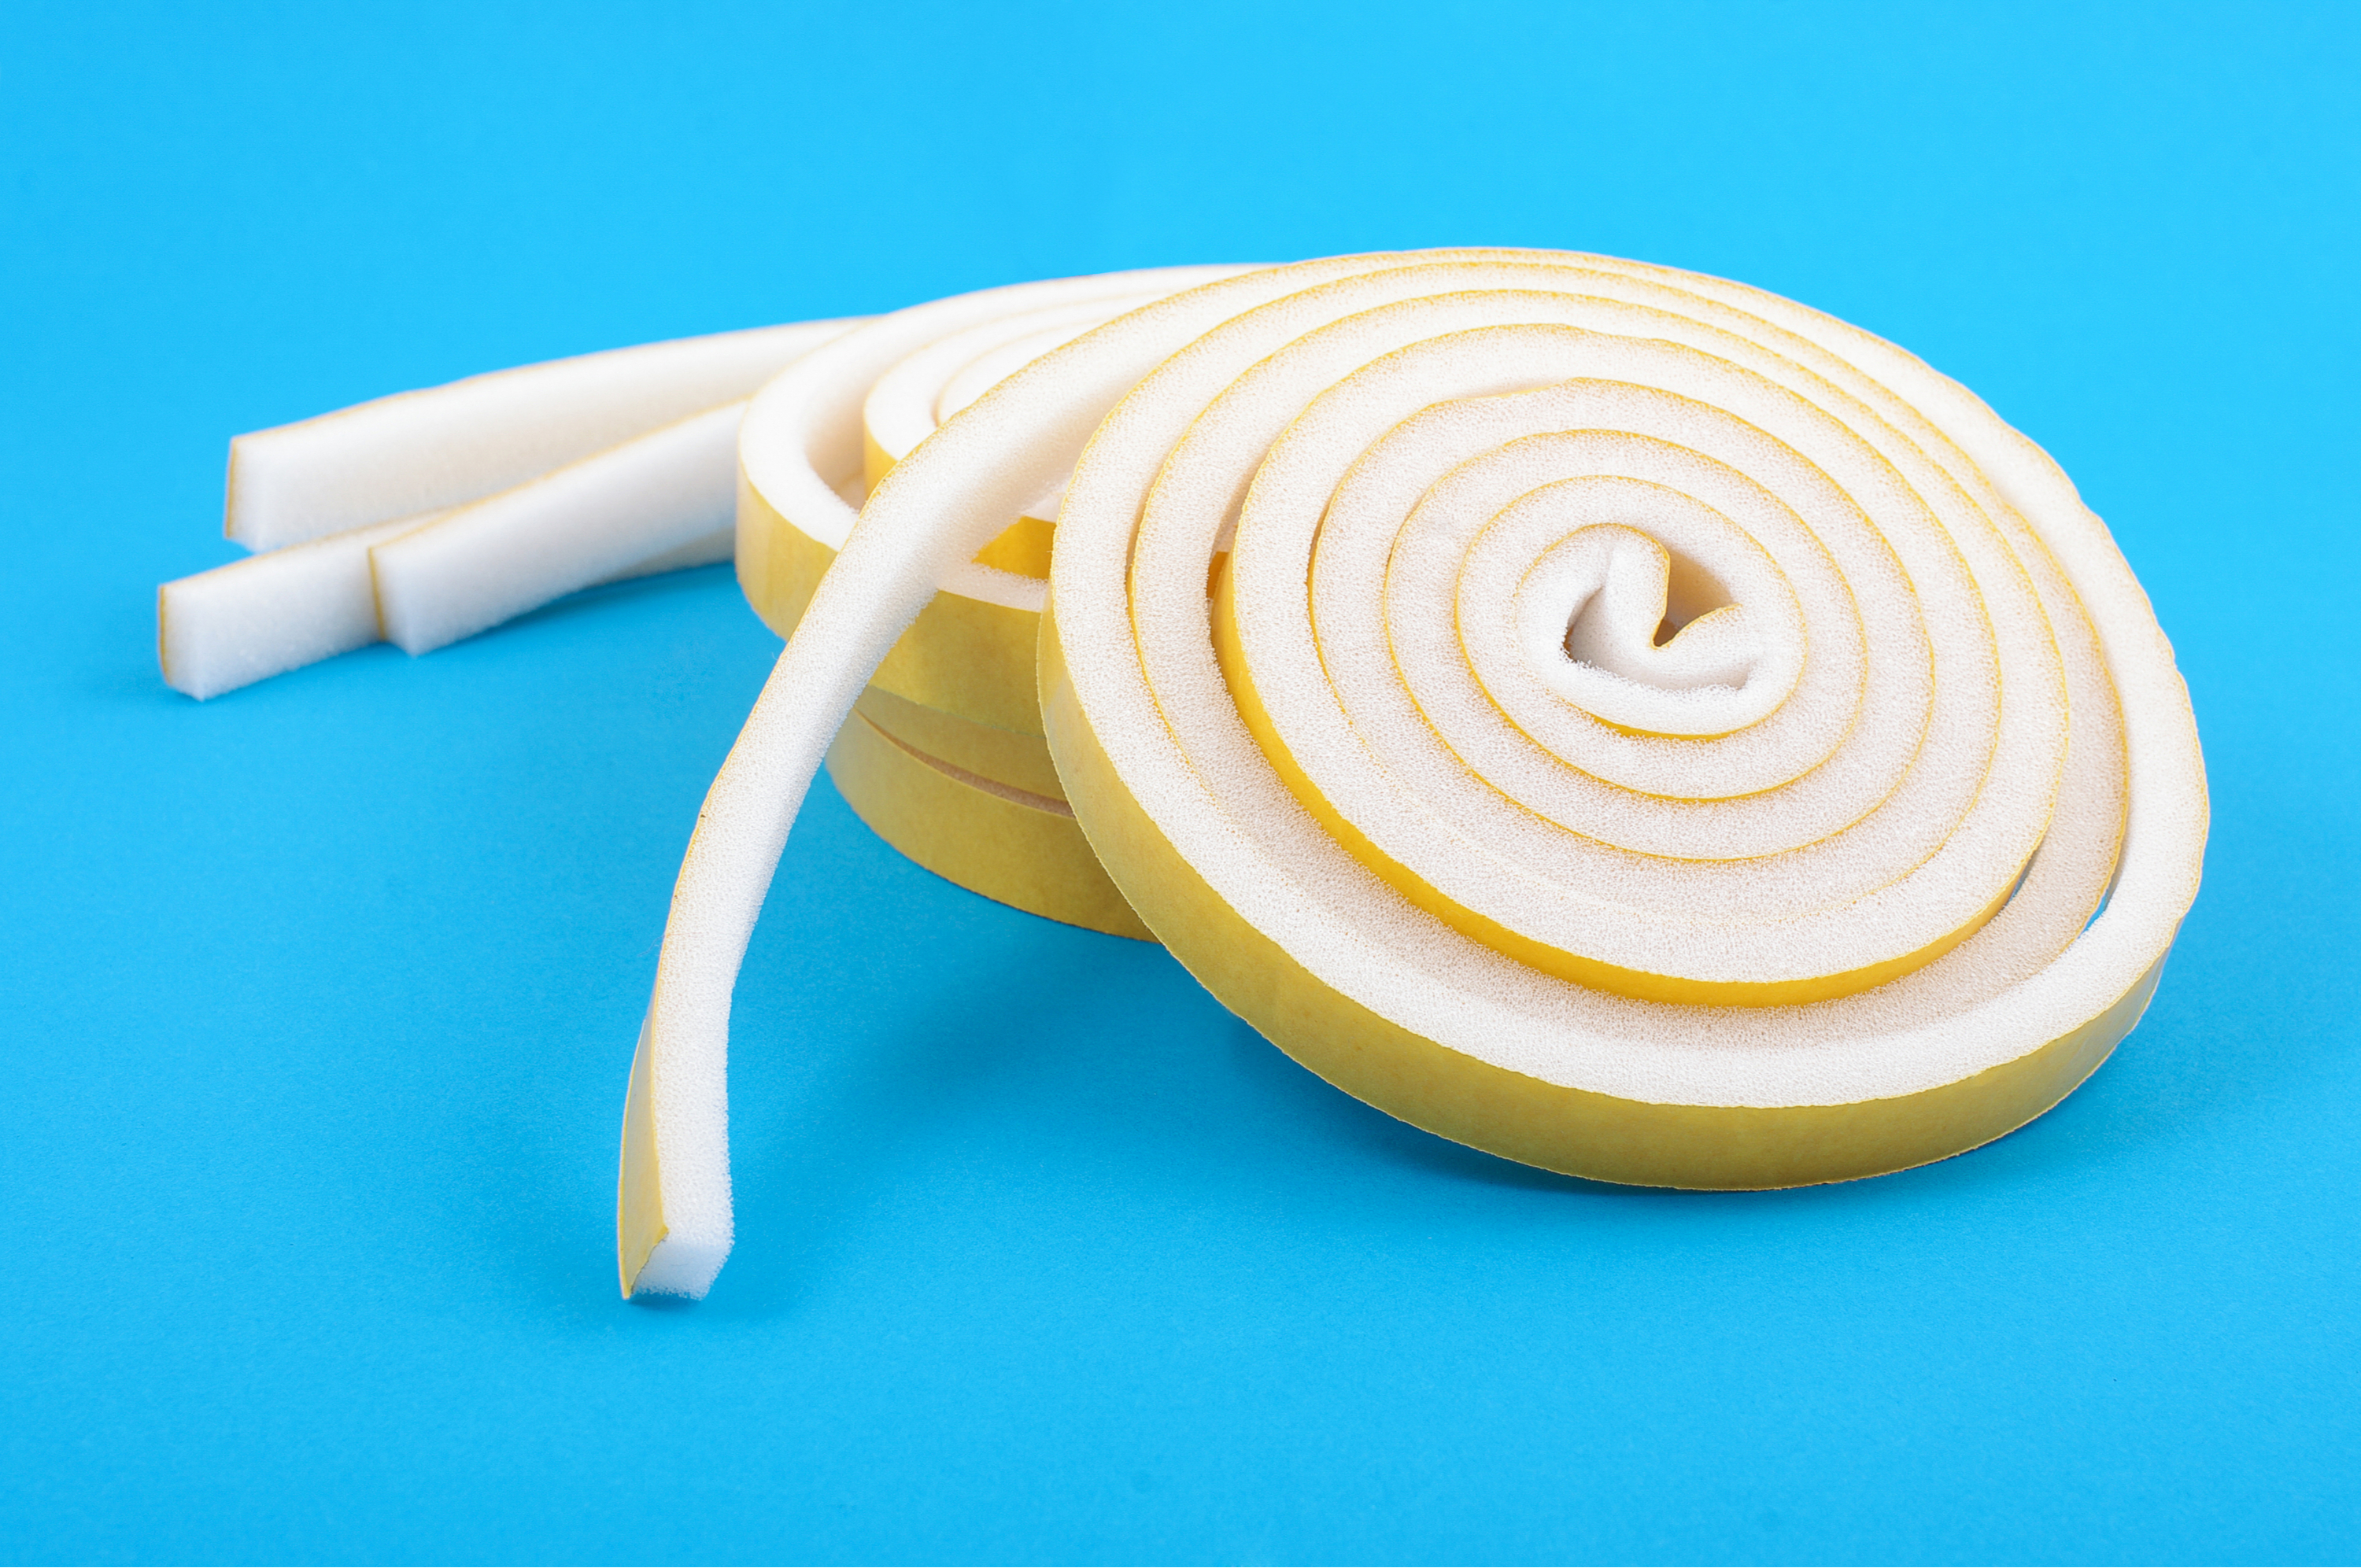
Next, close your door and measure the door jam. Mark these measurements on your weather stripping and cut into a clean, straight line to easily fit, taking into account how the edges will need to meet together in each corner.
Step Three
Use 1 1/2 inch nails to install the wood flange, but don’t nail them all the way in quite yet. It should sit snugly against the foam seals of the door.
Step Four
Repeat on each side and make sure to check that each corner fits well into one another. I like to open and close the door a few times to make sure nothing snags or holds up. Once you have determined that the fit really works, go ahead and hammer the nails tightly into place.
Step Five
If drafts are a really big problem in your house, it’s probably best to install a door sweep to prevent any chills from coming in that direction. To do so, measure the length of the bottom of your door for a sweep.
Step Six
Once cut accordingly, place the top of the door sweep on the top of your door threshold. Mark the screw positions and drill the holes.
Step Seven
Shut and open the door to test it’s fit, making any adjustments should they be necessary. Finish things off by sealing the bottom corners with 2 x 1-3/4-in. pads from 1/8-in. thick felt.


Step by step photos would be helpful. Especially for the weather stripping tutorial.