
Nobody likes soggy bath mats. The best answer to this problem is a cedar bath mat. Even better, a DIY cedar bath mat that don’t cost a fortune.
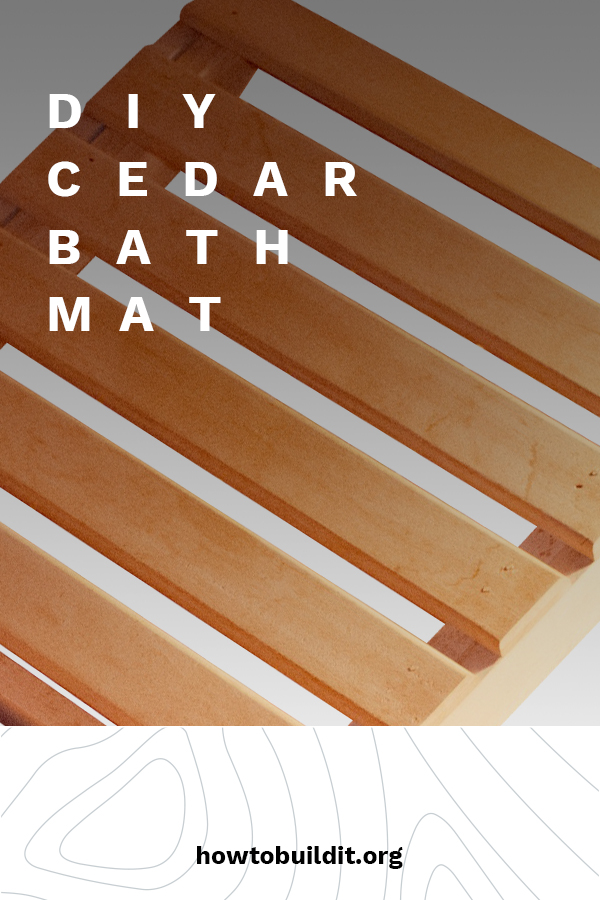
DIY Cedar Bath Mat
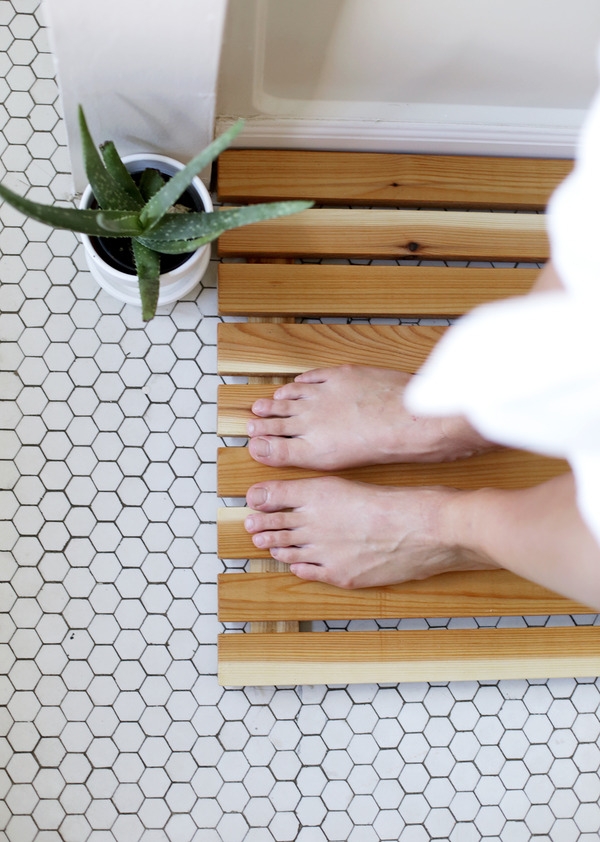
Soggy bath mats are the worst! I absolutely hate it when I walk into the bathroom and end up with damp feet even hours after I’ve taken a shower! Not long ago, I found myself wishing that there were a magical set of bath mats that just seemed to wick the moisture away. I would have bought them that instant!
While dreaming of non-soggy bath mats, it occurred to me that I could make the very thing I was dreaming of out of cedar boards and a few household tools. A DIY cedar bath mat was the perfect solution to my soggy-mat problem! I tackled the project in under three hours and I love the tranquil vibe that it gave my bathroom. No sogginess and a spa-like atmosphere? Yes, please.
To make a DIY cedar bath mat as I did, follow these instructions!
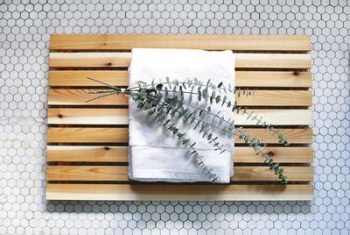
Image From DIY Idea Center
Materials List
Pick up these items from your local home improvement store:
-1x6x10 foot cedar board
-teak oil (for a water-resistant finish)
Step By Step
Step One: Cut your cedar board into 30-inch pieces to the width of 1.75 inches on a table saw. Then, cut three support pieces measuring 1.75-inches wide, 3/8-inches thick and 18-inches long.
Step Two: Now that all of your woodcuts are made, use your sandpaper to smooth out the surface of all the wooden pieces.
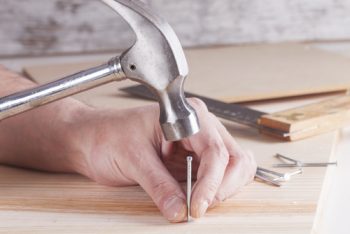
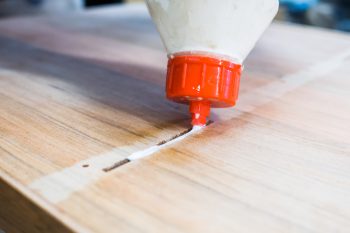
Step Three: Once sanding is complete, arrange all of your cedar wood pieces out in the shape of a bathmat (with the bottoms facing up!). When laid out, place a dot of wood glue on each wood piece one inch from the edge, on both ends, and down the center. Place one of your support pieces on the glue dots on the right, left, and center of your wood pieces. Once glued, nail each slat to the support beam for added stability. Let the wood glue fully dry (I waited for about an hour!) before moving on to the next step of the project.
Step Four: After double checking that the glue has fully dried, use a paintbrush to apply a layer of teak oil all over your new cedar bathmat. Follow the instructions on the label in regards to dry time and make sure it’s fully dry before trying before using it for the first time!
Wasn’t that easy?
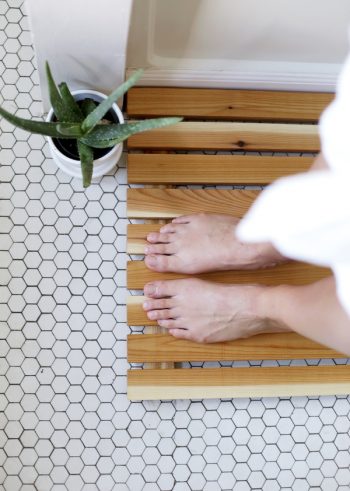
Image From Man Made DIY
Now that you got your feet wet, why not try some other woodworking projects.