

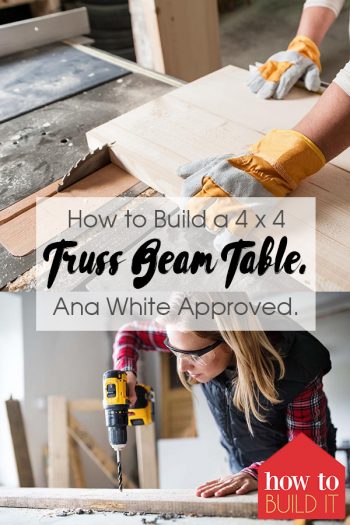
Learning how to build a table isn’t tricky, you just need the right tools and the right tutorial! Today, I wanted to share my DIY tutorial for an Ana White 4×4 Truss Beam Table.
If you think it might be time for a new kitchen table but don’t want to spend the money on a new one (trust me, I KNOW they can get quite expensive), try creating one yourself! This weekend, enlist the help of your husband or wife (if need be) and create a DIY truss beam table that Ana White would definitely approve of. Let’s start building!
Materials List:Here’s what you’ll need to complete your own truss beam table:
5 – 4×4-8 feet long
2 – 2×4- 8 feet long or stud length
2 – 2×10⁻² feet long (tabletop boards – can be cut in half at the store for easier transport
1 – 2×10⁻⁸ feet long (cut breadboards out of this board – can also use a 2×8 or 2×12)
2- 1/2 inch screws
2- 1/2 Pocket Hole Screws
Here are the woodcuts that you need to make to complete your Ana White 4×4 truss beam table:
Cut two of your 4x4s to 35″
Cut four more of your 4x4s 25 3/8″
Cut two more of your 4x4s to 28 1/4″
Cut two more of your 4x4s to 65″
Cut two more of your 4x4s to 26 1/8″
Cut two of your 2x4s to 65″
Cut four of your 2x10s to 68 1/2″ (these are the tabletop boards)
Cut two more of your 2×10 to approximately 37″ 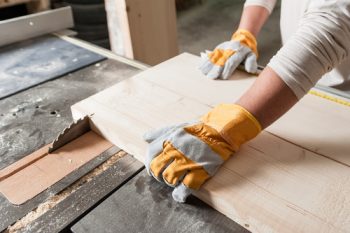
How To Build
Step One: Using both sets of 4x4s (65”), build your table legs. I recommend building one first and then using the other as a model to make sure things stay perfectly even.
Step Two: Attach your two table legs together using the center beams (the center beams are the pieces that are 26 1/8”)
Step Three: Position your cross supports inside the legs of the table and attach with pocket holes and pocket hole screws. These beams are what your tabletop will rest on, so it’s important to make sure they are secure!
Step Four: Install the 2×4 aprons underneath the cross support beams for plenty of added support. 
Step Five: It’s time to assemble the tabletop! Using pocket holes and pocket hole screws, build your custom wooden tabletop out of three of your 65” 2×10 boards. You will want to build the tabletop before attaching it to the legs!
Step Six: After your tabletop is built, place it on your table legs and secure.
Step Seven: Fill any holes in your tabletop with a form of wood filler, taking care to cover and coat any areas of the table that may need it. Once the wood filler is completely dry, using an electric sander to completely sand the entire table. After sanding, you’ll want to wipe off the sanding dust and get to work painting your new table if desired.
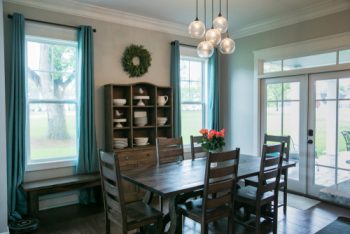
There you have it. Your own Ana White 4 x 4 Truss Beam Table.
If you are looking to paint or stain your need wooden table, use my furniture painting guide found here!