

Drywalling is a task that tends to be performed by professionals only. But little did you know, you can easily install drywall on your own, saving thousands of dollars on home improvement projects.
Installing The Drywall
Tools:
Drywall
Drywall Dimpler Bit
First, measure the section of wall needing drywall. It’s always better to measure twice and cut once. Our measurements are easy to goof. So measure the length and width at multiple points to make sure you’re cutting the right six of material. Write down your measurements!
Now you’ll draw your lines for cutting the drywall material. With the board flat on the ground and the white side facing up, use a straightedge to draw your lines per your measurements.

To cut the drywall, use the utility knife. Do not press all the way through the drywall with the knife. Just score it deep enough to bend and break off the piece you need.
Hold your freshly measured and cut piece of drywall to the space it’s intended for to see if it fits the space. If you find edges that are too tight to fit in the right spot, sand them down using the drywall rasp.

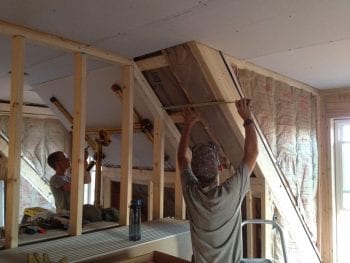
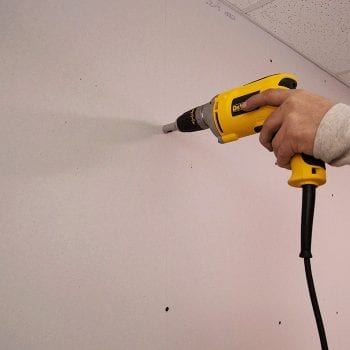
Attach the dimpler bit to your power drill. Using drywall screws, secure the drywall material to the studs.
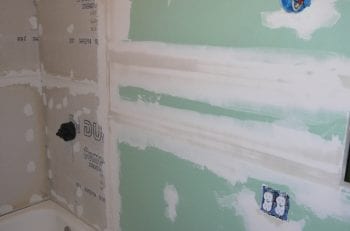
Now that your drywall is secured to the studs, you’ll need to finish the project by taping and mudding the drywall. This will eliminate the seams and blend the drywall texture to surrounding wall surfaces.
Mudding The Drywall
Tools:
Wallboard Joint Compound (you can also mix your own to save $$)
Corner beads
Plastic coverings for furniture and doorways
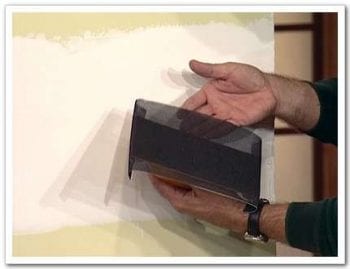
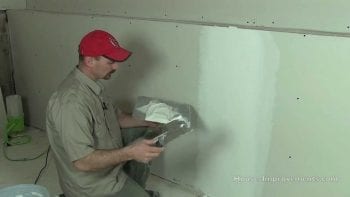
Starting with one seam at a time, spread the joint compound over the seam with your smaller putty knife. Fully cover the seam with a bit of extra compound built up on top of the seam.

Cover the freshly mudded seam with a strip of joint tape. Press the tape into the joint compound using your putty knife.
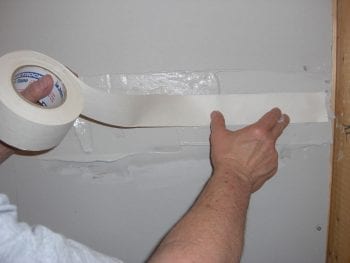
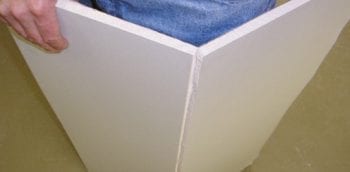
Cover the joint tape with another layer of joint compound and make sure to cover all lines/seams. For mudding drywall corners, use an outside corner bead.
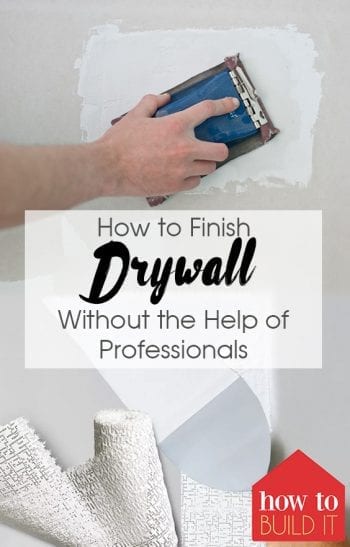
Once the mud has dried completely (usually 24 hours), you’ll sand the mud for a smooth surface. This is done with a sanding screen. This is a very messy process. You can avoid a bit of cleanup by prepping your work area with plastic sheets, blocking off doorways, and covering surfaces.
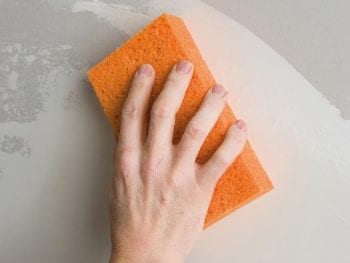
Once you’re done sanding the joint compound, wipe remaining debris off with a damp sponge. Allow seams to dry completely.
Add another coating of joint compound to your seams using a larger putty knife to cover a larger area. Start by covering the seams and then spreading the mud further across the wall to smooth out your surface area. The goal is to make the joint compound thinner and thinner as you get farther from the seam. Continue mudding and sanding until your seams are invisible!
Resources:
https://rehobothranch.wordpress.com/category/drywall/
https://www.homedepot.com/c/how_to_install_drywall_professional_steps_HT_PG_BM
https://www.lowes.com/projects/build-and-remodel/how-to-hang-drywall/project
http://www.diynetwork.com/how-to/rooms-and-spaces/walls-and-ceilings/how-to-patch-damaged-drywall
http://www.silive.com/homegarden/homeimprovement/index.ssf/2011/02/taping_drywall_not_as_easy_as.html
Mud Wrestling, and how the ceiling turned yellow
https://www.alibaba.com/product-detail/Drywall-Sanding-Screen_330822517.html
http://www.diynetwork.com/how-to/rooms-and-spaces/walls-and-ceilings/sanding-drywall-prepping-for-paint