
Oh boy. You discovered rotting wood in your home, on your deck, in the attic – who cares where it is. One thing is for sure.. You need to fix this problem ASAP. Once you’re sure that the termite problem is taken care of, you can start replacing the wood that has been destroyed.
Tools and Materials You Will Need
2 inch thick lumber
Before You Begin This Project: Be careful and take precautions when doing renovations to your home. Older homes commonly have asbestos-based materials in them. Have things tested for asbestos before removing them. Removing asbestos from your home can release it into the air and cause serious health problems. This should always be done by a professional.
Step One – You’ll need plenty of space for this project to clear the area of furniture, appliances, rugs, etc. Fixtures like sinks, laundry machines, or toilets should be uninstalled and removed from the area when replacing rotted materials.
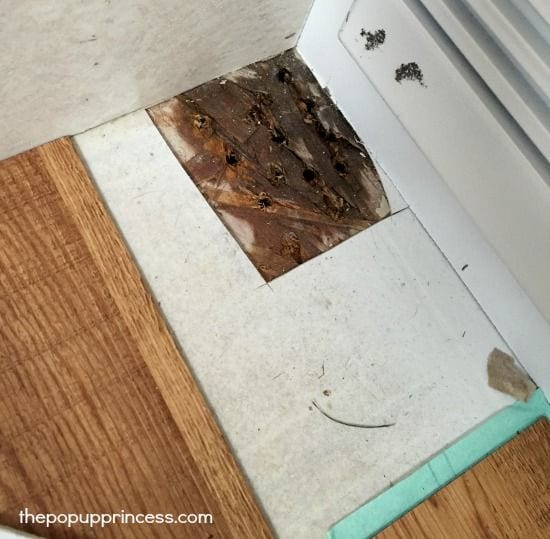
Step Two – Remove flooring (tile, carpet, linoleum, etc) to uncover rotting flooring/subflooring/framing. If something is in the way of removing rotted material, move it. Carpeting can be pulled up and rolled back to preserve the carpet and uncover the rotting floor.
Cutting straight edges and true squares will make replacing the floor easier. To do this, use a carpenter’s square for making your lines.
Step Three – Using a hammer, your foot, a crowbar, or a sludge hammer, force a hole through a soft area of rot. Continue making the hole bigger by pulling out rotten materials and disposing of them. Look for the joist through your hole with a flashlight. Mark directly onto the rotted material where the joists are below. Measure the distance between joists so you know to plan for the remaining joists on both sides.
Step Four – Cut out all of the rotten wood. Remove wood extending just past the rotted area to the next nearest joist. Use a jigsaw or circular saw where necessary. If you can avoid it, do not cut into floor joists (unless absolutely necessary). This weakens the structure.
Step Five – Create an opening that is square using the carpenter’s square. This will make cutting new flooring/subflooring much easier to fit your space. Create a square/rectangle with sides that are parallel with the joists. This will better support your flooring.
Step Six – Take a look at the joists. You want to make sure they’re unaffected by rot. If you feel that the wood is even a little soft, attach a support board to the joist. The support board must be 2 inches thick but the width can be 1-3 inches. Cut the board so that it is as long as the soft portion of the joist plus an extended 2-3 feet past the soft spot. Assuming you’re now working from below the floor, place the support board flush with the joist and floor board/subfloor. Install the board with two bolts or screws on each end into solid joist material.
If you have very soft joists (crumbling) consult an expert. These will need to be replaced.
Step Seven – Now you will create perpendicular support between the existing joists. Cut 2 inch thick wood boards to fit the space between joists. You can attach these boards by driving nails through the joist, into the added support boards. Or you can create a toenail and drive nails through the new boards at an angle into the joist. This newly installed series of support “boxes” will add lots of support the new flooring you’re attaching.
Step Eight – Cut (after measuring your space) plywood for new subflooring to cover the newly made framework. The replacement plywood should be the same thickness and the existing plywood.
Step Nine – Apply a construction grade adhesive to the tops of the joists then place the replacement plywood into it’s fitted space in the floor. Use wood screws to attach the plywood to the joists, anchoring every 8-10 inches.
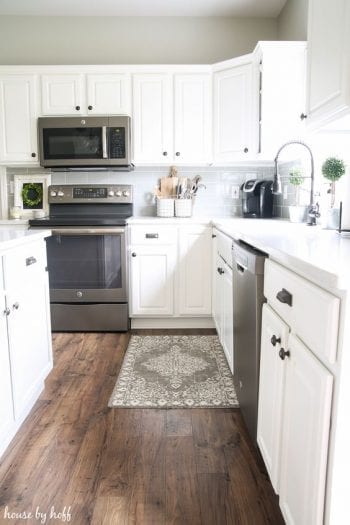
Step Ten – Clean up any dust or debris before replacing with new or used finished flooring.