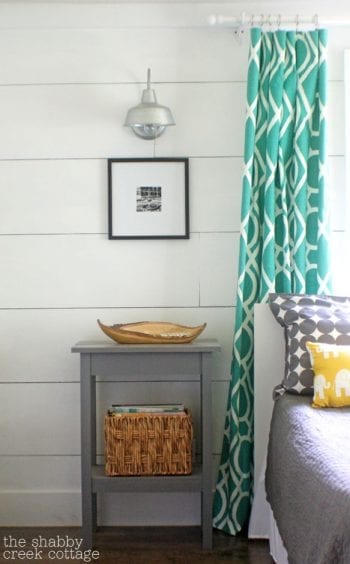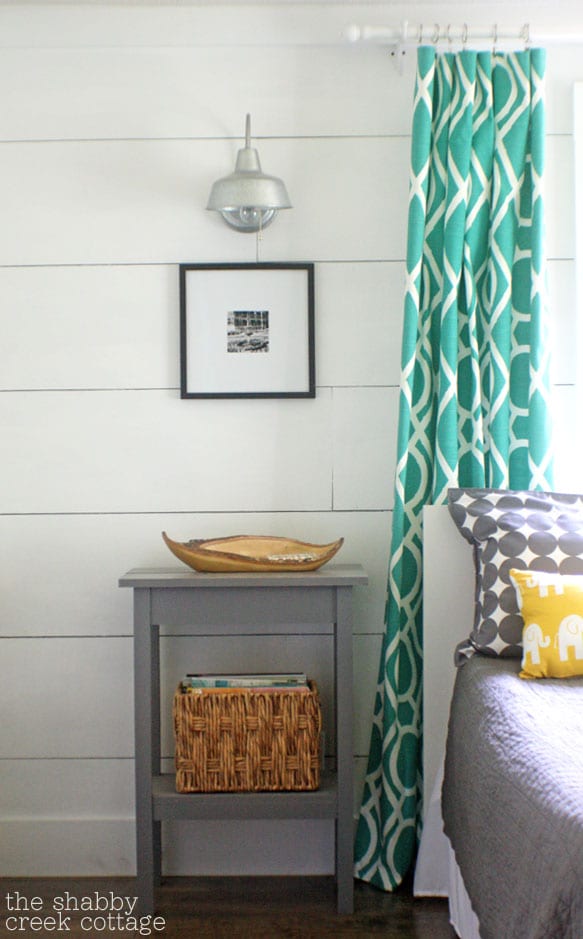
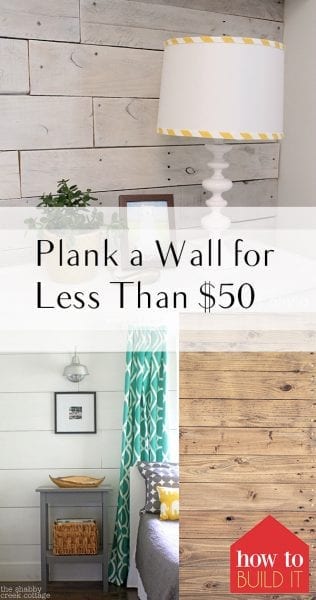
You too can have a planked wall {faux shiplap look}, and you can DIY for less than $50! If you’ve always wanted a farmhouse look for less, you’re about to see just how it can happen. Stick around!
You can purchase shiplap boards from your local home improvement store, but they are a little spendy at around $15-20 per board. Let’s do something less expensive, shall we? Try underlayment plywood, which is exactly what was used in a farmhouse nursery over at Making Joy and Pretty Things.

Purchase enough underlayment plywood to do your desired wall(s). You’ll also need a pneumatic nail gun and nails, construction adhesive, 1/8-inch tile spacers, and spackling paste. It’s helpful to also have a table saw and a compound miter saw. Before you start, you should find and mark the studs in your wall. A good tip is to chalk the wall right over each stud, from floor to ceiling.

Cut the large sheets of plywood into approximately 6-inch wide planks, thinner if you desire a different look. Hang one board at a time, starting at the ceiling and working across the wall. Use construction adhesive to mount each board, and when you’ve got it situated where you want it, use the nail gun to securely attach it to the wall. You’ll want a nail on the top and bottom of each board, right into each of your chalk lines.

Use the tile spacers {or a wood shim} to keep a slight space between each row of boards. Once they are nailed into place, you can remove the spacers.
Make sure to stagger the seams on each row. You don’t want there to be an obvious pattern. It should look random.
Once the wall is covered, you are ready to use the spackling paste to fill all the nail holes in the boards. After the spackling dries, sand the patches smooth. If you skip this step, you’ll have obvious patches showing through the paint.

After sanding, thoroughly wipe down the boards with a damp cloth to remove any sanding dust before you paint. You’ll want at least one coat of a good primer.
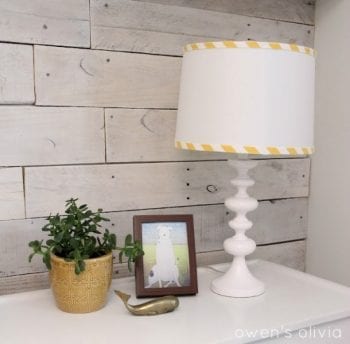
This nursery wall is beautiful painted the same color as the rest of the walls.