
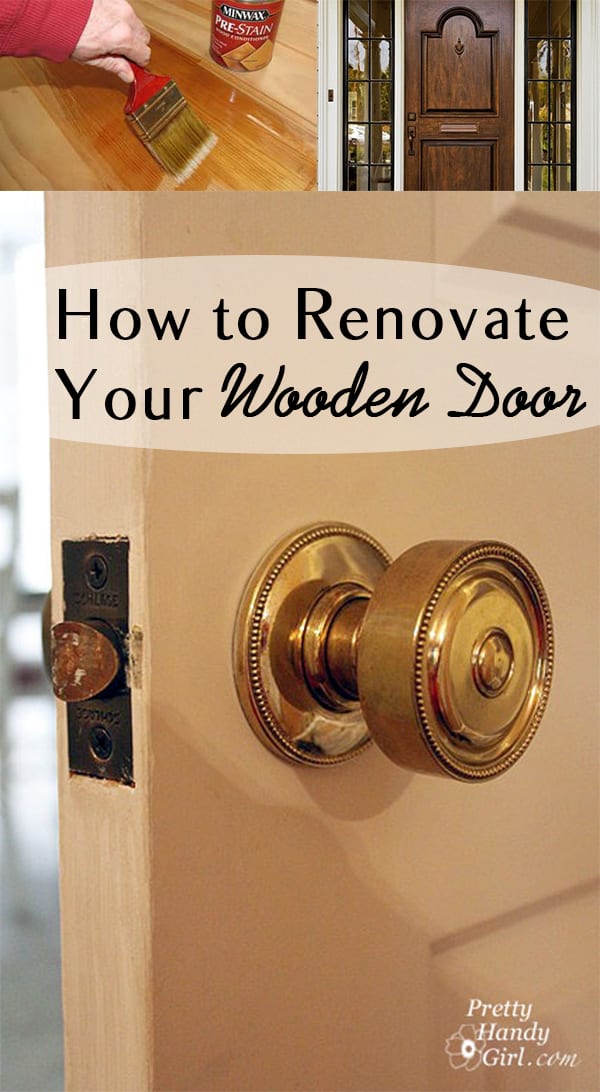
Being a woodworker seems to be more troublesome at times than it is worth. Every time I knock on a wooden door that is aging, I just picture in my head what a difference it would make to their home if they were to re-finish the door.
Step 1: Preparation
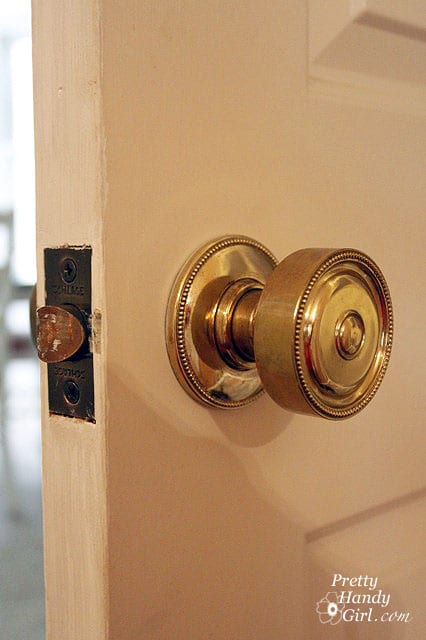
Remove all of the hardware from the door, this will make it easier to sand and easier to apply the finish. Using a palm sander remove the existing finish from the flat portions of the door. This should not take long, it is the nooks and crannies that are the most difficult. This can be done using paint stripper if it is really stubborn or a folded piece of sand paper by hand. Be careful to not sand smooth any existing detail on the door. If the wear and damage to the door is bad enough you may have to use wood putty to fill in cracks or dents in the door. Make sure to use a stainable wood putty and sand it smooth after it is dry.
Step 2: Stain
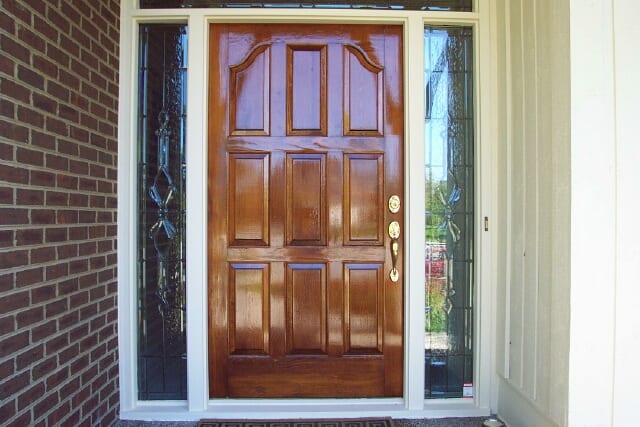
If you have a wooden door, I am a big believer that you should show it off, that is why I would recommend staining rather than painting. The one thing you must know when staining your door is that the stain itself is NOT a protective coating. I have seen many builders even who apply the stain for color and never put a protective coating on your door will begin weathering after only weeks of being exposed to the elements without a clear protective coating. Stain is difficult to remove so apply it to a test piece of wood first to ensure the color is correct. There are many different stains, wipe on, spray on, gel etc. The only one that is substantially different is a spray on because it has the ability to hide grain more than a wipe on type of finish and gives a smoother look.
Step 3: Clear coat
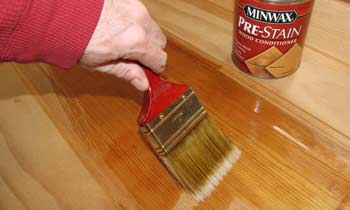
Next apply a clear coat, with the clear coat you must make sure you are using an exterior finish otherwise it will not last. Apply the recommended number of coats to ensure it is durable enough for an outdoor application. I prefer spray on finishes and doors are actually easy to apply a thick coat to when they are lying flat on sawhorses since the finish does not have a vertical surface to run down.
Step 4: Re-Install
Once your clear protective coat has had plenty of time to dry (it can take a day or two with most finishes before it is actually dry enough to put into use) you can re-install the hardware and hang your newly re-finished door.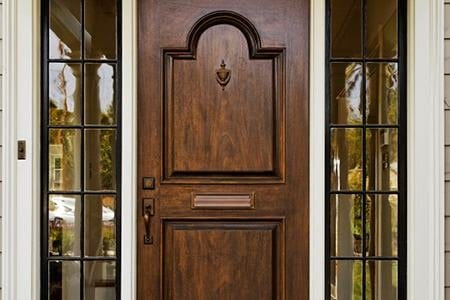
This is all great information the only problem is you’d need a replacement door for that day or two that it’s drying. Assuming it’s a front door.