
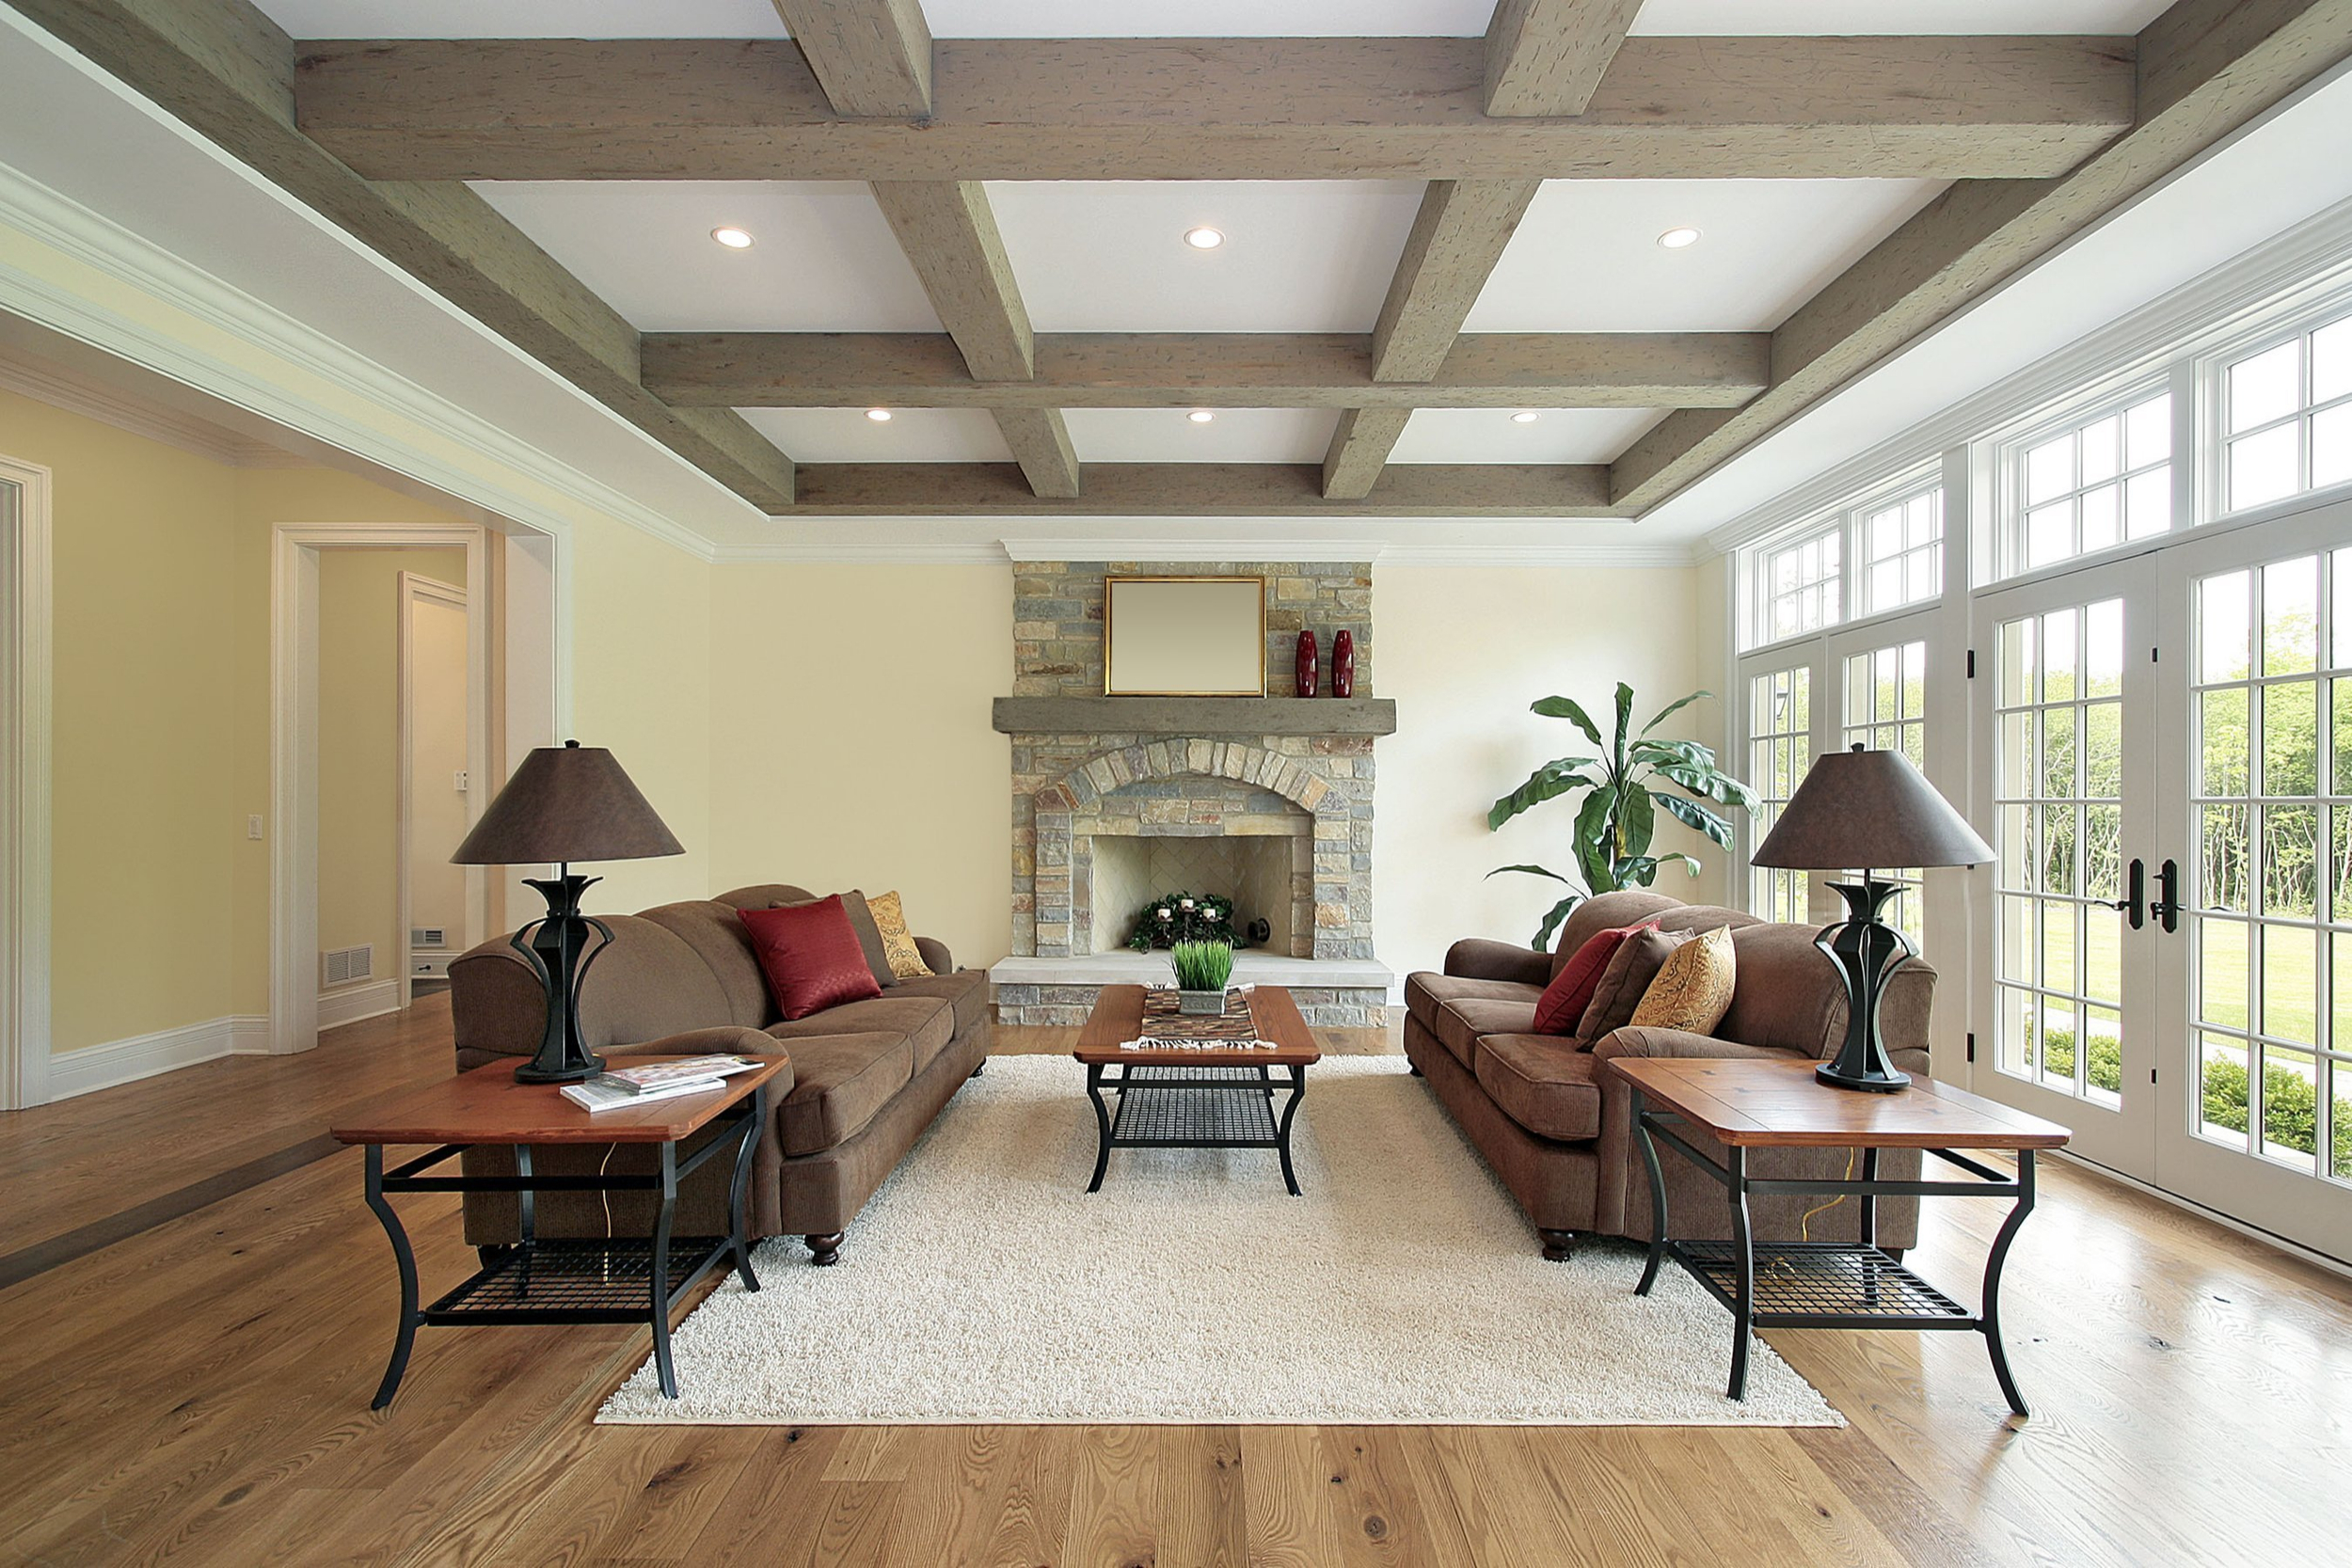
I love the look of exposed beams in homes. It creates such a look of rustic elegance and does so much to improve the character of the home. However, if you were looking to find some beams to leave exposed during your last home remodel, but couldn’t find any, why not try DIYing your own, instead? Follow this easy (and cheap!) tutorial for your own DIY box beam ceiling.
Here’s What You’ll Need to Create Your DIY Box Beam Ceiling
-Nail gun
-1×6 plywood pieces cut to your desired length
-2×6 pieces of wood cut to your desired length
-Sandpaper and a pencil
-Paint and Primer
-Nailer boards (to secure the boxes to the ceiling)
-3-inch deck screws
Step One
To begin making your DIY box beam ceiling, start with the 2×6 pieces of wood and create a base. We will later secure this to the ceiling. Secure the 2×6 pieces together with nail glue followed by a hammer and nails. Next, nail the sides of the 1×6 pieces of plywood to the 2×6 pieces. Attaching the 1×6 pieces should create the beam “sides.” It is a good idea to drive a nail into the wood every 6-8 inches to ensure that your creation is completely sturdy for years to come.
Step Two
Repeat the process of step one as many times as is necessary until you have the desired number of beams for your bedroom or living room. After you have built enough beams for your ceiling, take this time to fill in any of the nail holes with painter’s chalk. This step of the DIY probably seems like a drag, but taking care to fill in the nail holes will really affect the outcome of your project. Now is a good time to sand your project as well for a coat of paint later on.
Step Three
Next, it’s time to secure the wooden beams to your ceiling. Naturally, the first beam should go down the exact center of the room. Use a laser pointer to accurately measure the correct distance to place the nailer boar, as the beam will be attached to the nailer board. Place the nailer board in place with a nail gun, going back over it later with 3 inch deck screws to make sure it is secure.
Step Four
Next, place the finished beam over the nailer board on the ceiling. You’ll need help for this step of the project! Nail the beam into the board and secure with 2-1/2 inch screws every six inches.
Step Five
Now that your beams have been secured to the ceiling, go over your creation with a coat or two of a paint and primer. Just make sure to allow each coat of paint to fully dry before moving on to the next. Once the paint is dry, you’re done! Wasn’t that an easy project?