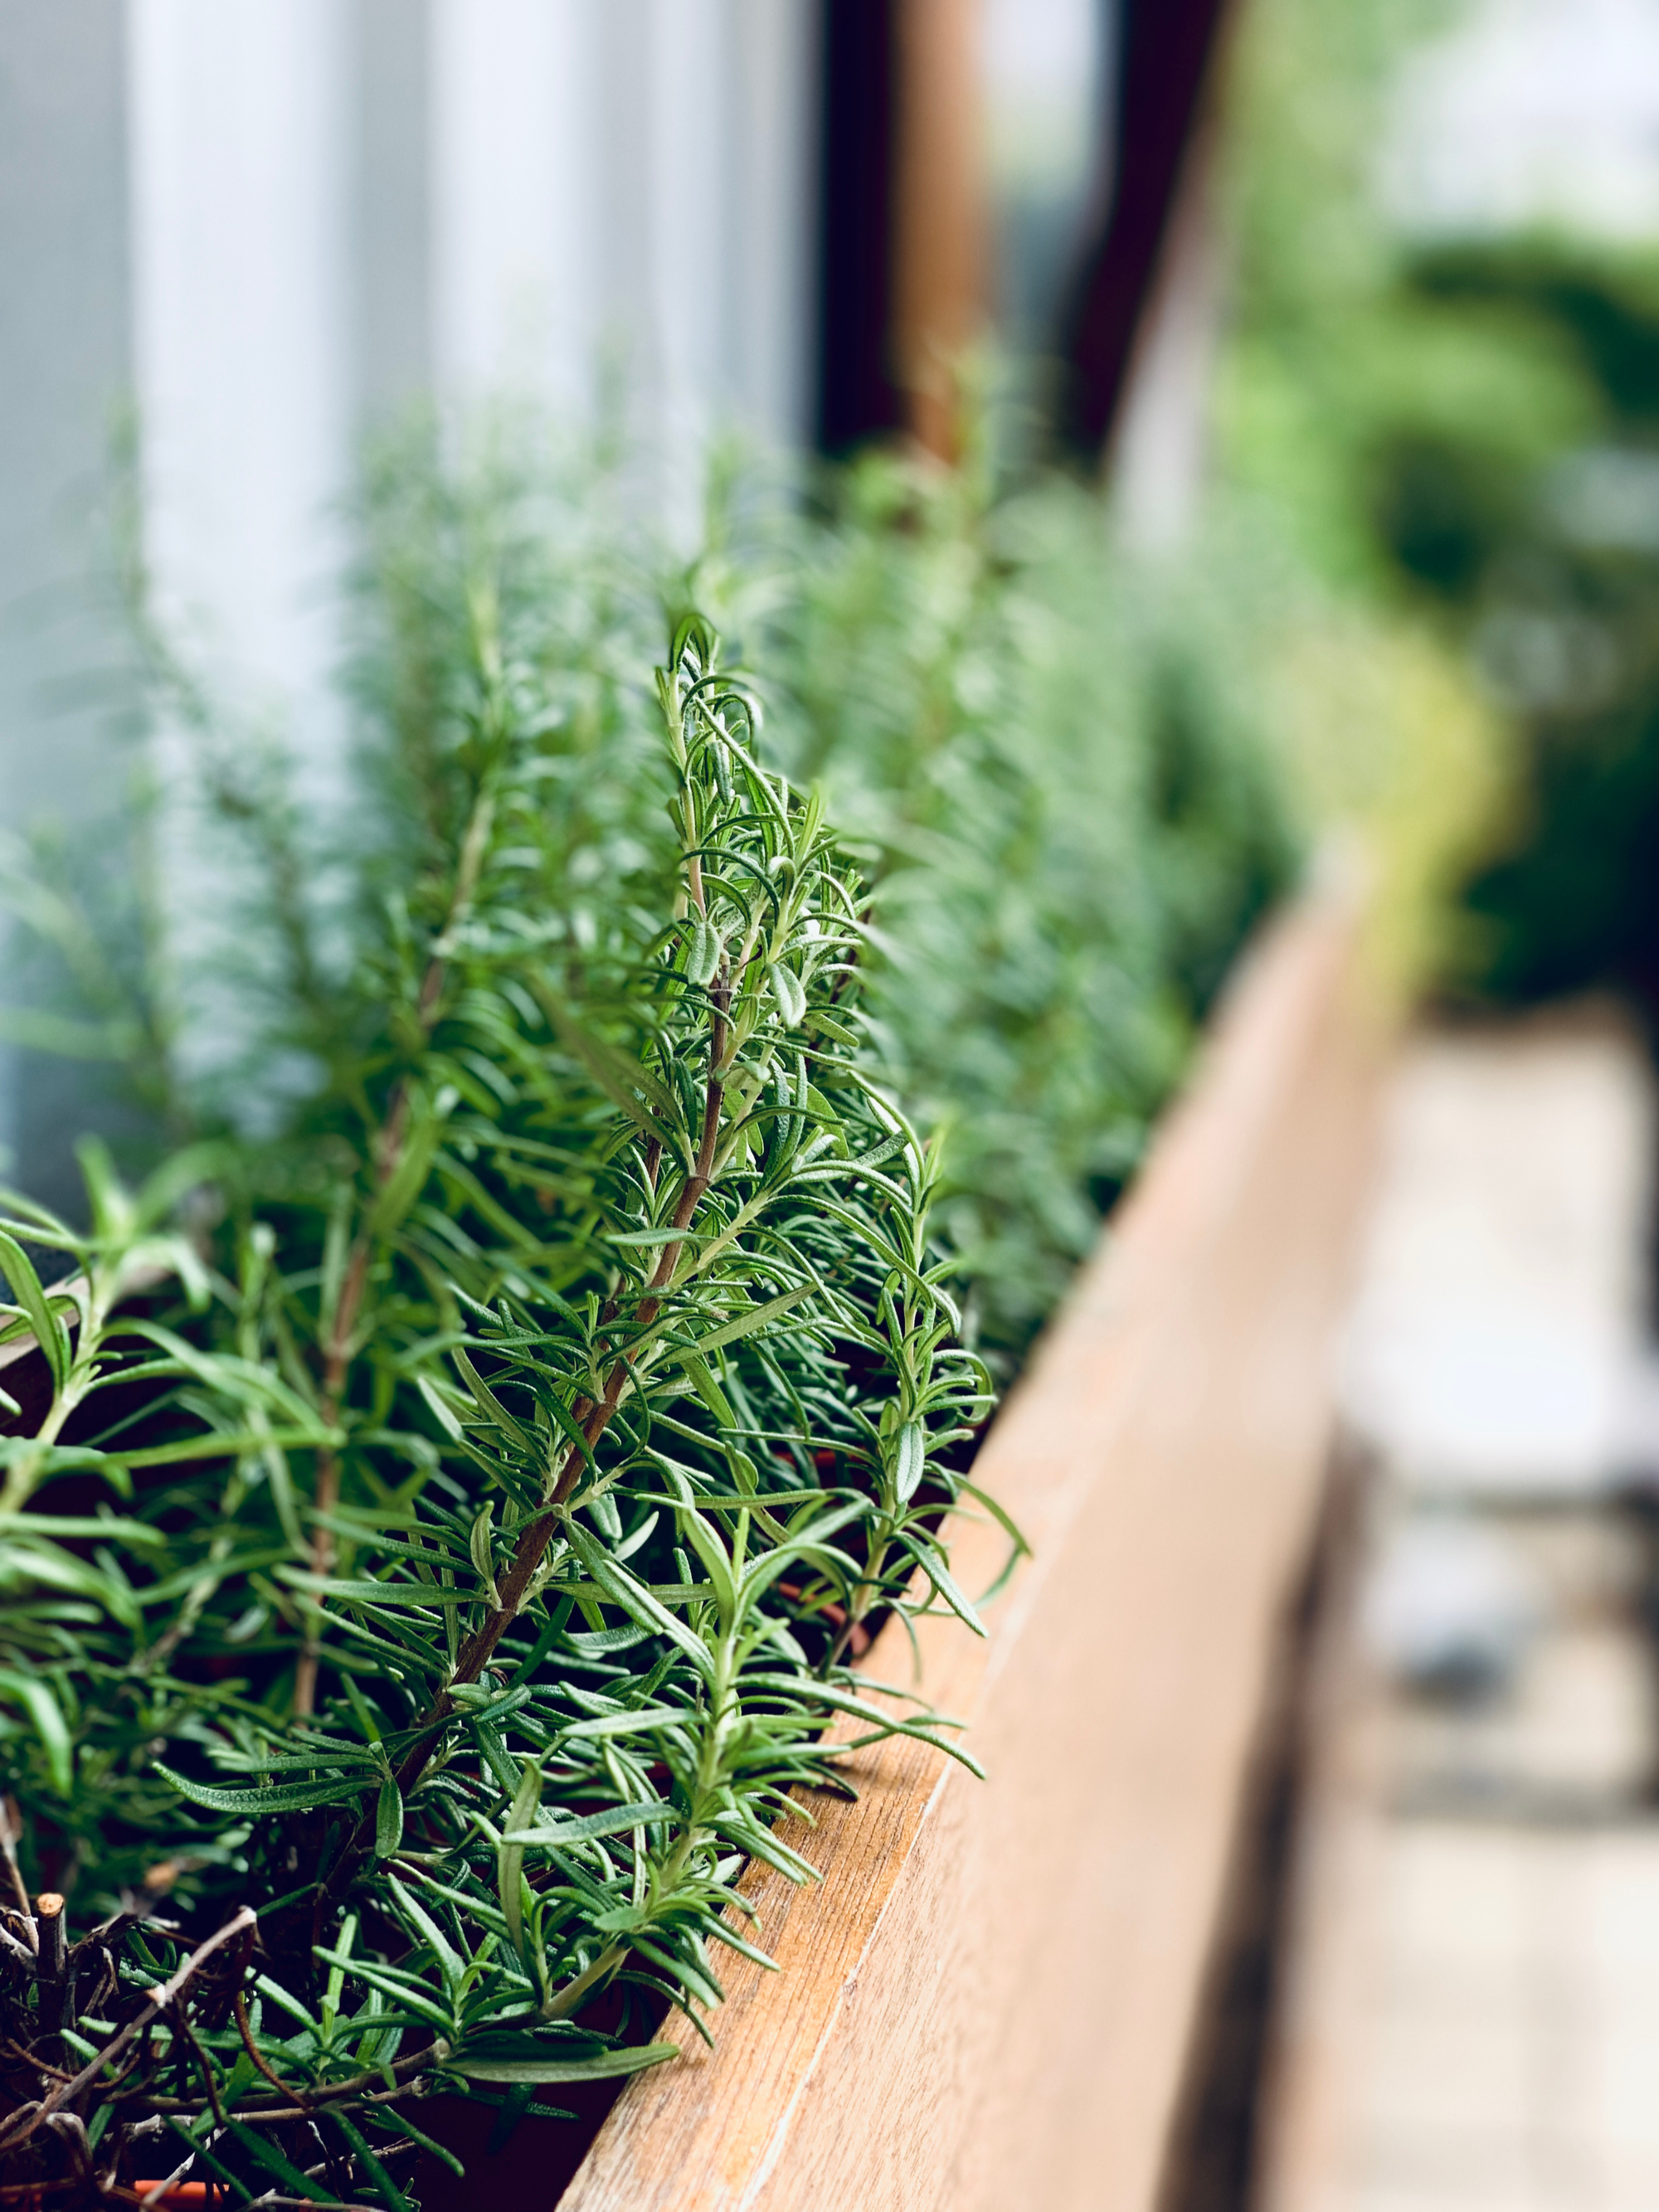
Spring is one of my very favorite times of the year, and I know that I am not alone! There’s something simply magical about the season of rebirth and something super colorful, too! Freshly bloomed flowers are just amazing. I love to surround my front porch and other areas of my home with DIY planter boxes. Not only are the planter boxes absolutely adorable (and perfect for my rustic home!) but they’re the best thing for my all of my different varieties of plants. Ready to make your own? Check out my ideas below!
Here’s What You’ll Need For Your DIY Planter Boxes:
-Wood Glue
-Kreg K5 Pocket Hole System
-1 1/4” Pocket Hole Screws
-Waterproofing sealant
-Scrap pieces of wood (4 @ 5/12′ x 36”, 4 @ 5 1/2 x 12 1/2”, 4 @ 3/4 x 8”, 2 @ 5 1/2 x 34 1/2”)
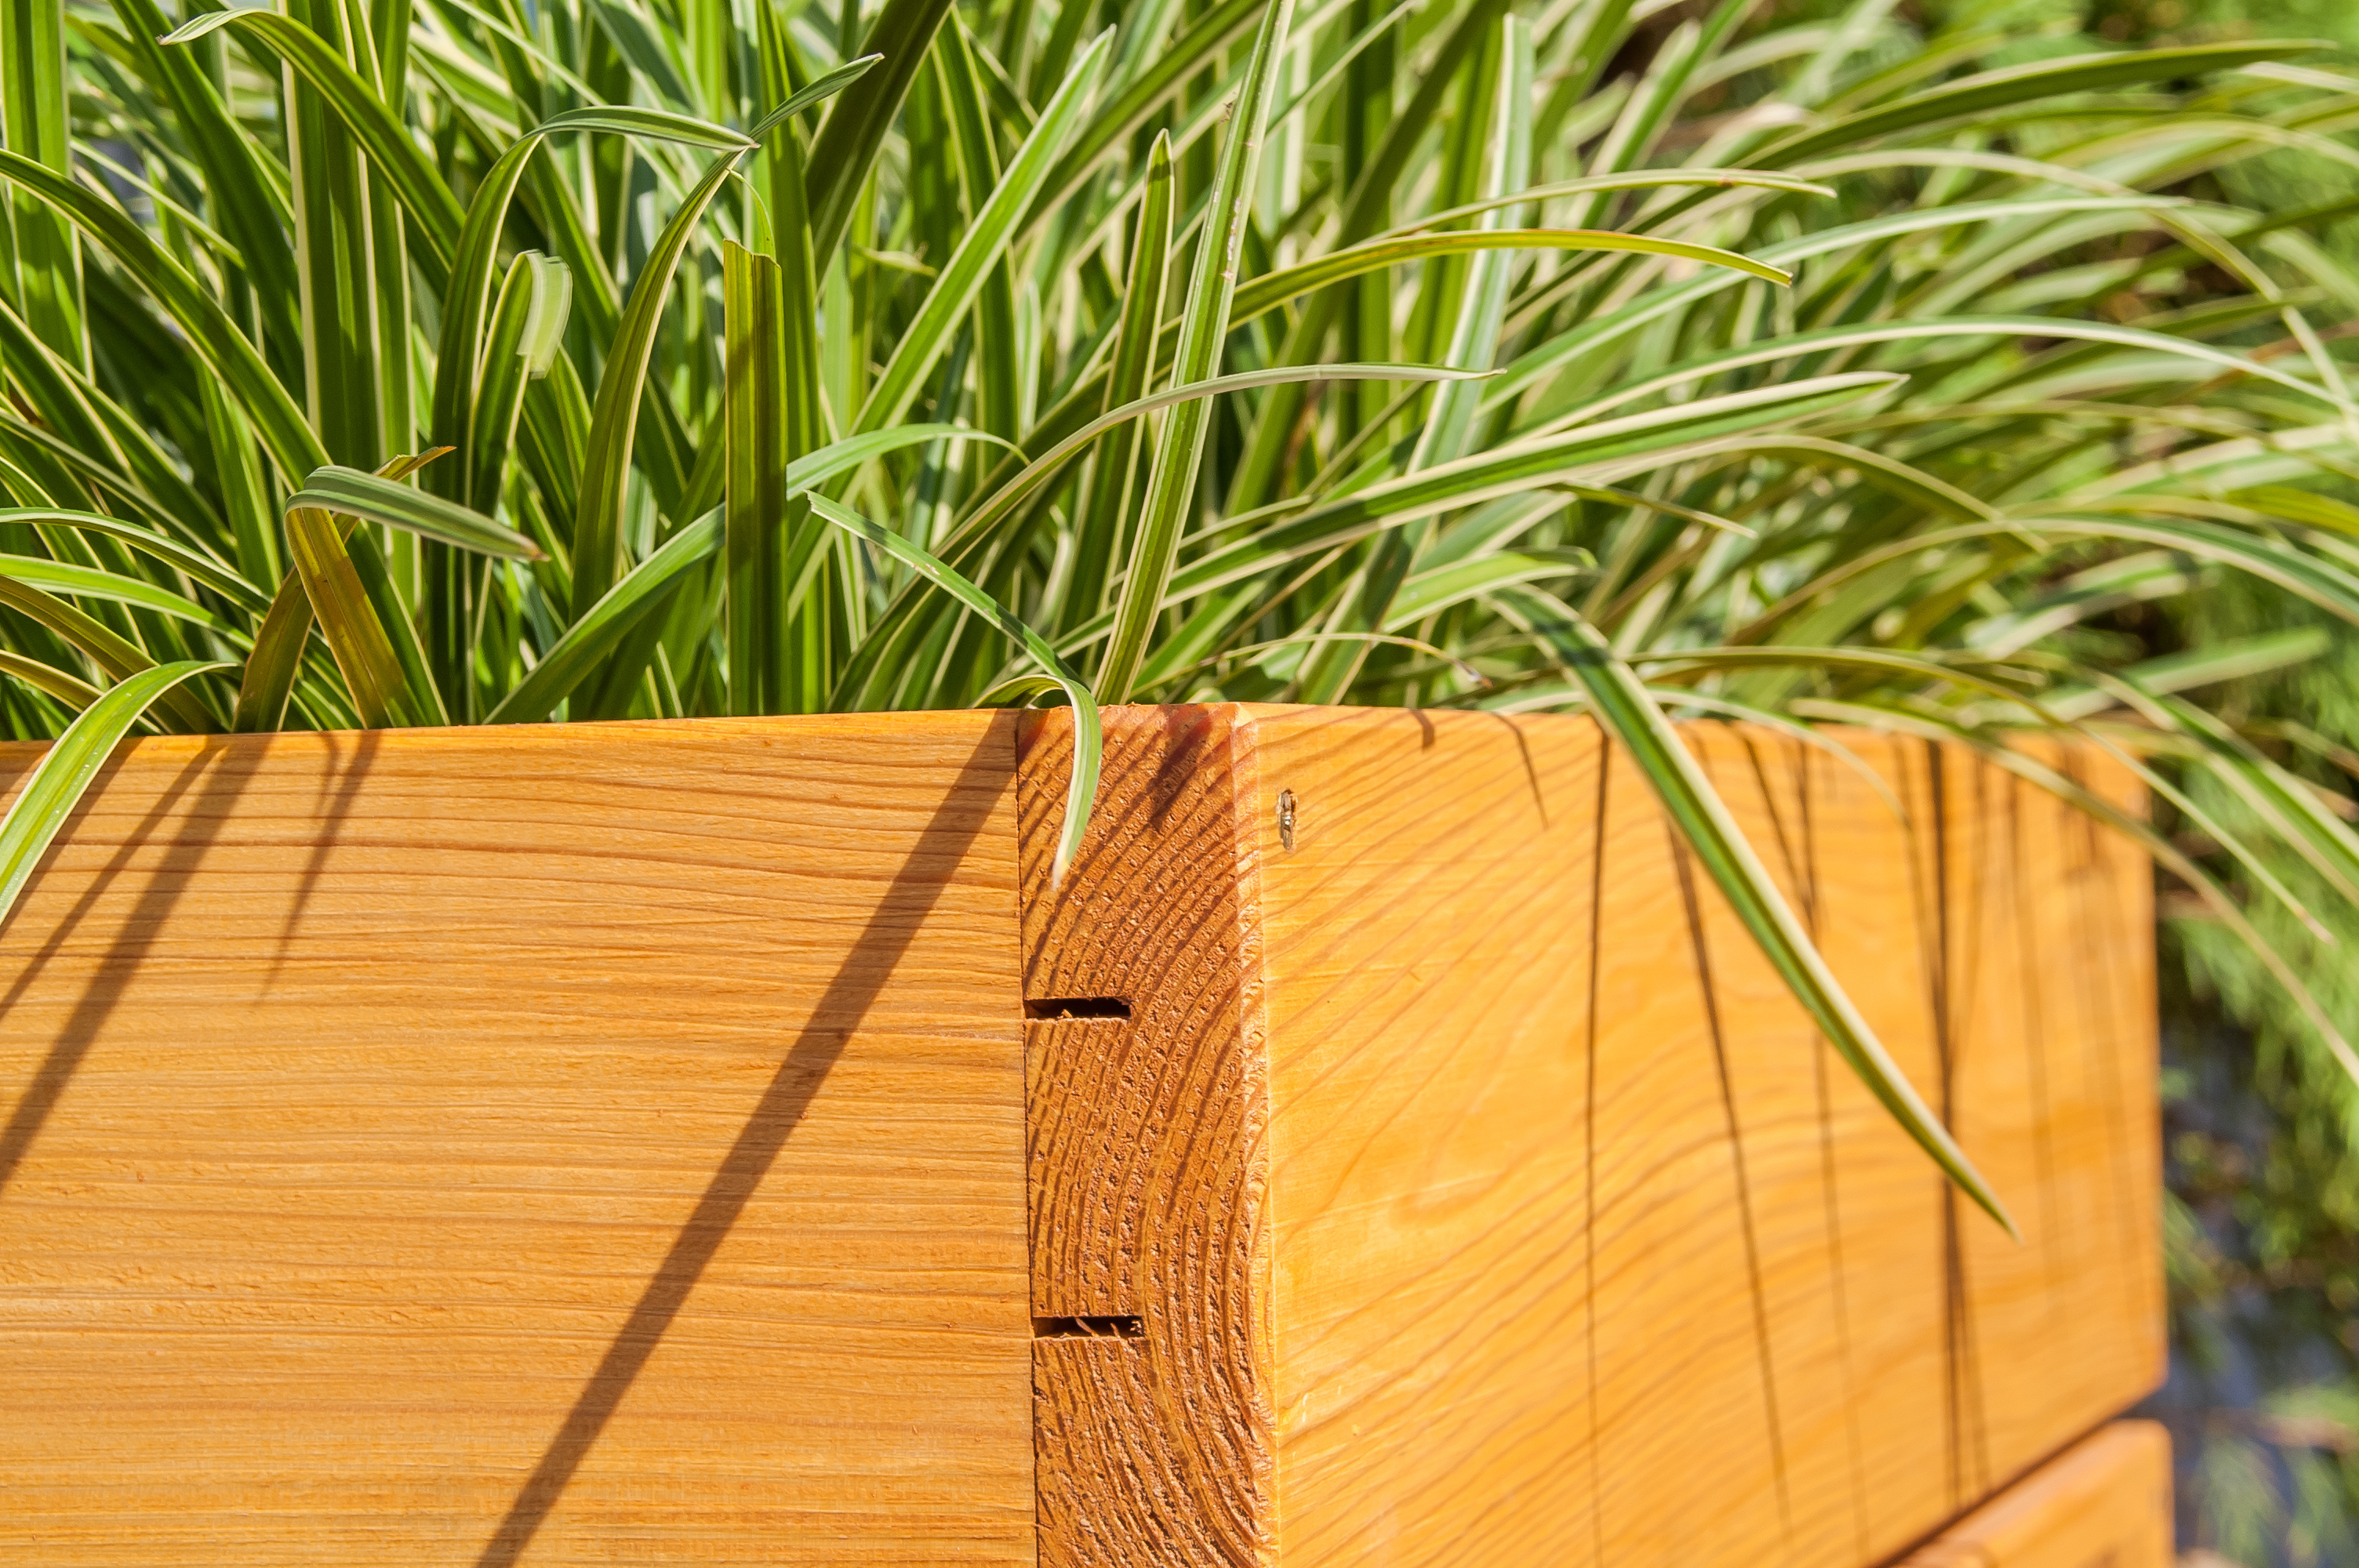
Step One: To begin making your DIY planter boxes make the cuts listed above in the scrap material of your choice. For my own project, I used scrap wood leftover from a previous garden project. I’m so thankful that I thought to hold onto these scraps of wood! Make sure that all of your ends are cut to 45 degrees for a nice finishing touch.
Step Two: Attach the two long pieces (the ones measuring 36”) together with a line of wood glue. Finish it off by attaching it with pocket holes and screws. Remember, there’s no such thing as building something too sturdy! Especially when it’s for the outdoors!
Step Three: Next, attach the two smaller pieces together (the one measuring 12 1/2 inches) in the same method that you attached the previous pieces together.
Step Four: Now, it’s time to build the bottom piece of the DIY planter box. You can do so by attaching the two boards cut to 34 1/2” together with wood glue, pocket holes, and screws. Drill a pocket hole to attach the sides of the planter together as well, but don’t attach it quite yet. Just drill the hole!
Step Five: Attach the piece you just built to the long and short pieces of wood. Attach all of the pieces together with wood glue, pocket holes, and screws. We’re almost done with this super easy project!
Step Six: Now, attach the four supports (the small 8” pieces work well as the supports) to the inside four corners of your planter box using 1” brad nails.
Step Seven: The hard part is over! Now, all you have to do is seal the crack and holes in your project (I used wood putty), sand, and cover your planter box in a layer or two of waterproof stain. You’ll love the way your DIY planter boxes look in your yard and you’ll be proud of the work you put into them!