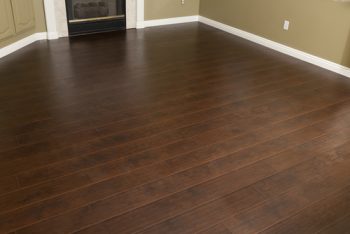
Hardwood floors are downright dreamy! If I had it my way, every room in my home would have hardwood floors. We’ll tackle that project one room at a time, I guess! I knew I wanted hardwood floors from the moment we bought the home but the kitchen and living area with filled with laminate tile when we moved in. It was the first thing to go! To save money, my husband and I tackled the project on our own, and have done all of the hardwood floorings in our home since then. We’ve added hardwood floor to our first and second-floor living areas, and several other rooms along the way. We’ve run into every kind of problem you can imagine and have saved hundreds doing it ourselves! Use our hardwood floor installation tips when doing this DIY project on your own!
Here’s what you’ll need:
-Pry Bar
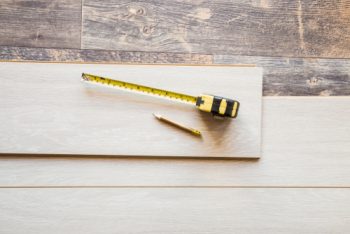
-tape measure
-ear and eye protection
-pneumatic nail gun
-modular porch system kit
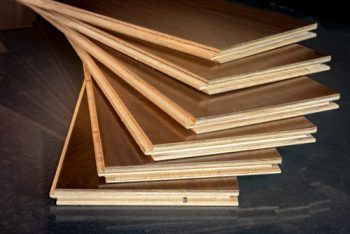
-hardwood
Step One: After you’ve chosen your desired shade and kind of hardwood, you’ll need to measure the length and width of your room. When ordering your hardwood, always make sure to have between 10 and 15 percent extra, just in case any mistakes are made. Mistakes will happen, so it’s best to just be prepared for them right from the getgo!
Step Two: Now, check to make sure your subfloor doesn’t squeak. If there’s a squeak in your sub-flooring, drill in a long drywall screw into the area where the squeak occurs. The screw will take care of the squeak.
Step Three: Next, roll out the strips of vapor barrier paper, directly to your subflooring making sure there are at least four inches of overlap. Be sure to mark where the joists are located for future reference.
Step Four: Finally, it’s time to start installing your flooring! Start your installation project at the largest unobstructed wall and place a chalk line at 3/8-inches out from the edge of the baseboard to allow for wood expansion.
Step Five: Place your first strip of hardwood on the edge of your chalk line and drill two pilot holes through the hardwood into the subflooring and joist. Next, set the nail with a nail set. Make sure to lay the first boards perpendicular to the joists on the subflooring underneath.
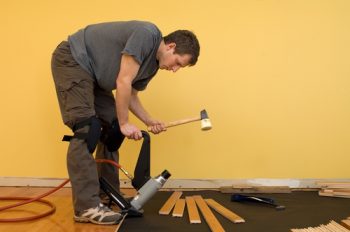
Step Six: After the first few boards have been installed, drill pilot holes and hand nail the rolls down so you can use the nail gun. Now, lay out several other wooden boards so you can visualize the pattern. Make sure the ends of your boards never line up together and they’re kept random.
Step Seven: Place the lip of your pneumatic nail gun over the edge of your hardwood. Once the lip is in place, stake the hardwood plank into place. Repeat this process until your entire floor is complete. Over time, you won’t have enough room for your nail gun, but you can set the nails with a nail set as you did on the beginning planks.
Step Eight: Fit the last board into place and fill all of the nails in your flooring with a bit of wood putty. Voila! All that’s left is to enjoy your gorgeous new flooring.