Though your interior doors may not be seen by more than a few guests, it’s nice to give them an upgrade whenever possible. Not only are hollow core doors super flimsy but you can definitely tell when your interior doors are made using less-quality materials. Instead of starting at your ugly, hollow core doors, give them a bit of TLC with any one of these fast upgrades. While they may not be as great as replacing the doors altogether, they’ll definitely do the trick! Check out my favorite DIY door upgrades today!
DIY Door Upgrades
Add Wood Paneling
For a thirty-minute DIY door upgrade, add wooden paneling to give your hollow door more of a rustic appeal. You’ll need pieces of plywood and a wooden dowel to make this DIY happen. Cutting the paneling is the most time-consuming part of this DIY door upgrade, but it’s one that is definitely worth all of the effort. Doesn’t this upgrade look absolutely incredible? Check out this tutorial for more information.
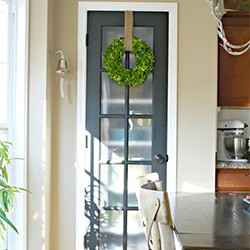
Add Windows
Upgrade your boring doors even more with window paneling! This chic and classy upgrade will catch the eye of any guest you may have and it adds an incredible depth to your space. The only downside here is that you’ll have to keep the room in which the door opens to exceptionally clean because everyone will be able to see right inside!
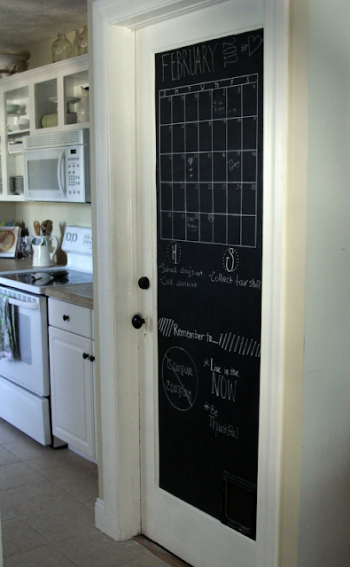
Dress Things Up With Chalk Paint
Get your family totally organized by transforming a boring hollow-core door into a memo board where everyone can keep track of their to-dos and events. To create, simply sand down your door (and remove the hardware!) to get it ready for a coat of chalk paint. You’ll want to cover the door in three layers of chalk paint, taking care to allow each layer to completely dry before moving on to the next. Once dry, write memos, grocery lists, and messages across the board so your family members always know what exactly is going on.
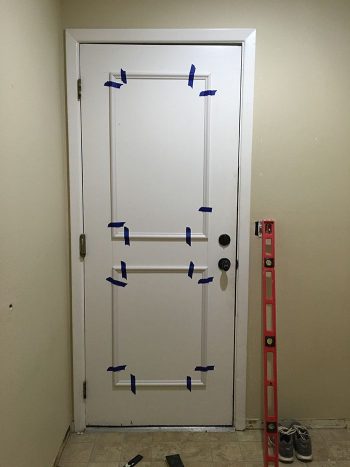
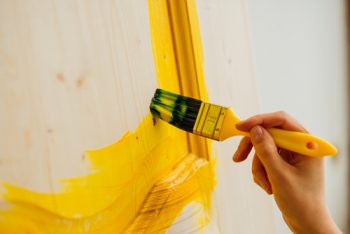
Or…Just A Regular Coat of Paint
If a coat of chalk paint wasn’t quite the look you were going for, try covering your doors with a set of regular paint instead. You can choose whichever color best matches your home decor, just make sure to use painters tape so your lines stay extremely clean! Find all of the supplies needed for this DIY door upgrade here.
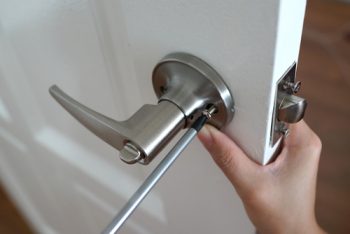
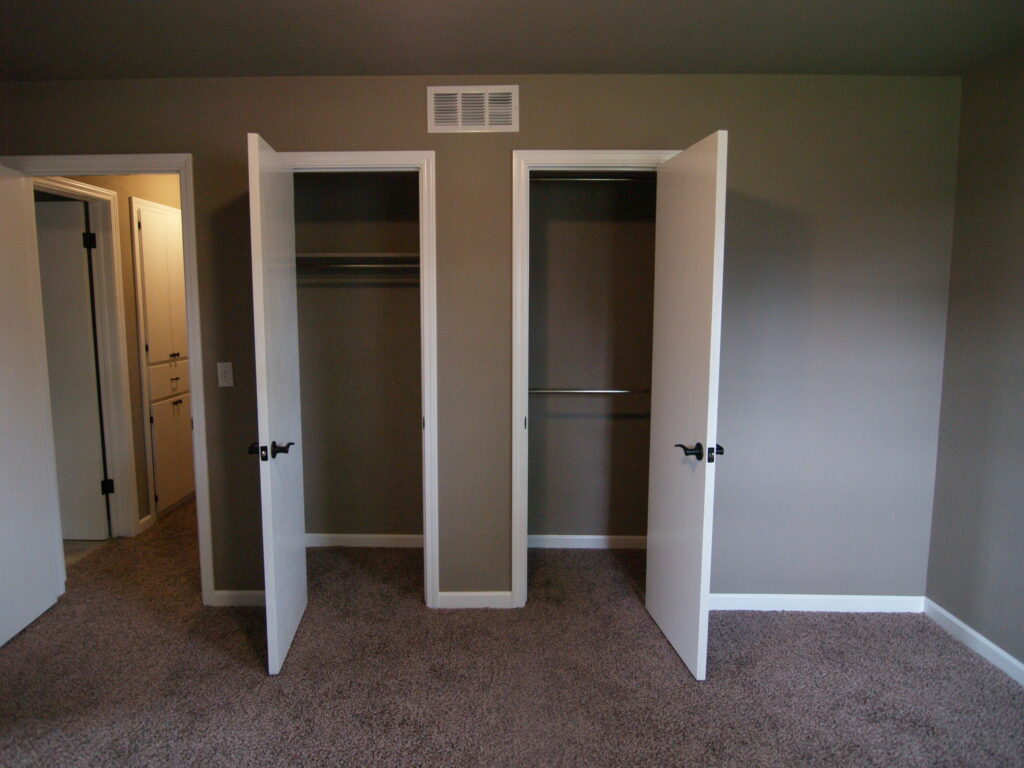
Install New Door Hardware
Finally, after your doors have been completely repainted, it might be a good idea to replace the door hardware. If you’re still sporting that ugly gold chrome, it might detract from your freshly-painted door a bit! Modernize things even more by quickly replacing the door hardware using a simple screwdriver or another common tool. I like this door hardware set from Amazon. This is one of the easiest DIY door upgrades on this whole list!