
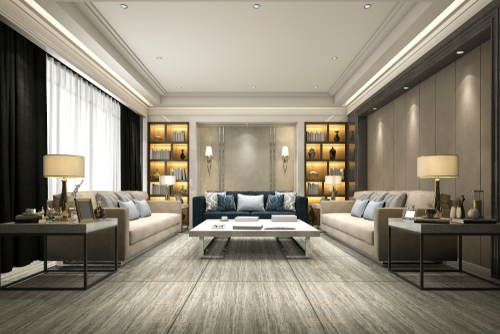
Ever since I was four years old, I’ve always dreamed of my own in-house library. One with the tallest built-in bookcases, a sliding ladder, and tons of comfortable couches and chairs. I even have dreams of a grand fireplace, you know, if my future home allows for it! While my current home doesn’t quite allow me the needed square footage for the grand library of my dreams, a set of DIY built-in bookcases is sure to help me get a little closer. If you, like me have dreams of an at-home library (or at least a little extra storage space) follow this tutorial for the DIY built-in bookcases of your dreams!
Here’s what you’ll need for your project:
-paint
-1×2 boards
-primer
Step One: Decide the measurements for your plywood and mark the measurements with a pencil or pen. A circular saw works best when making these cuts.
Step Two: Next, you will want to use a circular saw to cut rabbit joints into the ends of the cut top-shelf. It’s best to cut straight across the shelf in 1/8th-inch increments.
Step Three: It’s important to have adjustable shelving. It’ll make it easy to decorate AND you’ll love the versatility. For adjustable shelving, you’ll want to mark the location of your center shelf. Once you determine what the center location is, you will want to mark 4” above and 4” below the center shelf. Next, you will want to drill holes 2” from the edge of the shelf, spacing the holes in increments of 2”.
Step Four: Now, you’ll want to add a support system to your shelves. It does get tough supporting all of those books, after all! For adequate support, you’ll want to add a 1”x2” support beam to the center of your shelves with a bit of wood glue and some nails. Once the support system is added, you can attach the shelf into the wall with 2” wood screws. As always, make sure your screws are placed in an area where they cannot be seen. Repeat the same process on all of your shelves.
Step Five: Double check to make sure that your bookshelf is centered and square and then cut the back panel of your shelving.
Step Six: Now that the bones of your bookshelf are in place, you’ll probably want to add trim to your bookshelves. Attach a 1”x 2” trim piece to the edges of your bookshelf. Be sure that you smooth all pointy or rough edges of the trim with a roundover.
Step Seven: If you want to paint your bookcase, do so now, before you install your bookshelves.
Step Eight: Now, we are ready to place the bookshelves! Before starting, remove any molding from the area in which the shelves are placed. This will make it easier to place the new bookshelves.

Step Nine: Now, attach the bookshelf to the wall with pilot holes, taking care to drill pilot holes through the back corner of the shelves. Repeat for all shelves.
Step Ten: Once all are placed, take a moment to fill all the nail holes. Touch up any areas that might need it! Now, you’ll want to insert the pegs to really secure your shelves.