Gather Your Tools:
pencil
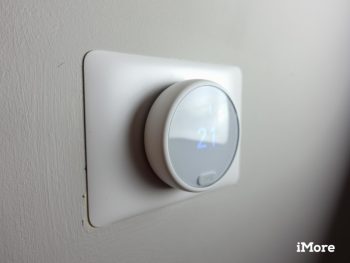
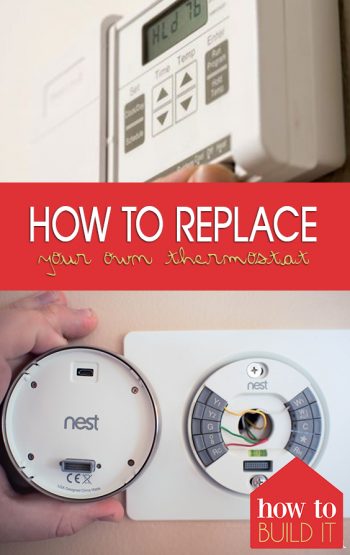
Thermostats are an easy item to upgrade on your own.
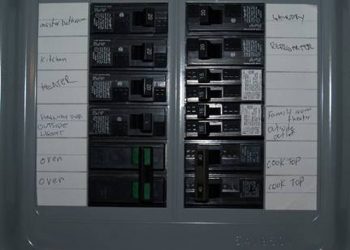
Turn power to the thermostat OFF from the breaker box.
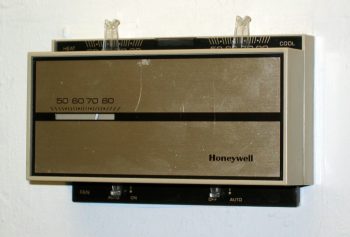
Remove old thermostat housing to expose the wires.
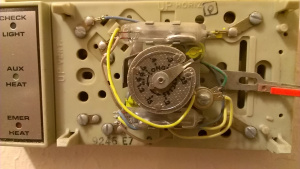
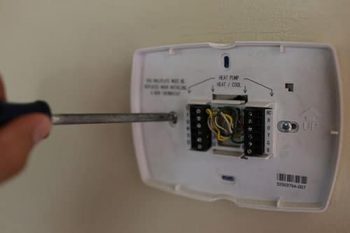
Tape each wire and mark them to know which wire is which.
Unhook the wires from the thermostat’s terminal screws by loosening the screws.
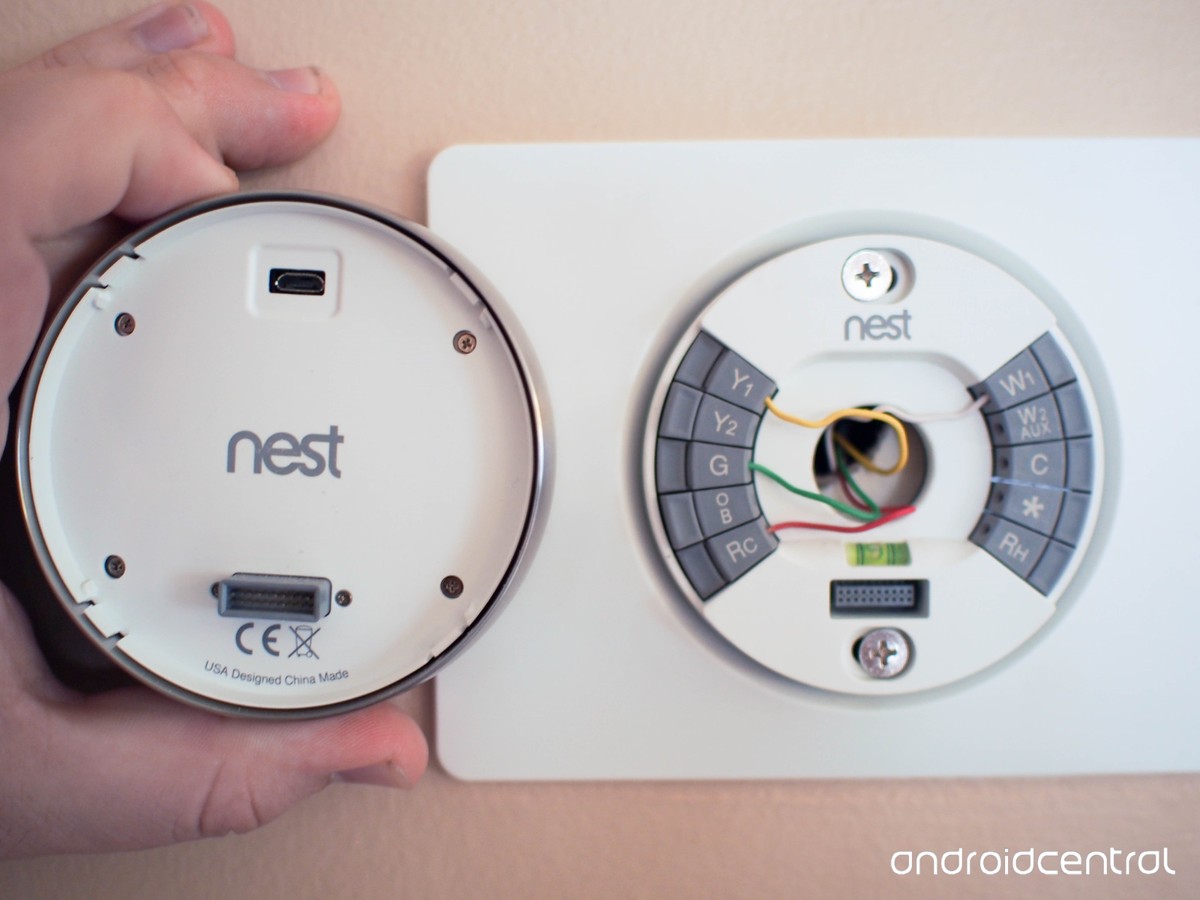
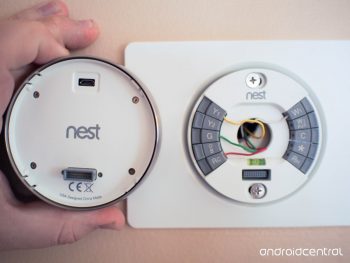
Remove the mounting plate from the wall.
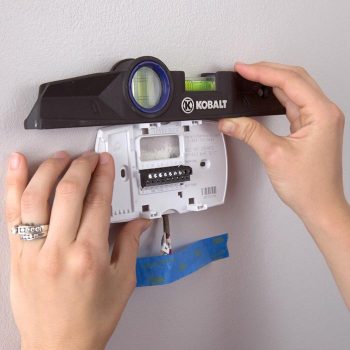
Line up the new thermostat’s mounting plate using a level to make things are straight and mark screw holes with a pencil.
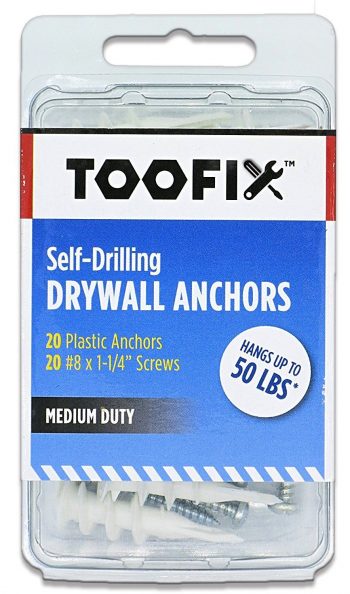
Attach your new thermostat’s mounting plate using drywall anchors.
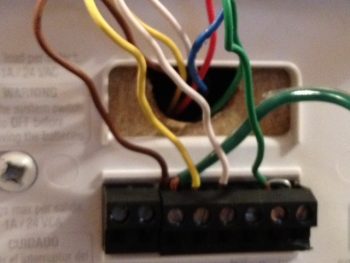
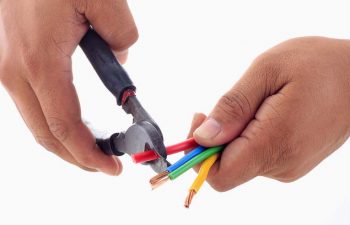
Make sure the wires in the wall are not frayed or corroded. Use wire cutters to expose new wire if needed.
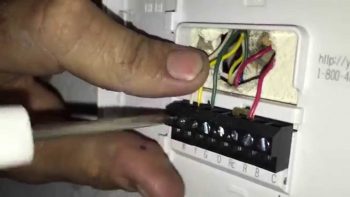
If you’re installing a Nest thermostat, you’ll secure the thermostat to the wall and then place the corresponding wires into the correct terminals. Most other forms of thermostats will have you secure the wires to the corresponding terminal and THEN anchor the thermostat to the wall plate.
Secure the thermostat cover the the wall plate and turn the power back on at the breaker.