
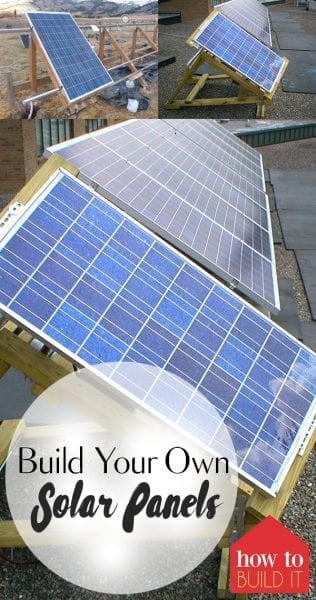
No doubt you have noticed the rising popularity of solar, as well as the expense to have it installed. But did you know you can build your own solar panels? You really can, and it’s not that hard to do. Get ready, because you’re about to see how easy it is!
First you will need some solar cells. They can be bought at places such as Amazon or from GoGreenSolar. Considerations when buying solar cells include how much wattage you want, and how much you want to spend. Each of the cells pictured here yields 0.2 watts. You would need 500 of them to yield a 100-watt panel.

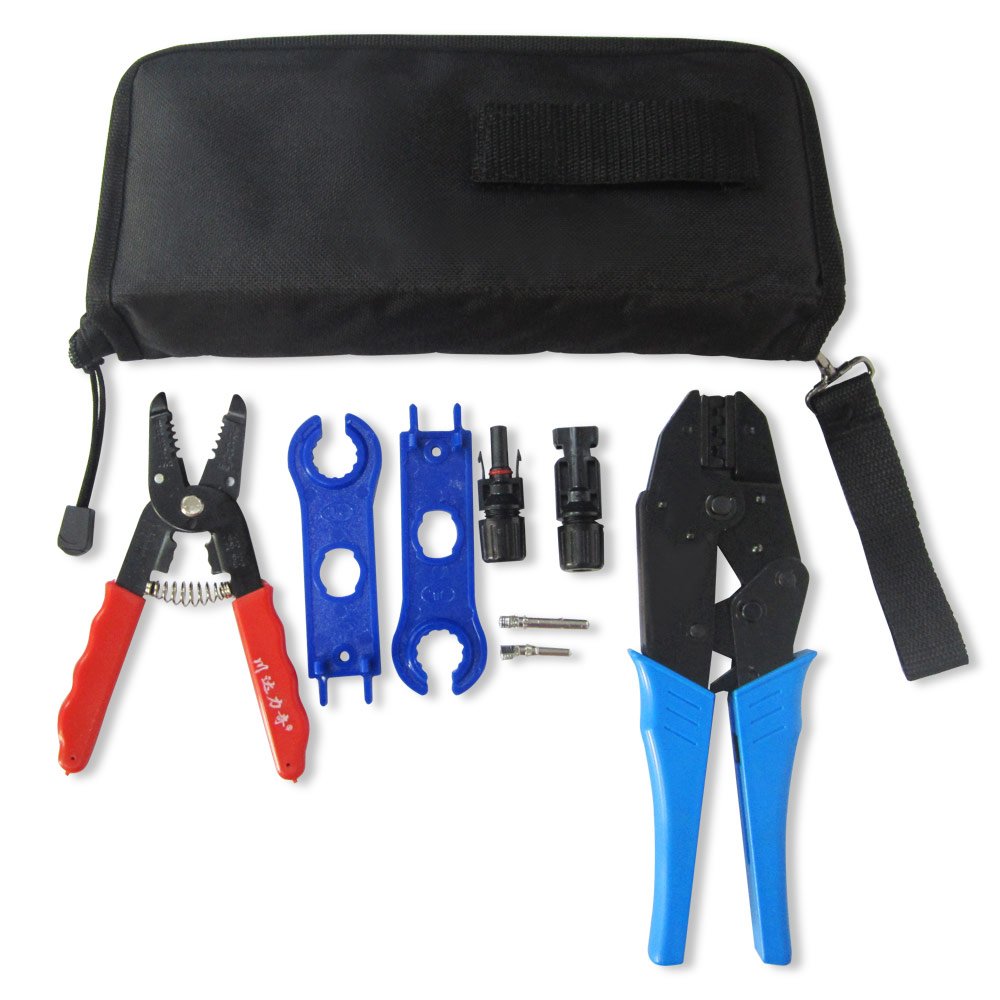
You will need some tools for assembling your solar panel. These include a soldering iron, solder, and solder paste or flux. You’ll also need a wooden board to hold your solar cells, a saw, protective glasses and a multimeter.
Build a wooden frame that will hold all of the solar cells you purchased. You can paint it with deck and siding paint to give it UV protection. A piece of pegboard will go into this frame to attach the solar cells to.

Now you will assemble your solar cells. Basically, the bottom is the positive side and the top is the negative side, and the positive lead of one cell is connected to the negative lead of the next. Use tabbing wire and a soldering iron to connect the cells together in a string of 12 or 24 volts. Strings of cells are then connected with what is called bus wire. Tile spacers help to space the cells.

Once you have wired the solar cells to each other you need to insert them into your frame with pegboard already installed. You can use silicone to glue the cells to the board.

Three strings of solar cells are laid in the frame, and then the bus wires are connected. Make connections along the positive and the negative wires, and then connect those wires plus to plus, or minus to minus, to have a parallel connection and increase the amperage.

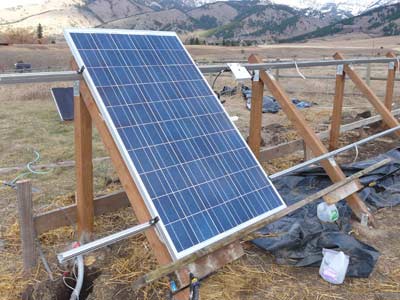
When all your wires are connected, you can take your panel outside to test how much it generates. From this point, you will need to learn about attaching a pack of batteries and then an inverter to be able to charge other devices, such as your cell phone or even a car battery.
