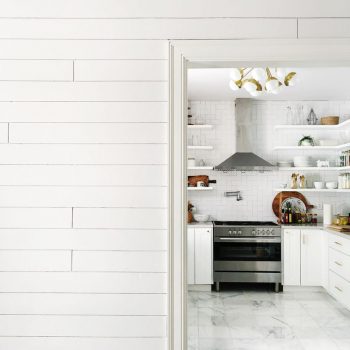
Thanks to the popularity of Chip and Joanna Gaines and their hit show Fixer Upper, shiplap is more popular than ever. If you are wondering how you can install shiplap {in no time at all!} inside your home, look no further. We’ve found the best ideas and are ready to help you get right to it!
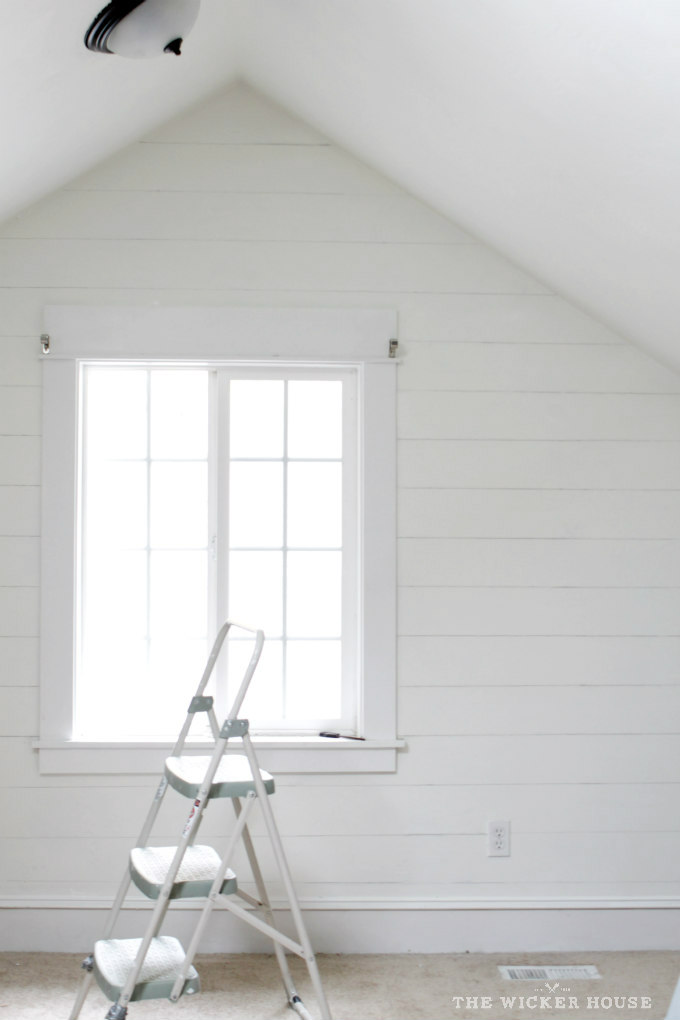
You can totally fake it if you’re in real hurry. Emily at The Wicker House actually drew on her walls with a pencil for a faux shiplap look. I admit it looks pretty darn good. But if you’re in it for real, keep reading.
To have actual wood planks on your walls, your easiest bet is to get some plywood sheeting. Have the sheeting cut into lengths for you at your local home improvement store. Sarah at Little Red Brick House had hers cut into 6-inch widths. You can do 8-inch or 12-inch widths as well. It just depends on your personal preference.
Once you have your 6-inch, 8-inch or 12-inch wide boards cut, you need to sand them smooth enough to get rid of any splinters. Now get a laser level and a stud finder and mark all the studs on the wall where you will be applying your shiplap. The reason you should take the time to do this is because it will make your life much easier when you nail the boards to the wall!
After your wall is marked and ready, begin nailing boards to the wall. Be sure to start at the ceiling. Note that your ceiling is probably not level, so you’ll want to be sure and level the first boards with a leveler. Emily at Table and Hearth used a nail gun, some pennies for spacers, and nailed up these boards in her guest bedroom in no time at all. Once the boards along the ceiling are up, be sure to stagger the seams along subsequent rows for the best look. Mark cutouts for any outlets or wall switches.When all the boards are up, it’s time to spackle, sand and prime your new shiplap before you paint it. You can choose whether or not to fill every single nail hole. It just depends on how rustic a look you want for the finished product.
Use corner molding to hide gaps where walls meet. Quarter round is perfect to finish off inside corners. Use outside corner molding to finish the outside corners.
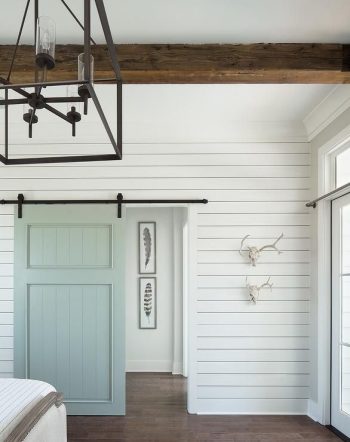
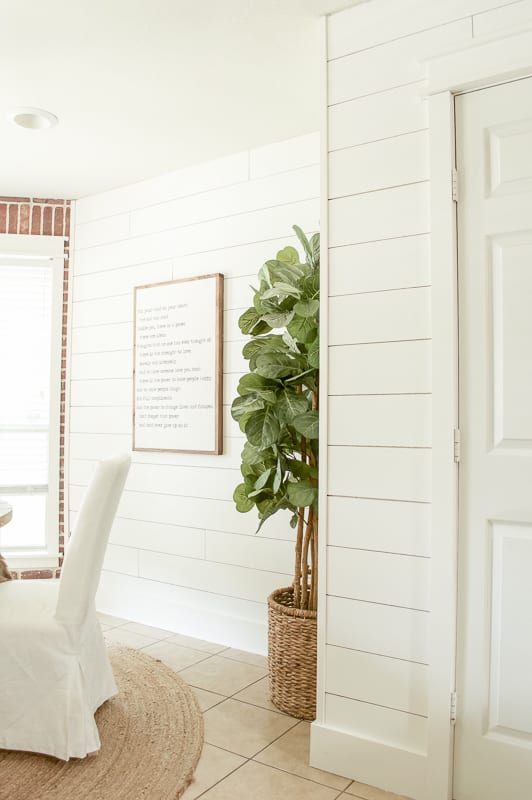
What an amazing look! No one will ever guess that you did it yourself.