
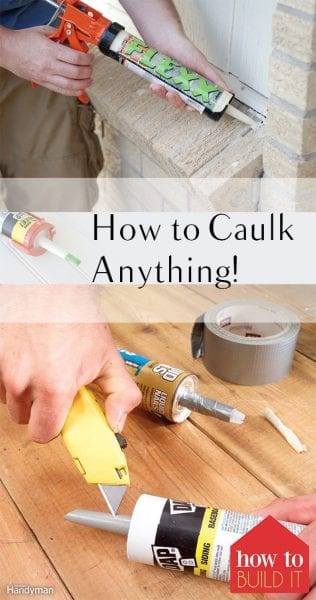
For a caulking job to look good and seal properly, there are some important steps you should follow. No matter what type of surface you are going to caulk, read over the following information first. It will show you how to caulk anything!
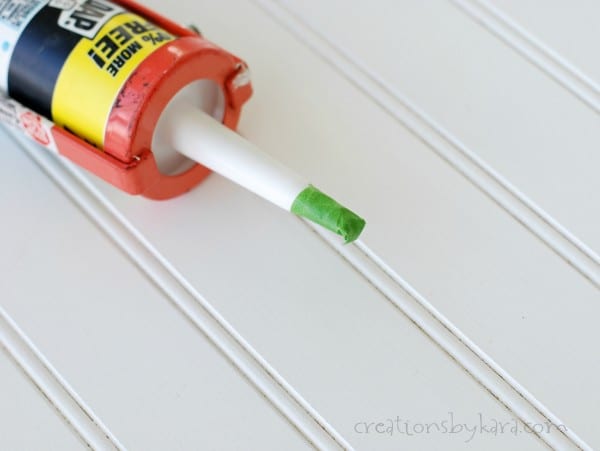
Step 1: Cut the nozzle
The nozzle on your tube of caulk is marked at different spots, according to the size of caulk bead it will dispense. Select the proper size according to the size of the joint you are caulking. Cut the nozzle at that point in a 45-degree angle. Now place the tube in a caulking gun {available at the home store where you find the caulk} and you are ready to get to work.
Step 2: Make some test runs
Experiment on a piece of paper or scrap of wallboard to see how the caulking gun works. Once you get a good feel for how the gun works and can dispense a line of caulk smoothly, you’re ready to put it where you need it. Pro Tip: Concentrate on pulling the bead of caulk behind the tip, rather than pushing it into the joint.

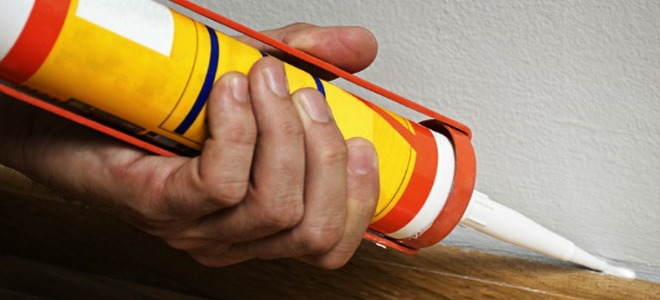
Step 3: Apply caulk
Hold the nozzle at a 45-degree angle to the joint you are filling with caulk. Apply each bead of caulk about two feet at a time. This gives you time to “tool” the caulk before the air causes it to develop a skin on the surface.
Step 4: Tooling
What is tooling? It is the step when you spend a little time making a fresh bead of caulk look the way you want before you move on to the next bead. For most water-based caulks, you can achieve this simply by using your finger, or the back of a plastic spoon. Wet your finger and use it to further force the bead of caulk into the joint. Smooth the caulk out at the same time as you push it into the joint. Note that for butyl, silicone and polyurethane-based caulks, you will need to use your finger or a caulking tool dipped into solvent. Use a moistened sponge to clean up excess caulk before it hardens.