

I have a 3 year-old boy who loves to “fix” with me. So, one afternoon I made him this workbench with a couple of 2×4’s.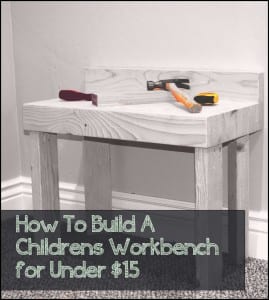
- Determine the right Size: Have your child hold a tool out to gauge how high you will want the bench, if they are really going to be playing on it you want it to be a comfortable height for them. For my son, I made it about an inch taller than what I thought it should be to give him some room to grow into it.
For the width I just made it as wide as I could to maximize the 2×4 length. A standard length is about 98.5” in length so I divided that by 4 with some extra to allow for scrap and made it 24” wide.
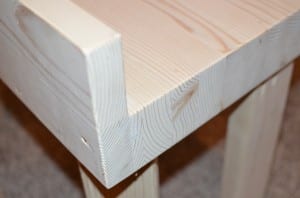
- Build the block: I ran all 4 pieces through a planer laying them flat on the wider side to give a nice surface to glue up. Then cut them to length leaving about a ¼” extra on each end to cut off and give a clean edge. I then glued all the pieces together trying to make it as flat as I could to eliminate wasted material. Once the glue is dry, send the entire block through the planer to give it a flat surface to work on, the bottom side does not have to be perfectly flat and smooth but should be flat enough to mount the legs.

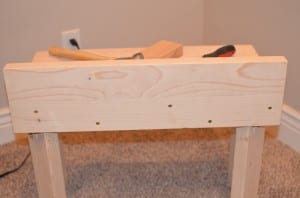
- Add the back and Legs: For the back glue two 2x4s together on their sides and then screw it on to the back of the board, this will act as kind of a back splash, once it is attached, sand it smooth and flush to the rest of the board. Then cut 4 legs to go underneath the board as legs, push the front two to the sides as far as you can to give them room to work, and the back two I turned on a 45 degree angle to add some strength to the design. Next put two pocket hole screws on each side of one end of each leg and screw them to the bottom of the table top. Next do a final pass with the sander and let the kids loose on it.
The first thing my son did is drive a big nail right into the top of it. Now, it is covered in nails, and that is why I built it!
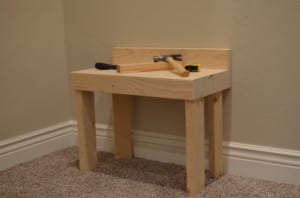
This is a really fun DIY project/craft to make. It is really fun to have a place that your little kids can go and hammer nails, etc. If you are into crafting, it is especially nice to involve your kids in your projects, and have a place for them. You could also paint this or stain it if you would like. I wanted it a bit more authentic, and it goes out in my garage, next to my workbench so it fits right in out there.
Very nice project, I think I am going to build one for my son and I am going to scale it up to make one for me. Very clear instructions.
On another note! I am a natural stone restoration contractor and love to help people and share my knowledge. I was wondering if you would post some articles about cleaning, repair, sealing, restoration of marble, granite, limestone, travertine and so on. I can provide you with the article for you to post if you like. In return, I will share your posts on social networks. Let me know if this is of interest to you.